An Archer's Guide To Using Hot Melt Adhesives
By A Mystery Man Writer
Last updated 08 May 2024

For those who make their own equipment, archery is more than just a sport—it’s a craft that takes much care, dedication, and skill to hone. Hot melt adhesive is a very important part of every archer’s toolkit when they’re constructing and fixing arrows. In fact, the most common way to attach hardware to an arrow shaft is using hot melt. Typically the hardware itself will be heated and a hot melt glue stick with a low melting point will be run over the surface to get just the right amount of adhesive to create a lightweight yet strong bond. If you’re interested in mastering the craft of archery, this guide we created with the help of Easton Archery’s robust online resources will help you learn everything you need to know about bonding shafts and hardware made of aluminum, carbon, and
Find great prices on bulk hot melt and equipment at . Shop glue guns, glue sticks, PUR hot melt, and more, or call 877-933-3343 to chat with a hot melt expert today.
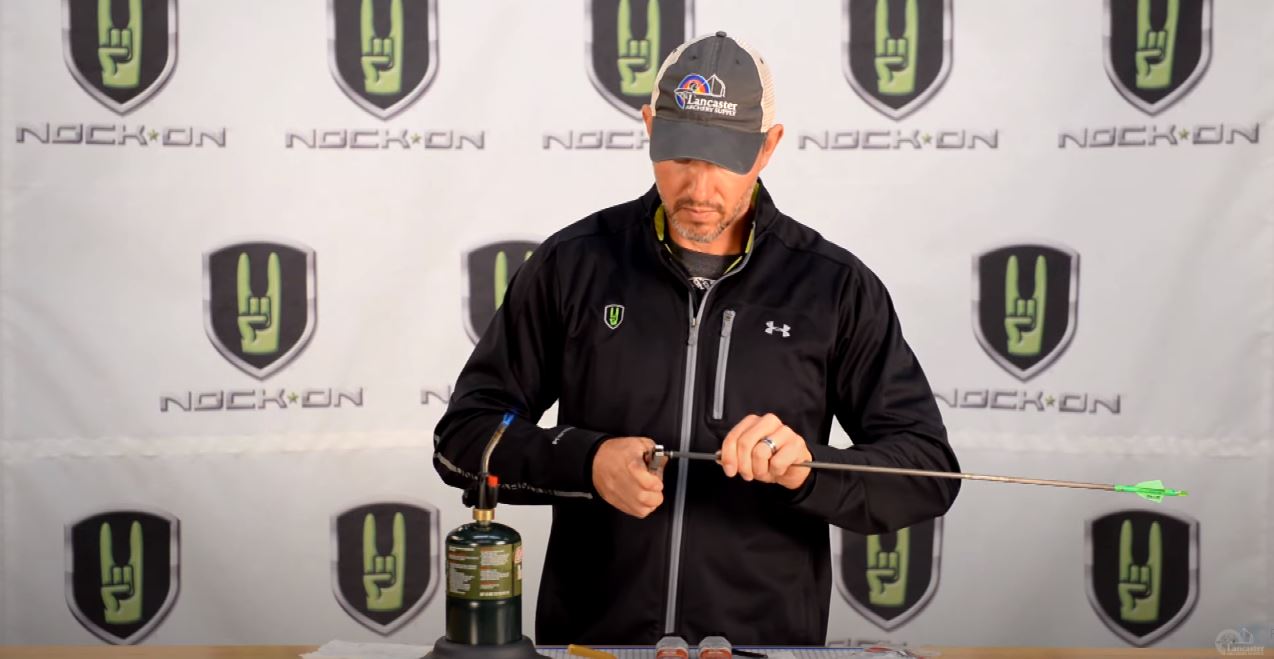
For those who make their own equipment, archery is more than just a sport—it’s a craft that takes much care, dedication, and skill to hone. Hot melt adhesive is a very important part of every archer’s toolkit when they’re constructing and fixing arrows. In fact, the most common way to attach hardware to an arrow shaft is using hot melt. Typically the hardware itself will be heated and a hot melt glue stick with a low melting point will be run over the surface to get just the right amount of adhesive to create a lightweight yet strong bond. If you’re interested in mastering the craft of archery, this guide we created with the help of Easton Archery’s robust online resources will help you learn everything you need to know about bonding shafts and hardware made of aluminum, carbon, and other materials. General Rules for Using Hot Melt on Archery Equipment When it comes to full carbon and some combination aluminum/carbon (A/C) shafts, Easton Archery recommends low heat hot melt because direct and high heat can damage the shaft beyond use. You’ll want to make sure you’re using a hot melt adhesive with a melting point low enough that it won’t damage the shaft but high enough to keep the point securely attached during the frictional heating caused when the arrow penetrates the target mat. Arrow points can come out in the target mat if a hot melt with a too-low melting temperature is used. For especially delicate arrow components, a 24-hour epoxy or flexible cyanoacrylate (super glue) can be used instead of hot melt. It’s important to note in this case that these adhesives might prove to be more brittle or less strong than hot melt is generally considered. Aluminum arrow components are a little more hardy, but excessive heat (over 400°F or 200°C) should still be avoided because it can cause recrystallization that could permanently soften or damage the metal. Hot melt glue sticks of all different melting points can be purchased on . Take the Adhesive Compatibility Test Take Easton Archery’s test to determine if your nock adhesive is compatible with various nock materials: Choose a you test nock. Distribute a small amount of the adhesive you want to use evenly on the nock shank. Let it set for approximately 10 minutes. Grab the top of your nock (the part that fits outside the arrow) with your pliers. Press the nock shank against a flat surface and try to bend it to a 45° angle. If the nock shank will bend without breaking, then your adhesive is good to go! If the nock shank breaks, repeat this process until you find the right fit. Using Hot Melt to Install Points And Aluminum Inserts What You’ll Need: 91% isopropyl alcohol cleaning materials (paper towels or rags) cotton swabs hot-melt torch, burner, or similar heating element Instructions: Notes For aluminum shafts that have been created to resist bending should be handled with care when installing a point as to not split the end of the shaft due to overstressing. To facilitate handling, Easton recommends that a field point be screwed into the insert before heating and inserting. Cautions Do not apply excessive heat (over 400°F or 200°C) to your aluminum shafts or points. This is especially true with thin-wall shafts that heat up even faster than regular aluminum shafts. Extreme heat causes recrystallization that could permanently soften or damage aluminum shafts. Start here Clean the inside of the shaft with a cotton swab dipped in the 91% isopropyl alcohol to remove debris. Let the shaft dry. With a small flame, apply enough heat to the end of the shaft to melt and apply a ring of your hot melt adhesive on the inside of the shaft. Grip the point or insert with pliers. Heat the shank end just enough so that when it is pushed partly into the shaft, the ring of adhesive melts. Push the point or insert about 1⁄4 (6 mm) into the shaft. Heat the exposed portion of the point or insert shank just enough to apply another thin layer of hot melt adhesive. After applying this layer of adhesive, heat the adhesive on the shank of the point or insert again to remelt. While the adhesive is still fluid slowly push the point or insert into the shaft until it seats against the end of the shaft. Clean off excess adhesive using your cleaning materials before the hot melt solidifies. Using Hot Melt for Aluminum/Carbon Component Installation What You’ll Need: 91% isopropyl alcohol cleaning materials (paper towels or rags) cotton swabs hot-melt torch, burner, or similar heating element Instructions: Notes These instructions can be used for installing one-piece points and aluminum inserts. If aluminum inserts, screw a point into the insert before you begin installation. Cautions After cutting your A/C shaft to length, follow this point installation procedure carefully to prevent overheating. Overheated points can destroy the shaft’s bond between the carbon and the aluminum tube. Do not apply heat directly to A/C shafts as it can destroy the carbon fiber/epoxy matrix. Start here Clean approximately two inches inside the point end of the shaft using your cotton swab dipped in 91% alcohol. Repeat this process until a fresh cotton swab is free of cutting dust. Let it dry. Carefully heat your hot-melt glue stick over a small flame and apply a ring of hot adhesive to the inside of the point end of the shaft. Hold the end of the point with your fingers and heat the exposed portion of the point or insert until you feel it getting warm. Right now, it’s hot enough to melt the adhesive. * Don’t use pliers during this step you can feel if you begin to overheat the point. If it’s too hot to hold, place it on a noncombustible surface until cool. Heat the hot melt and apply a generous layer of adhesive to the shank of the point or insert. Quickly remelt the adhesive on the shank of the point or insert so that when it’s pushed into the shaft, the ring of adhesive in the shaft is melted. While the adhesive is still liquid, install the point or insert into the shaft with a clockwise twisting motion until it seats against the end of the shaft. There’s no need to force a point or insert. Quickly wipe away excess adhesive while it’s still warm. Using Hot Melt to Install Aluminum UNI Bushings What You’ll Need: 91% isopropyl alcohol cleaning materials (paper towels or rags) cotton swabs hot-melt torch, burner, or similar heating element a pencil for your “holding tool” Notes If the wood pencil chars at any point in this process, the bushing is overheated. Remove heat and allow it to cool. Cautions Do not apply a flame directly to any carbon or A/C shafts during this process. Instructions: Lightly chamfer the inside of the core tube. Clean about an inch inside the nock end of the shaft approximately with your cotton swab dipped in 91% alcohol. Repeat until a fresh cotton swab comes out clean. Let it dry. Heat a hot-melt glue stick over a small flame and apply a ring of adhesive inside of the shaft. Twist the bushing onto the end of a sharpened wooden pencil. Using the pencil for your UNI Bushing “holding tool,” heat the bushing just enough to apply a thin coat of hot-melt adhesive on the shank. Lightly reheat the bushing to melt your adhesive and quickly insert it completely into the shaft. Wipe off excess adhesive quickly then remove the pencil immediately once the adhesive has solidified. As you can see, the process of creating arrows is a delicate one made possible with the help of hot melt adhesives. If you need help finding that glue stick with just the right melting point, don’t hesitate to contact our hot melt experts online or by calling (877) 933-3343.
Find great prices on bulk hot melt and equipment at . Shop glue guns, glue sticks, PUR hot melt, and more, or call 877-933-3343 to chat with a hot melt expert today.
For those who make their own equipment, archery is more than just a sport—it’s a craft that takes much care, dedication, and skill to hone. Hot melt adhesive is a very important part of every archer’s toolkit when they’re constructing and fixing arrows. In fact, the most common way to attach hardware to an arrow shaft is using hot melt. Typically the hardware itself will be heated and a hot melt glue stick with a low melting point will be run over the surface to get just the right amount of adhesive to create a lightweight yet strong bond. If you’re interested in mastering the craft of archery, this guide we created with the help of Easton Archery’s robust online resources will help you learn everything you need to know about bonding shafts and hardware made of aluminum, carbon, and other materials. General Rules for Using Hot Melt on Archery Equipment When it comes to full carbon and some combination aluminum/carbon (A/C) shafts, Easton Archery recommends low heat hot melt because direct and high heat can damage the shaft beyond use. You’ll want to make sure you’re using a hot melt adhesive with a melting point low enough that it won’t damage the shaft but high enough to keep the point securely attached during the frictional heating caused when the arrow penetrates the target mat. Arrow points can come out in the target mat if a hot melt with a too-low melting temperature is used. For especially delicate arrow components, a 24-hour epoxy or flexible cyanoacrylate (super glue) can be used instead of hot melt. It’s important to note in this case that these adhesives might prove to be more brittle or less strong than hot melt is generally considered. Aluminum arrow components are a little more hardy, but excessive heat (over 400°F or 200°C) should still be avoided because it can cause recrystallization that could permanently soften or damage the metal. Hot melt glue sticks of all different melting points can be purchased on . Take the Adhesive Compatibility Test Take Easton Archery’s test to determine if your nock adhesive is compatible with various nock materials: Choose a you test nock. Distribute a small amount of the adhesive you want to use evenly on the nock shank. Let it set for approximately 10 minutes. Grab the top of your nock (the part that fits outside the arrow) with your pliers. Press the nock shank against a flat surface and try to bend it to a 45° angle. If the nock shank will bend without breaking, then your adhesive is good to go! If the nock shank breaks, repeat this process until you find the right fit. Using Hot Melt to Install Points And Aluminum Inserts What You’ll Need: 91% isopropyl alcohol cleaning materials (paper towels or rags) cotton swabs hot-melt torch, burner, or similar heating element Instructions: Notes For aluminum shafts that have been created to resist bending should be handled with care when installing a point as to not split the end of the shaft due to overstressing. To facilitate handling, Easton recommends that a field point be screwed into the insert before heating and inserting. Cautions Do not apply excessive heat (over 400°F or 200°C) to your aluminum shafts or points. This is especially true with thin-wall shafts that heat up even faster than regular aluminum shafts. Extreme heat causes recrystallization that could permanently soften or damage aluminum shafts. Start here Clean the inside of the shaft with a cotton swab dipped in the 91% isopropyl alcohol to remove debris. Let the shaft dry. With a small flame, apply enough heat to the end of the shaft to melt and apply a ring of your hot melt adhesive on the inside of the shaft. Grip the point or insert with pliers. Heat the shank end just enough so that when it is pushed partly into the shaft, the ring of adhesive melts. Push the point or insert about 1⁄4 (6 mm) into the shaft. Heat the exposed portion of the point or insert shank just enough to apply another thin layer of hot melt adhesive. After applying this layer of adhesive, heat the adhesive on the shank of the point or insert again to remelt. While the adhesive is still fluid slowly push the point or insert into the shaft until it seats against the end of the shaft. Clean off excess adhesive using your cleaning materials before the hot melt solidifies. Using Hot Melt for Aluminum/Carbon Component Installation What You’ll Need: 91% isopropyl alcohol cleaning materials (paper towels or rags) cotton swabs hot-melt torch, burner, or similar heating element Instructions: Notes These instructions can be used for installing one-piece points and aluminum inserts. If aluminum inserts, screw a point into the insert before you begin installation. Cautions After cutting your A/C shaft to length, follow this point installation procedure carefully to prevent overheating. Overheated points can destroy the shaft’s bond between the carbon and the aluminum tube. Do not apply heat directly to A/C shafts as it can destroy the carbon fiber/epoxy matrix. Start here Clean approximately two inches inside the point end of the shaft using your cotton swab dipped in 91% alcohol. Repeat this process until a fresh cotton swab is free of cutting dust. Let it dry. Carefully heat your hot-melt glue stick over a small flame and apply a ring of hot adhesive to the inside of the point end of the shaft. Hold the end of the point with your fingers and heat the exposed portion of the point or insert until you feel it getting warm. Right now, it’s hot enough to melt the adhesive. * Don’t use pliers during this step you can feel if you begin to overheat the point. If it’s too hot to hold, place it on a noncombustible surface until cool. Heat the hot melt and apply a generous layer of adhesive to the shank of the point or insert. Quickly remelt the adhesive on the shank of the point or insert so that when it’s pushed into the shaft, the ring of adhesive in the shaft is melted. While the adhesive is still liquid, install the point or insert into the shaft with a clockwise twisting motion until it seats against the end of the shaft. There’s no need to force a point or insert. Quickly wipe away excess adhesive while it’s still warm. Using Hot Melt to Install Aluminum UNI Bushings What You’ll Need: 91% isopropyl alcohol cleaning materials (paper towels or rags) cotton swabs hot-melt torch, burner, or similar heating element a pencil for your “holding tool” Notes If the wood pencil chars at any point in this process, the bushing is overheated. Remove heat and allow it to cool. Cautions Do not apply a flame directly to any carbon or A/C shafts during this process. Instructions: Lightly chamfer the inside of the core tube. Clean about an inch inside the nock end of the shaft approximately with your cotton swab dipped in 91% alcohol. Repeat until a fresh cotton swab comes out clean. Let it dry. Heat a hot-melt glue stick over a small flame and apply a ring of adhesive inside of the shaft. Twist the bushing onto the end of a sharpened wooden pencil. Using the pencil for your UNI Bushing “holding tool,” heat the bushing just enough to apply a thin coat of hot-melt adhesive on the shank. Lightly reheat the bushing to melt your adhesive and quickly insert it completely into the shaft. Wipe off excess adhesive quickly then remove the pencil immediately once the adhesive has solidified. As you can see, the process of creating arrows is a delicate one made possible with the help of hot melt adhesives. If you need help finding that glue stick with just the right melting point, don’t hesitate to contact our hot melt experts online or by calling (877) 933-3343.
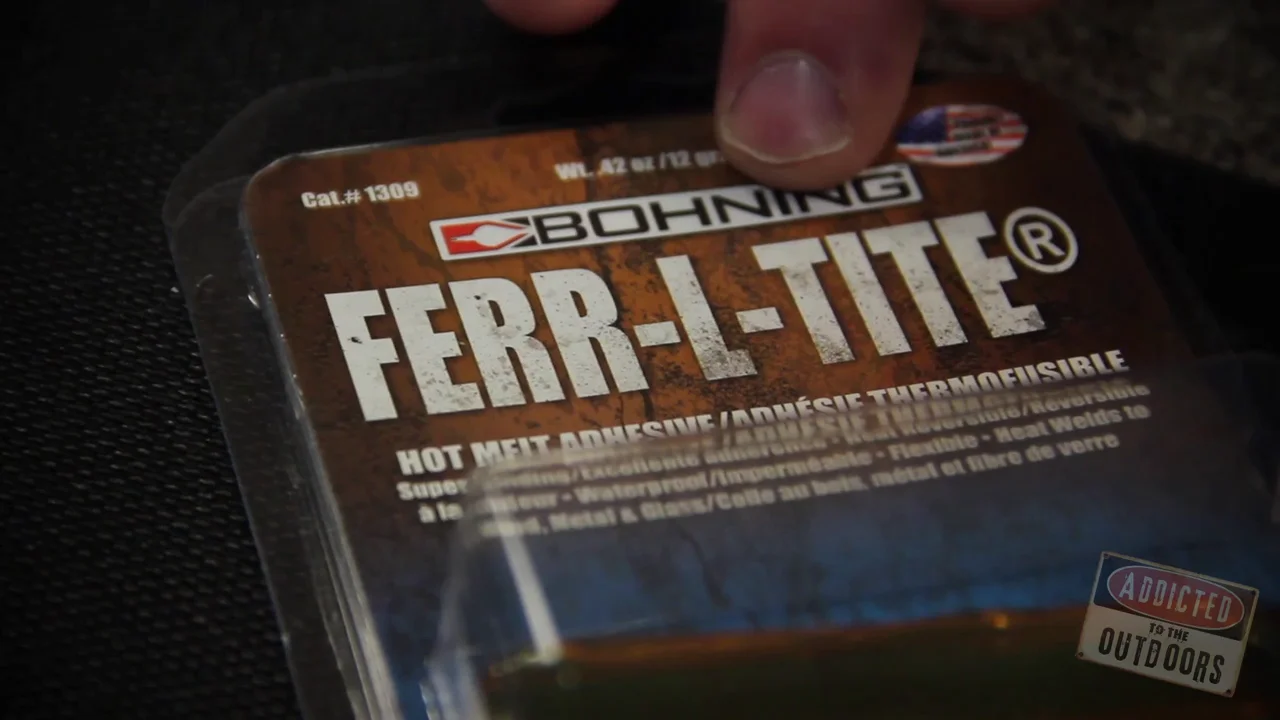
Bohning Archery Cool Flex Low Temp Hot Melt Adhesive Review
Bohning Archery Cool Flex Low Temp Hot Melt Adhesive Review

Drawing Paper Manufacturer Supplier In

Roberts 10-700 Hot Melt Glue Gun [RBT10700] - $25.99 : Flooring Tools & Installation Supplies
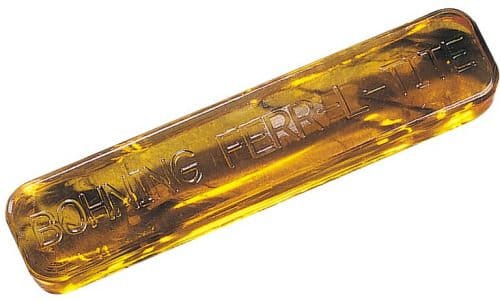
Buy Ferr L Tite Hot Glue Online
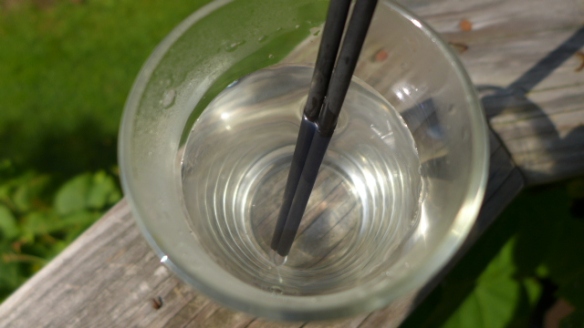
how to remove hot melt glued in points from arrows
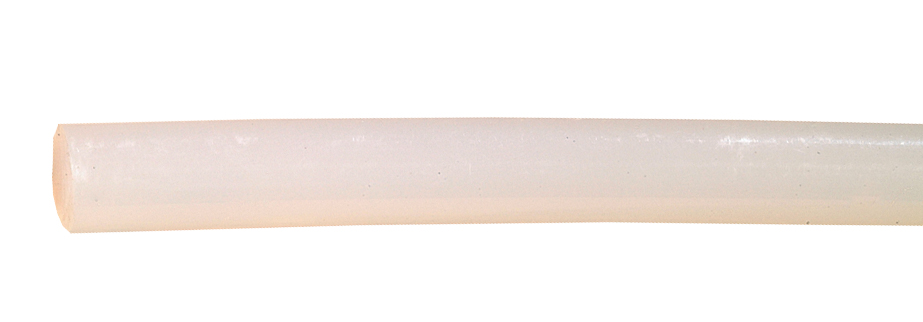
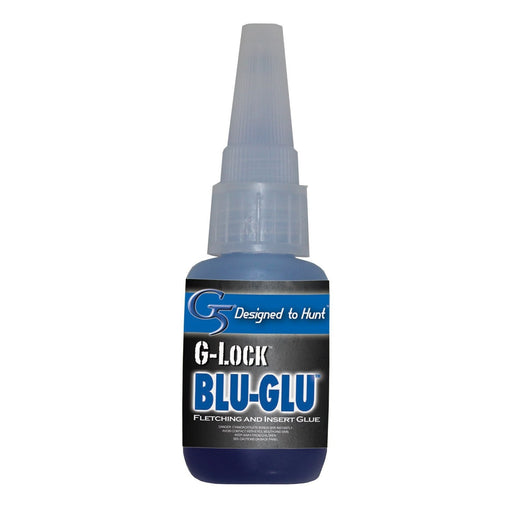
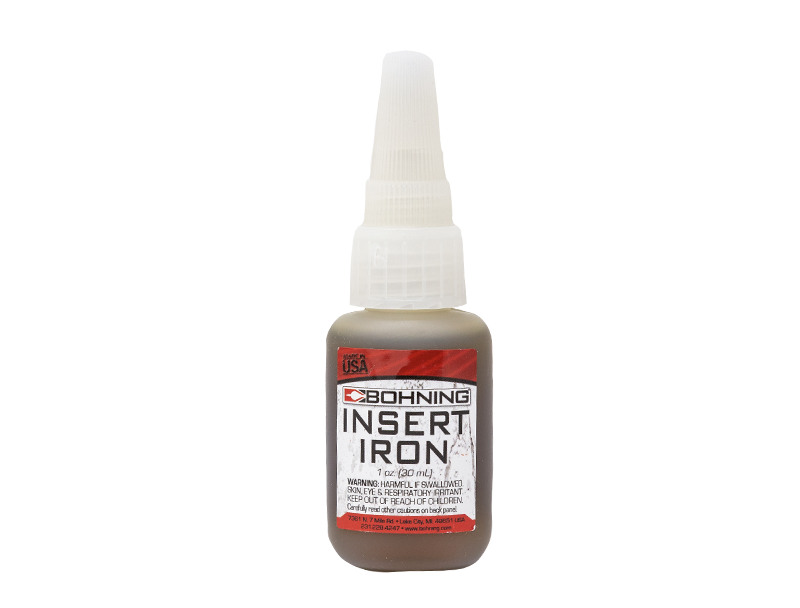
Hot Melt Arrow Point Glue
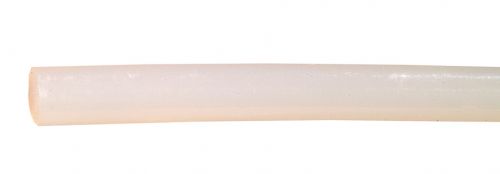
Use hot melt point glue for mounting field points and broadheads on to wood arrows. Hot Melt has more elasticity than other point glues in cold
Hot Melt Point Glue
Bohning Archery Products - Ferr-L-Tite on Vimeo
7 tips of manufacturing safety glass with eva hot melt dry adhesive film

An Archer's Guide To Using Hot Melt Adhesives

Bohning 1308 Ferry-L-Tite Cool Flex : Archery Bow Maintenance Products : Sports & Outdoors

Hot Melt Archery Adhesive – Iron Will Outfitters
Recommended for you
-
 30-06 Outdoors Insert Glue - Insert Weld .5oz08 May 2024
 -
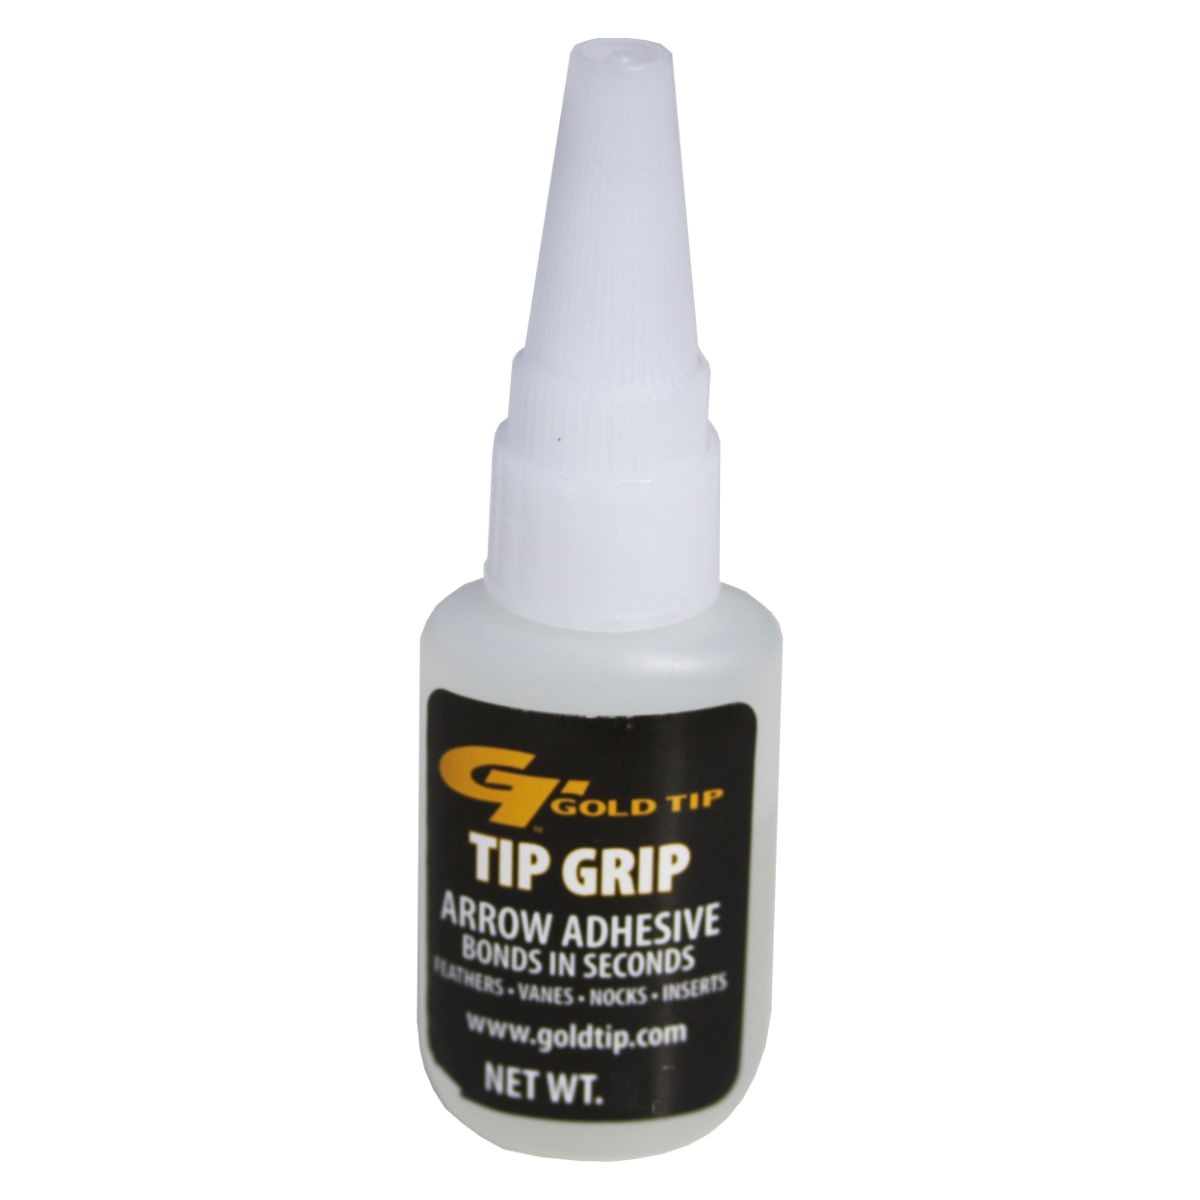 Gold Tip - Tip Grip Glue 10 Gr08 May 2024
 -
 AAE Epoxy - Arizona Archery Enterprises Inc.08 May 2024
 -
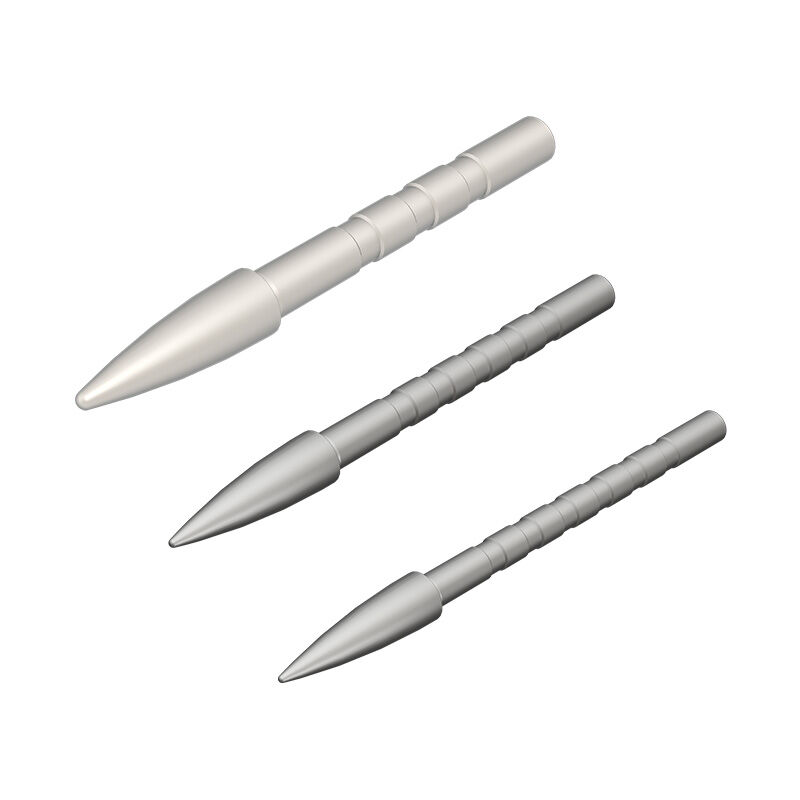 Buy Glue In Point - Accu Point 16608 May 2024
 -
 GT IMPACT GLUE08 May 2024
 -
 Adhesives, Glue & Epoxy — /TheCrossbowStore.com08 May 2024
 -
 30-06 Outdoors Glue Insert Weld 1 oz. IW1-1 - Farmstead Outdoors08 May 2024
 -
 POINTS ADHESIVES - The Bohning Company08 May 2024
 -
 Arrow inserts coming out08 May 2024
 -
 Explained: Installing Arrow Inserts – Lancaster Archery Supply08 May 2024
You may also like
-
 Grid Paper Abstract Squared Background Color Stock Vector (Royalty08 May 2024
 -
 JEWELLERS BORAX FLUX CONE AND DISH BOWL SOLDERING GOLD OR SILVER08 May 2024
 -
 Honeysuckle Attar, Alcohol Free08 May 2024
 -
 Wool Felt Balls Big Large Ball 50mm 5cm Christmas Round Felt Balls 2pcs 100% Felt Balls Christmas Decoration Pom Poms for DIY08 May 2024
 -
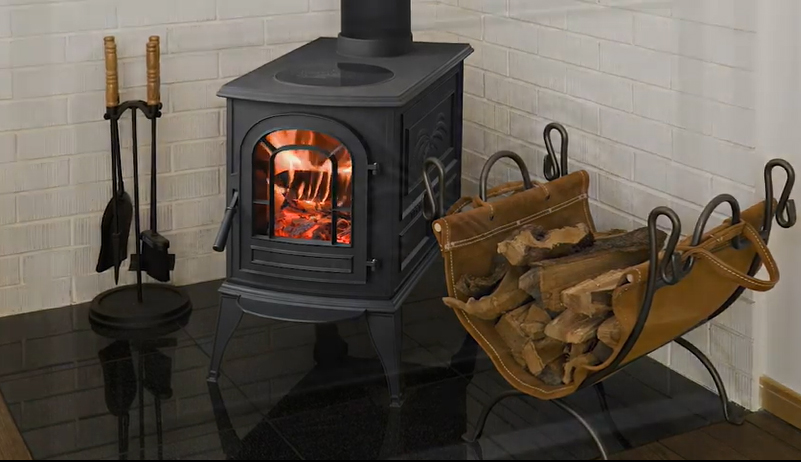 Fireplace Accessories - Everything You Need to Know08 May 2024
 -
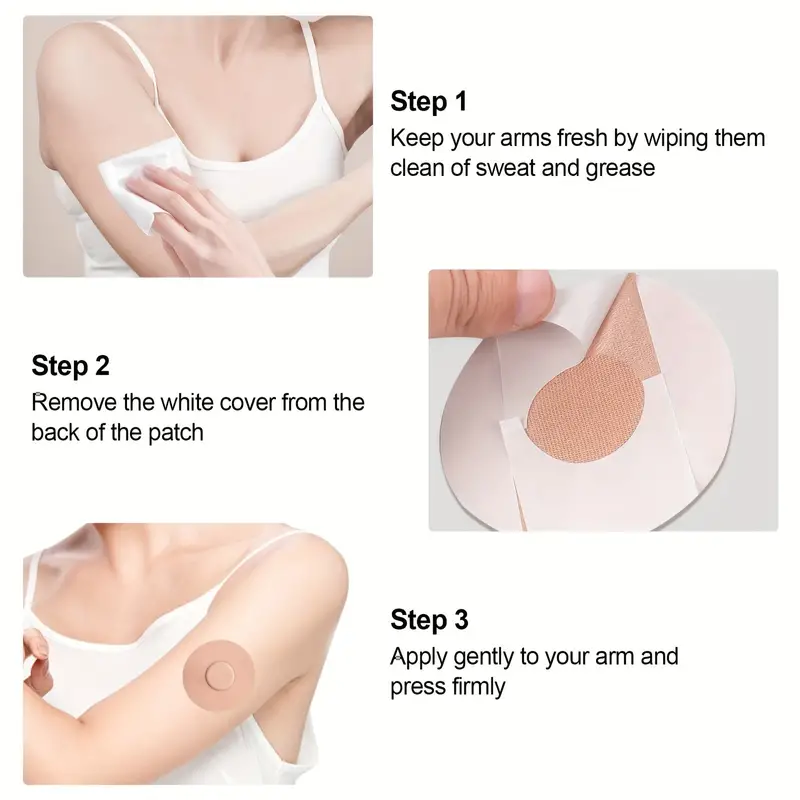 Waterproof Adhesive Patches For Freestyle Libre 2/3 Precut - Temu08 May 2024
 -
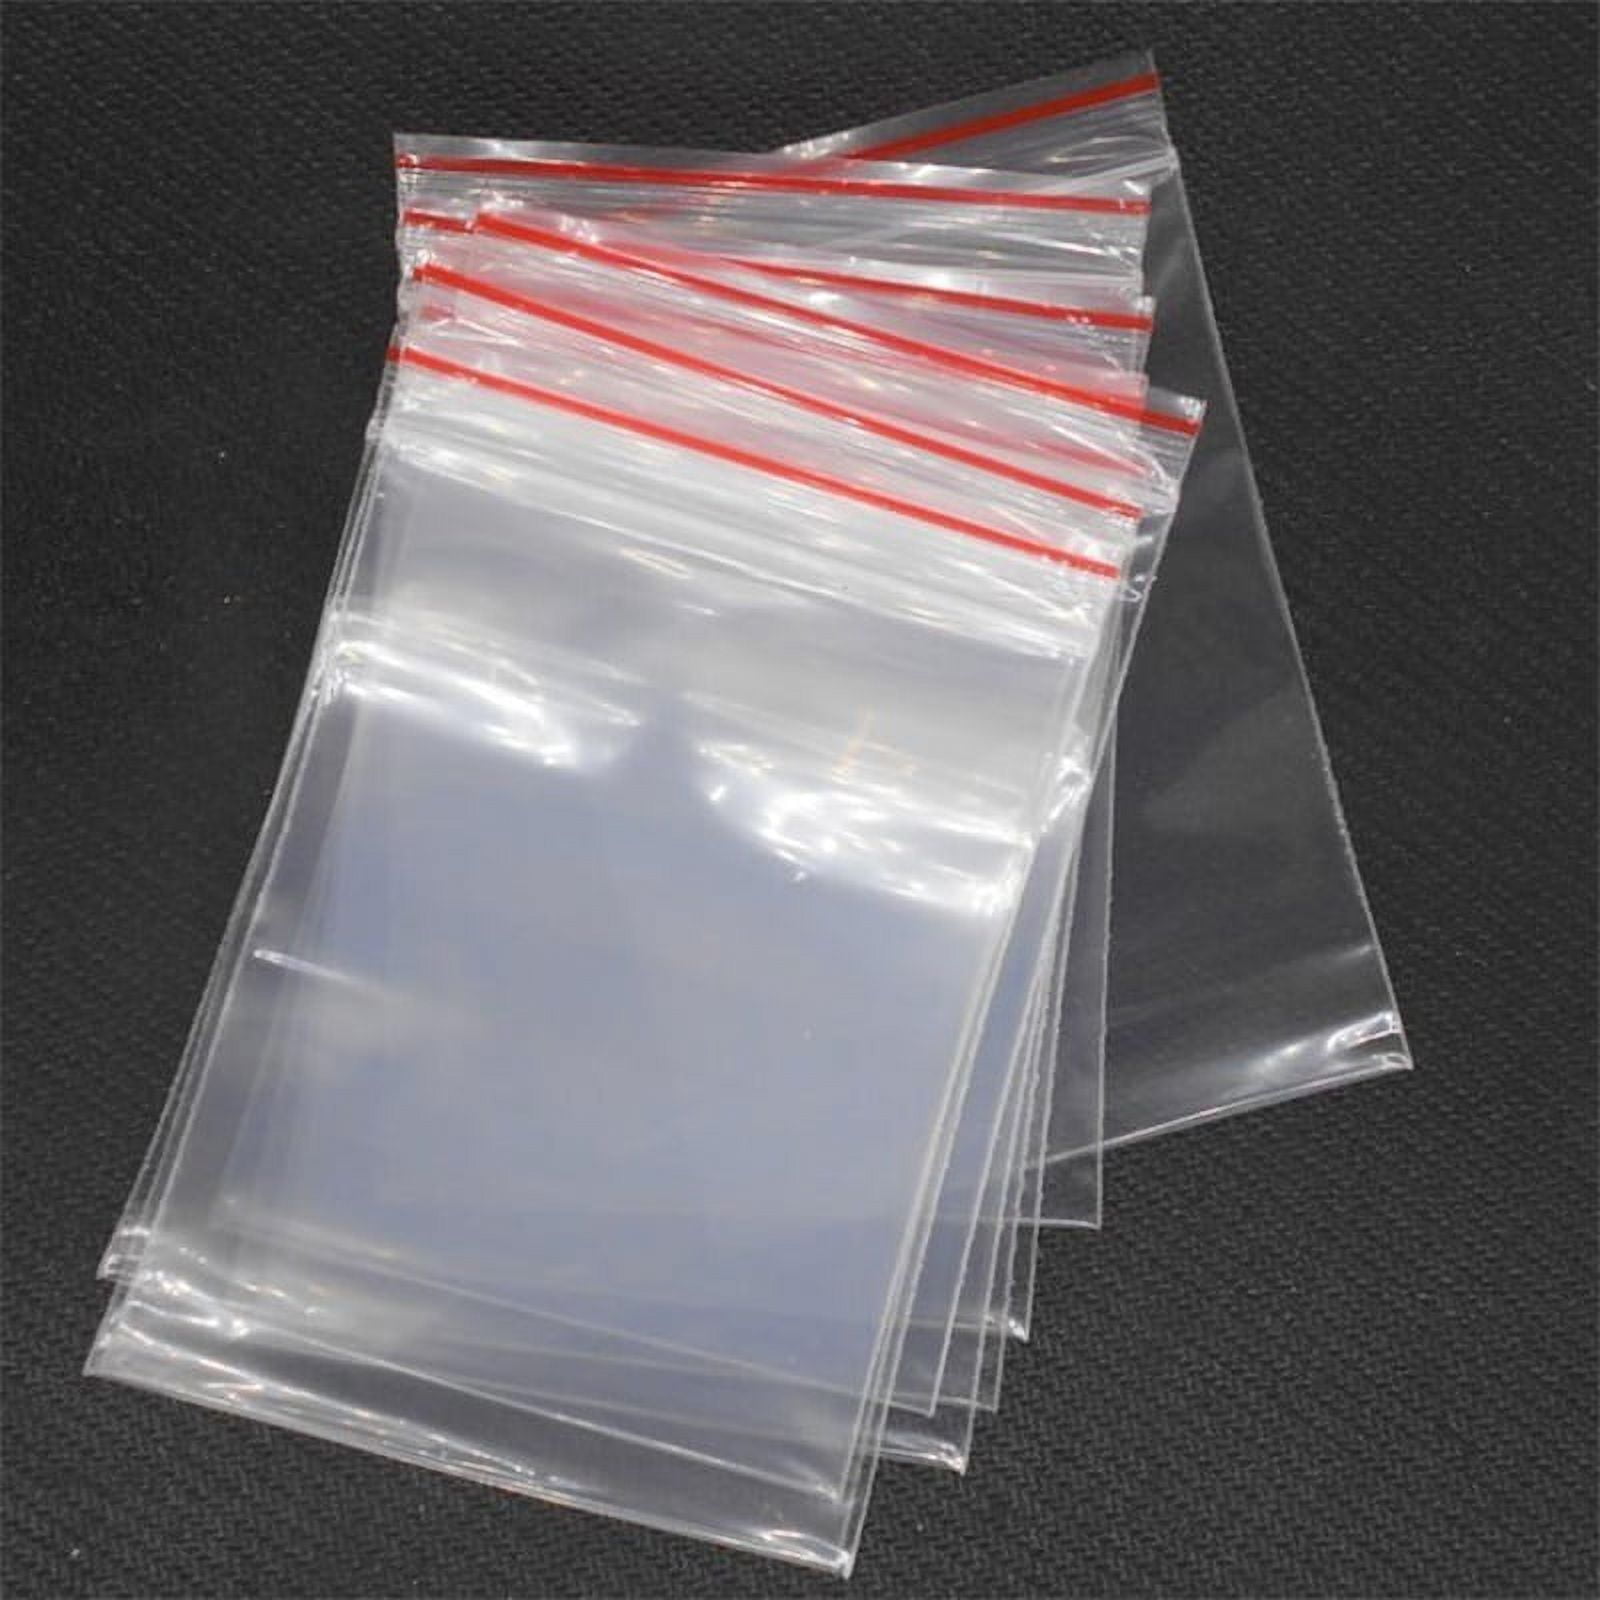 Willstar 100Pcs Zip lock Bags Reclosable Clear Poly Bag Plastic Baggies Small Jewelry Shipping Bags-1.97*2.76 Inch08 May 2024
 -
 505pcs Christmas Gift Tags Stickers Labels from Santa Gift Tags - Self Adhesive Name Tags for Christmas Presents, Holiday Xmas Gift Tags Sticker Christmas, to and from Christmas Labels Vintage08 May 2024
 -
Party princess makeup turorial: Alice in Wonderland makeup08 May 2024
-
 DAP Plastic Wood 4 Oz. White Solvent Professional Wood Filler08 May 2024
