Decorate Your Mouse House Two Ways
By A Mystery Man Writer
Last updated 19 May 2024

#39;Tis the season to decorate! Who says the mice can't join in on all the fun? These cute crafts for your dollhouse keep little hands busy and help get everyone in a festive and happy mood. Super simple and absolutely adorable, these crafts are a lovely way to spend a winter afternoon. Gather Your Supplies for the Felt
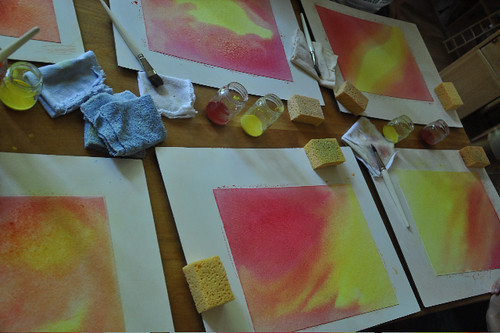
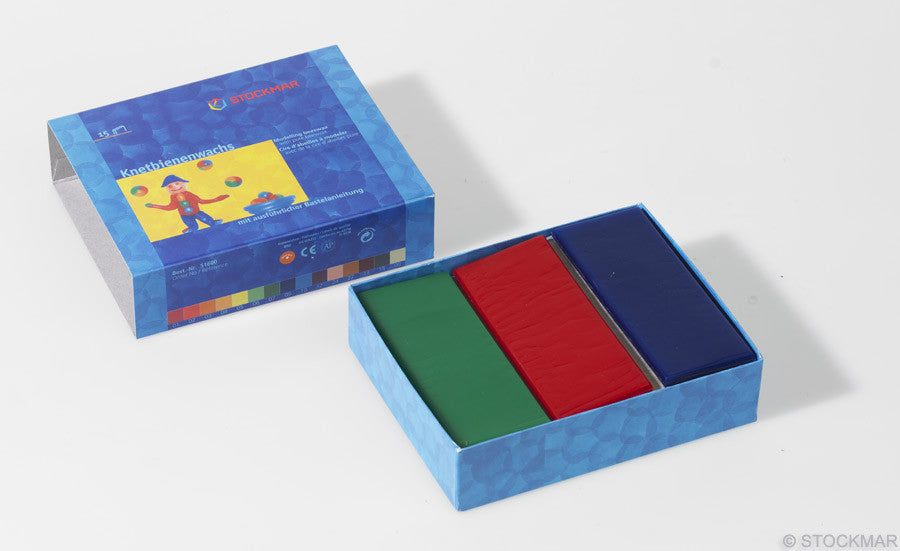
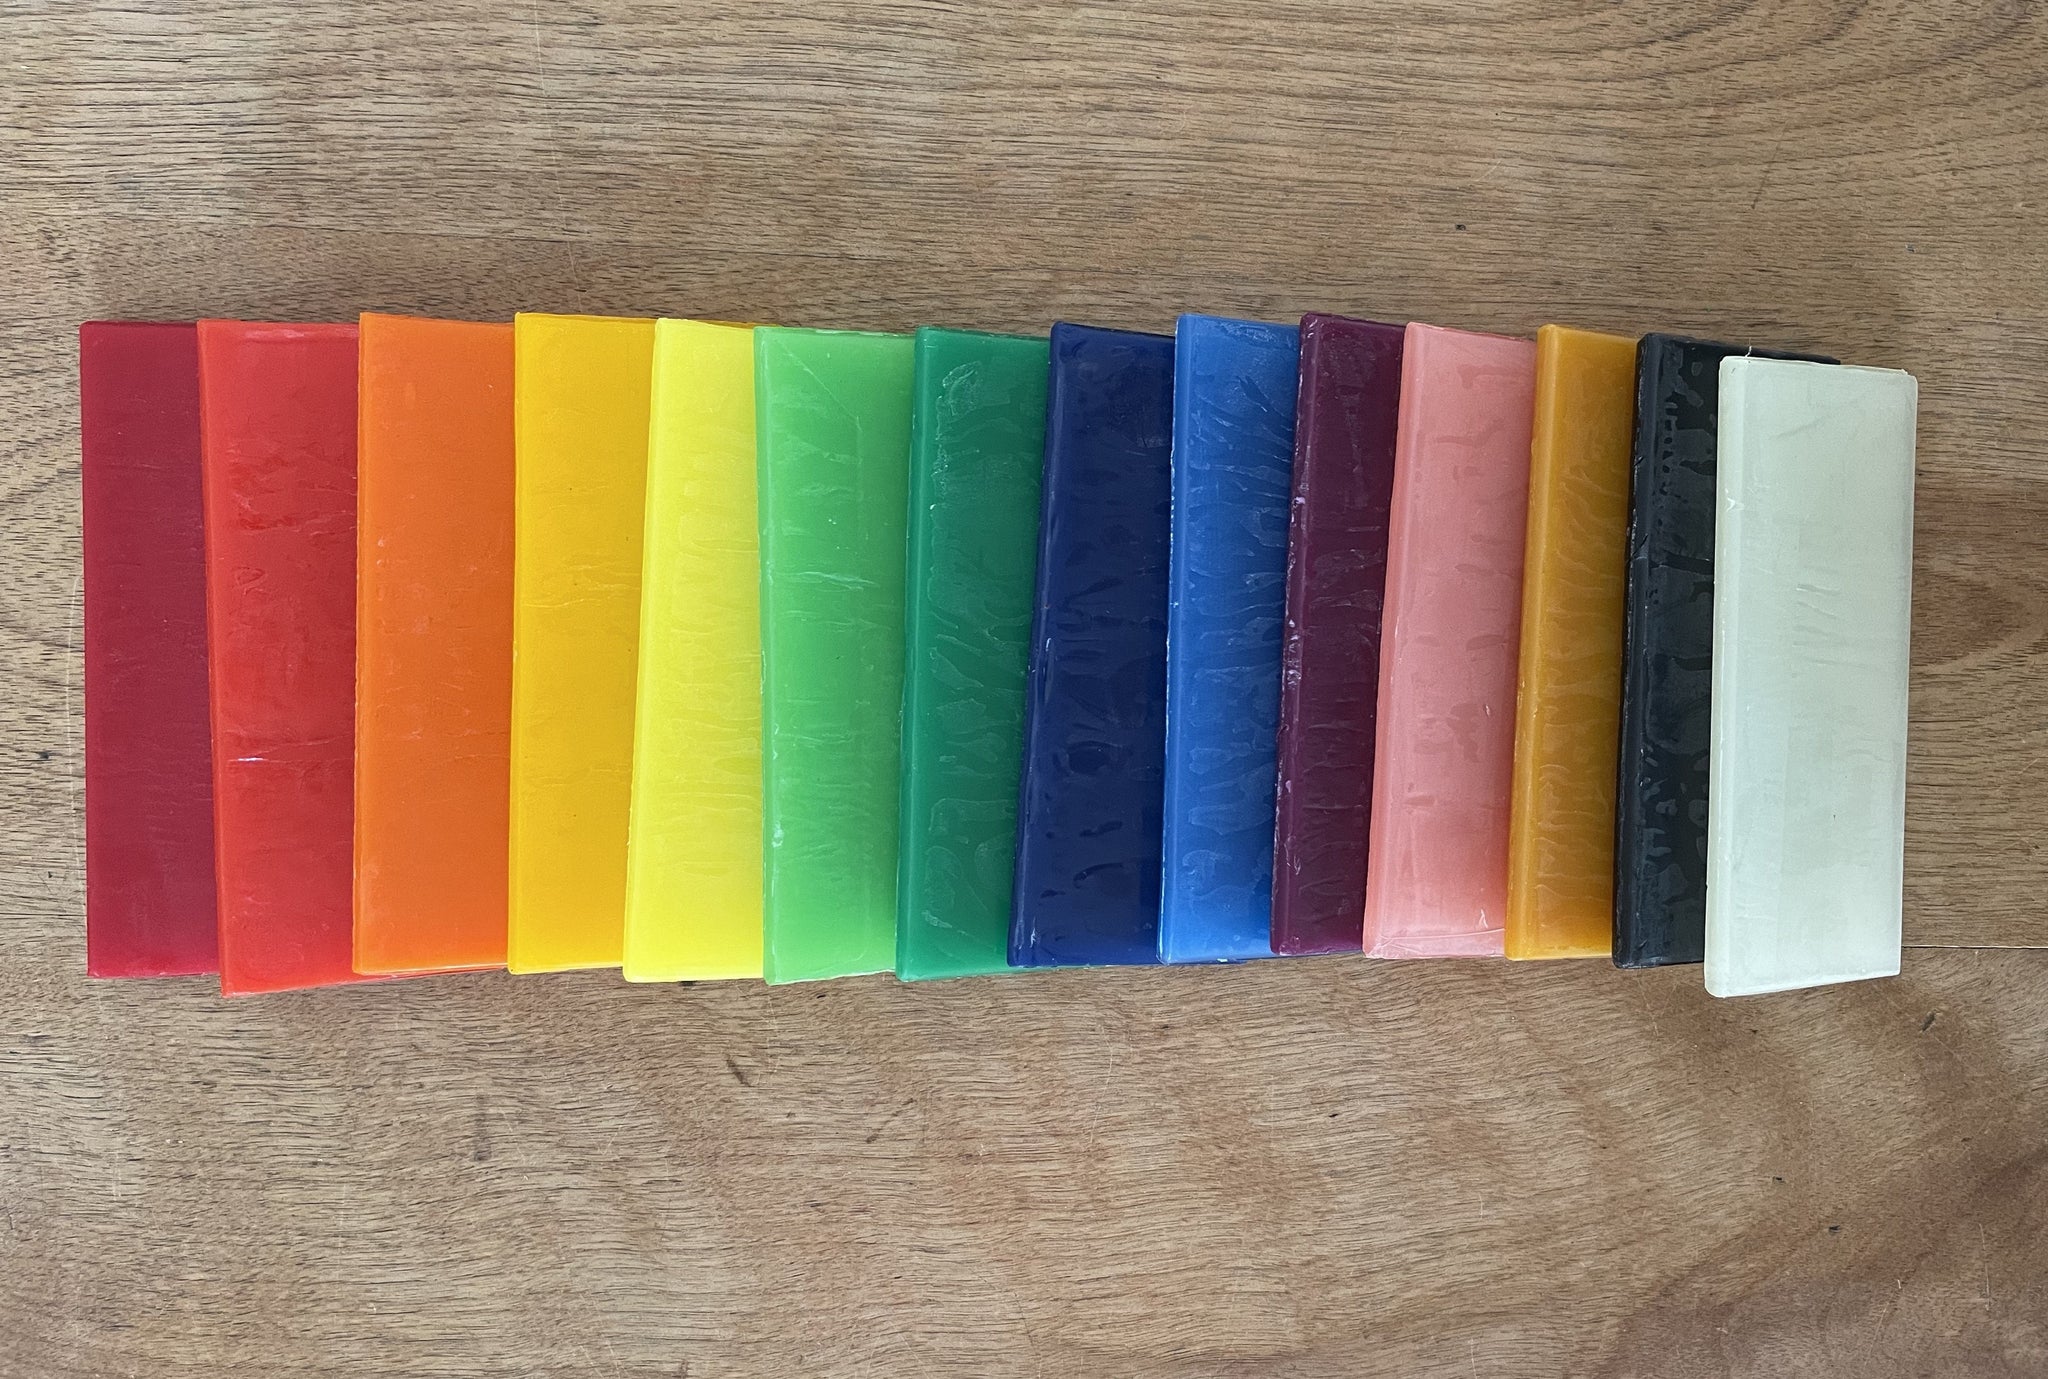
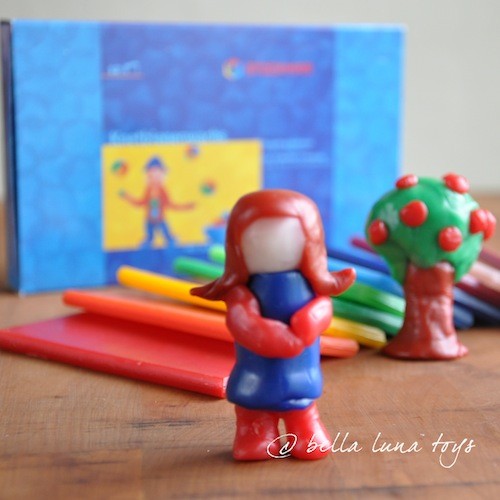
'Tis the season to decorate! Who says the mice can't join in on all the fun? These cute crafts for your dollhouse keep little hands busy and help get everyone in a festive and happy mood. Super simple and absolutely adorable, these crafts are a lovely way to spend a winter afternoon. Gather Your Supplies for the Felt Mouse Stocking: These are the tools we used to create the felt mouse stocking: A sheet of crafting felt Embroidery Needle Embroidery Thread Scissors Create your Felt Mouse Stocking: Step 1: Cut out your felt stocking shape Begin by folding your felt sheet in half and cutting out your stocking shape. This will give you two stocking shapes that you will sew together. Step 2: Sew Together After you cut out your stocking, carefully begin sewing the pieces along the edges, except for the top opening. P.S. You and your mouse friends may need a little help from adults to sew together the stocking. Step 3: Enjoy! Once finished have your little mice friends hang the stocking by the fire and wait for the treats to arrive on Christmas eve. Gather Your Supplies for the Beeswax Orange Mouse Garland: These are the tools we used to create the beeswax orange mouse garland: Stockmar Modeling Beeswax Twine Embroidery Needle or Pin (optional) Crafting Knife Create your Beeswax Orange Mouse Garland: Step 1: Begin Shaping Your Oranges Using your modeling beeswax begin shaping your oranges. You will need to warm the wax in your hands first. Create little ball shapes out of the darker orange color first and gently press down to create a flat circle. Then, make a slightly smaller, lighter orange (or yellow) colored circle. Cut the smaller, lighter colored circle into 6 slices and gently press it onto the larger, darker circle. This will create the orange slice. Step 2: String Through the Twine After making all your little oranges, take a pin or embroidery needle and poke a hole through part of your slice wide enough for your twine (or string of choice) to fit through. Step 3: Enjoy! Once all your oranges have been strung through the twine, it is ready to garnish the tree, fireplace, wall, or anywhere your little mouse wishes! We hope your holiday is filled with engaging fun and heaps of family laughter and love, and a few crafternoons spent together. Share your play, crafts, reading, learning or anything magical with us on Instagram @bellalunatoys and use our hashtag #bellalunatoys for a chance to be featured on our feed or stories. Happy crafting!
'Tis the season to decorate! Who says the mice can't join in on all the fun? These cute crafts for your dollhouse keep little hands busy and help get everyone in a festive and happy mood. Super simple and absolutely adorable, these crafts are a lovely way to spend a winter afternoon. Gather Your Supplies for the Felt Mouse Stocking: These are the tools we used to create the felt mouse stocking: A sheet of crafting felt Embroidery Needle Embroidery Thread Scissors Create your Felt Mouse Stocking: Step 1: Cut out your felt stocking shape Begin by folding your felt sheet in half and cutting out your stocking shape. This will give you two stocking shapes that you will sew together. Step 2: Sew Together After you cut out your stocking, carefully begin sewing the pieces along the edges, except for the top opening. P.S. You and your mouse friends may need a little help from adults to sew together the stocking. Step 3: Enjoy! Once finished have your little mice friends hang the stocking by the fire and wait for the treats to arrive on Christmas eve. Gather Your Supplies for the Beeswax Orange Mouse Garland: These are the tools we used to create the beeswax orange mouse garland: Stockmar Modeling Beeswax Twine Embroidery Needle or Pin (optional) Crafting Knife Create your Beeswax Orange Mouse Garland: Step 1: Begin Shaping Your Oranges Using your modeling beeswax begin shaping your oranges. You will need to warm the wax in your hands first. Create little ball shapes out of the darker orange color first and gently press down to create a flat circle. Then, make a slightly smaller, lighter orange (or yellow) colored circle. Cut the smaller, lighter colored circle into 6 slices and gently press it onto the larger, darker circle. This will create the orange slice. Step 2: String Through the Twine After making all your little oranges, take a pin or embroidery needle and poke a hole through part of your slice wide enough for your twine (or string of choice) to fit through. Step 3: Enjoy! Once all your oranges have been strung through the twine, it is ready to garnish the tree, fireplace, wall, or anywhere your little mouse wishes! We hope your holiday is filled with engaging fun and heaps of family laughter and love, and a few crafternoons spent together. Share your play, crafts, reading, learning or anything magical with us on Instagram @bellalunatoys and use our hashtag #bellalunatoys for a chance to be featured on our feed or stories. Happy crafting!

Mice Infestation Signs

Decorate Your Mouse House Two Ways

ImagiPlanks: Introducing the Infinite Playground – Moon Child Blog – Bella Luna Toys – Sarah Baldwin
beeswax crayons – Moon Child Blog – Bella Luna Toys – Sarah
How to Clean a Mouse Pad
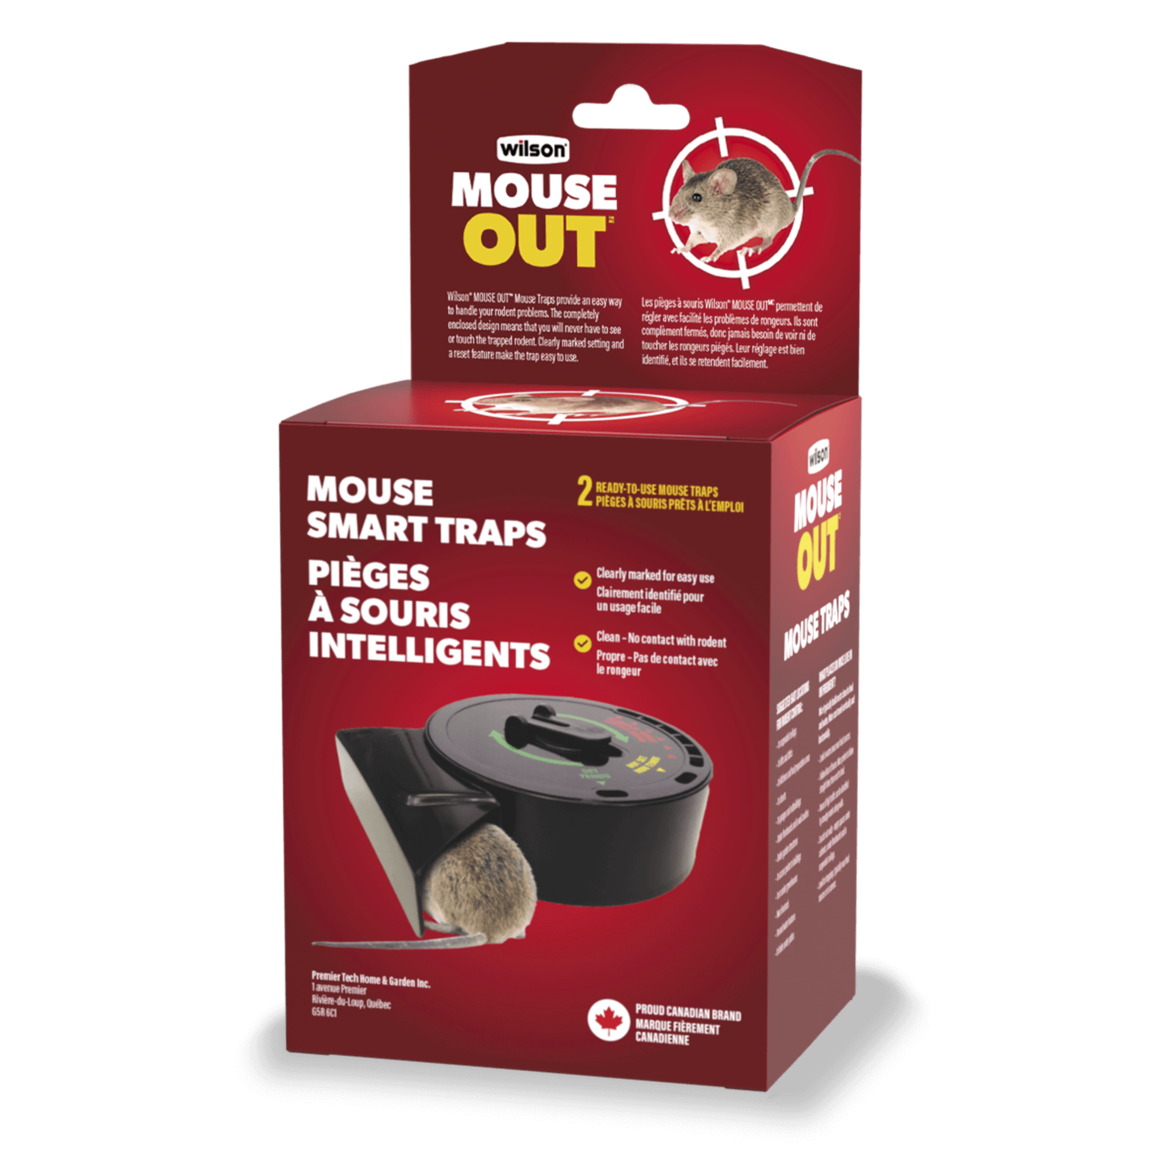
Use Smart Traps By Wilson Control to Capture Pesky Mice
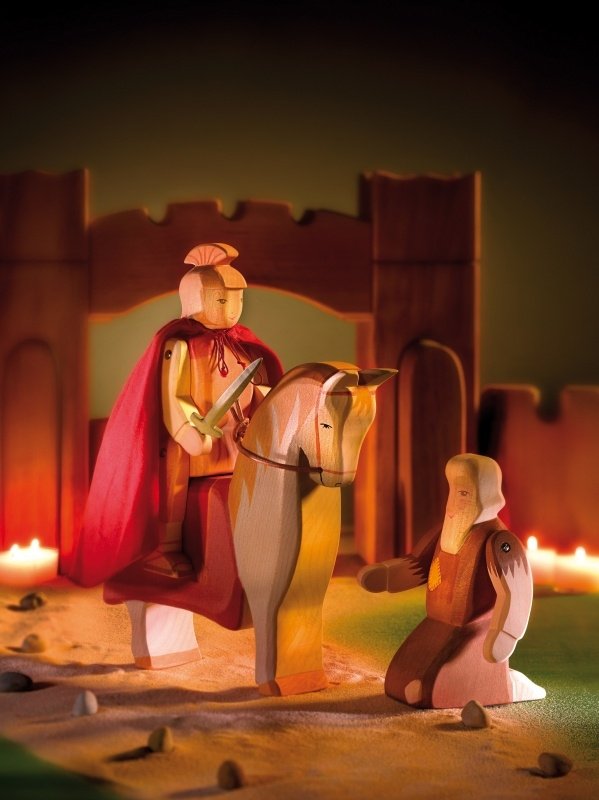
The Festival of Martinmas – Moon Child Blog – Bella Luna Toys – Sarah Baldwin

How to Connect a Wireless Mouse: Guide for Windows or Mac
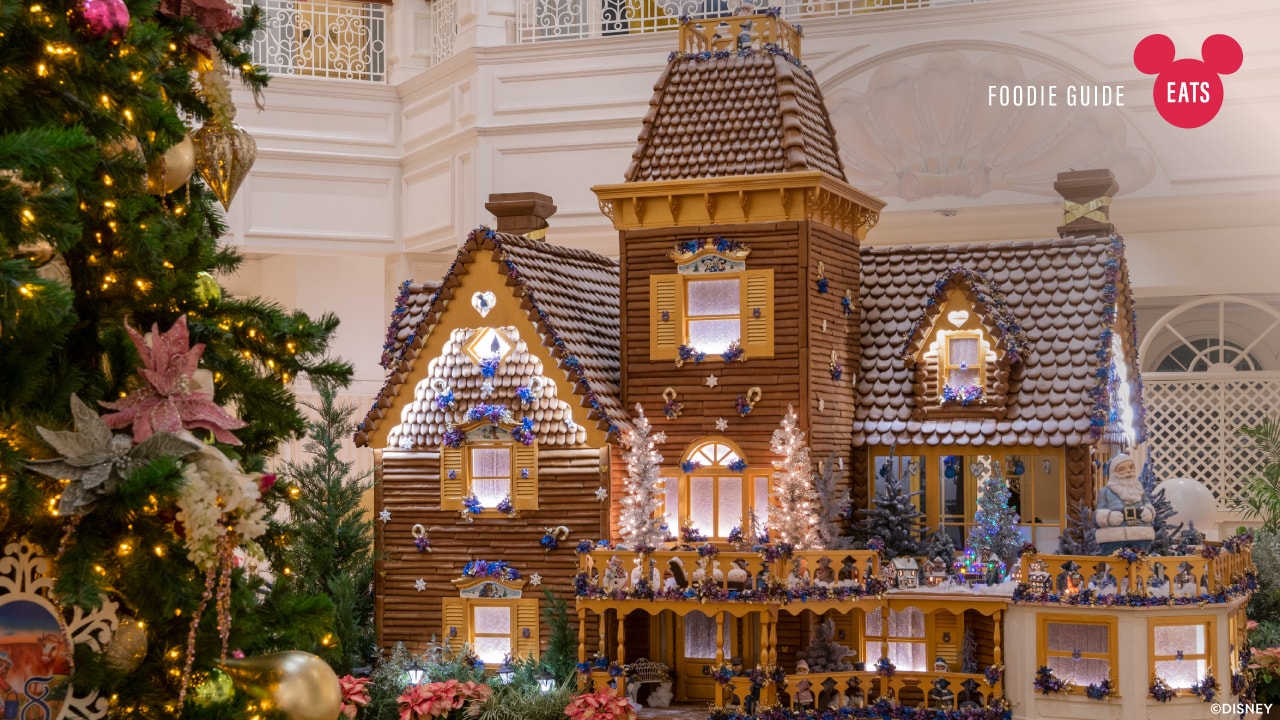
Disney Eats: Foodie Guide to Festive Gingerbread Houses, Displays
Recommended for you
-
 How to Use Waldorf Modeling Beeswax19 May 2024
 -
 Beeswax Models, Wax Experiments, Steiner Inspo, Stockmar Beeswax, Models Beeswax, Waldorf Beeswax, German Culture, Mom Handwork19 May 2024
 -
 Stockmar Modeling Beeswax - Set of 12 or 15 Color – A Toy Garden19 May 2024
 -
 Modeling Beeswax19 May 2024
 -
 STOCKMAR MODELING BEESWAX – Rainbow Garden School Store19 May 2024
 -
 Stockmar Natural Modelling Beeswax 15 Color Beeswax Sheets Set Kids,Toddlers19 May 2024
 -
 Modeling Beeswax Flower - Homeschool Companion19 May 2024
 -
 Modeling Beeswax - Small Set19 May 2024
 -
 How to Use Modeling Beeswax: A Video Tutorial – Moon Child Blog19 May 2024
 -
 XL Single Colored Modeling Beeswax - Set of 4 Sheets19 May 2024
You may also like
-
 Envelop Sealing Wax Stamp Set Decorative Antique Vintage Wood19 May 2024
 -
 STP 18025B Fuel System Cleaner19 May 2024
 -
 Glass Cutter Silberschnitt 10019 May 2024
 -
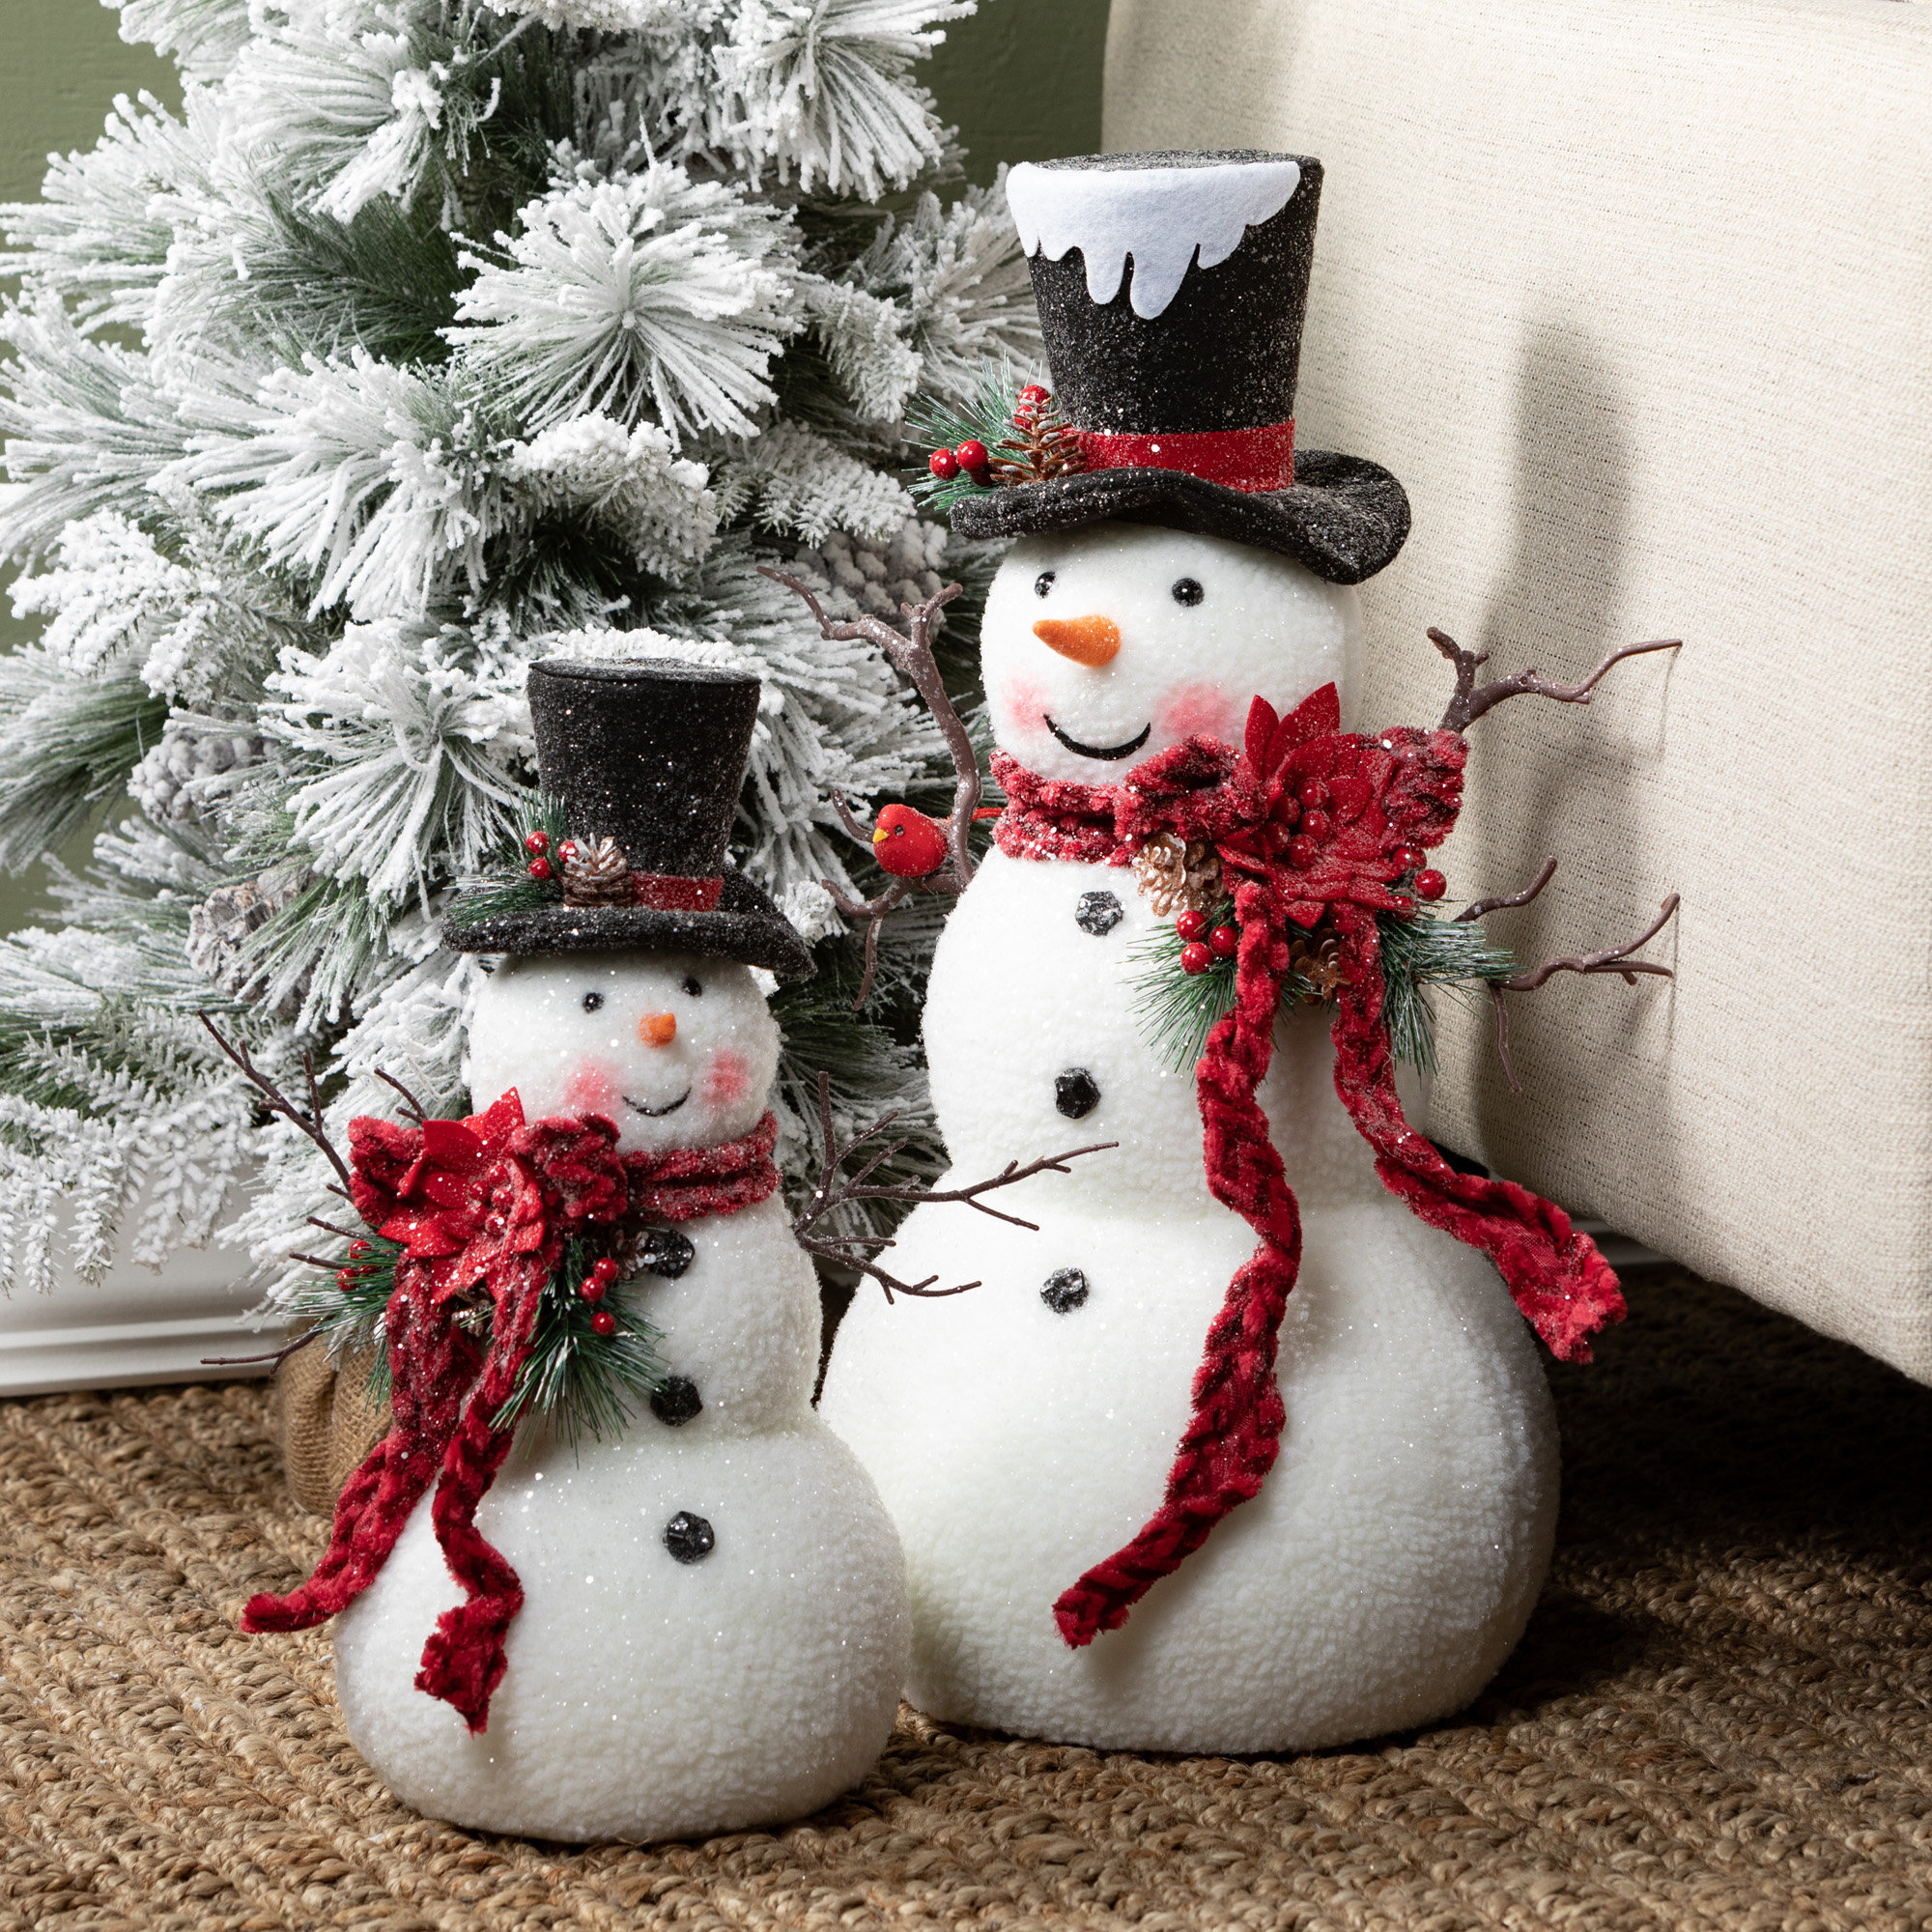 Aleksandra 16H And 22.5H Tall Snowman Figure Set Of 2, Christmas Decor19 May 2024
 -
 Gingerbread House Kit (Cardboard) - Pack of 5 : Grocery & Gourmet Food19 May 2024
 -
 JEAN PAUL GAULTIER LE MALE ELIXIR 4.2OZ EDP MEN - Shop with Hustle19 May 2024
 -
 Union Rustic Solid Wood Free Standing Chalkboard19 May 2024
 -
 Barrina Blacklight Strip Lights, 10W 1ft USB Black Light Bar, Adjustable Black Lights for Glow Party, Fluorescent Poster Body Paint Halloween Decorations, Portable UV Light Strip for Bedroom (4-Pack)19 May 2024
 -
 Refill for Gel IMPACT Gel Pens, Bold Conical Tip, Black Ink, 2/Pack - mastersupplyonline19 May 2024
 -
 12x12 Oracal 651 Adhesive Vinyl - Yellow19 May 2024