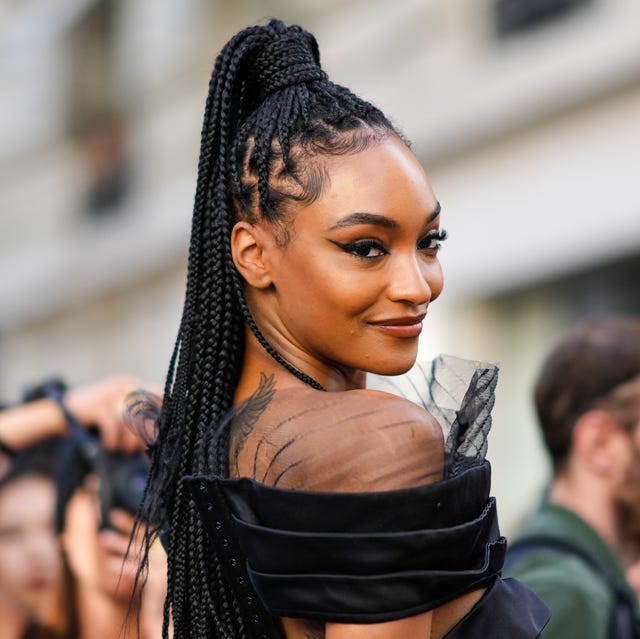
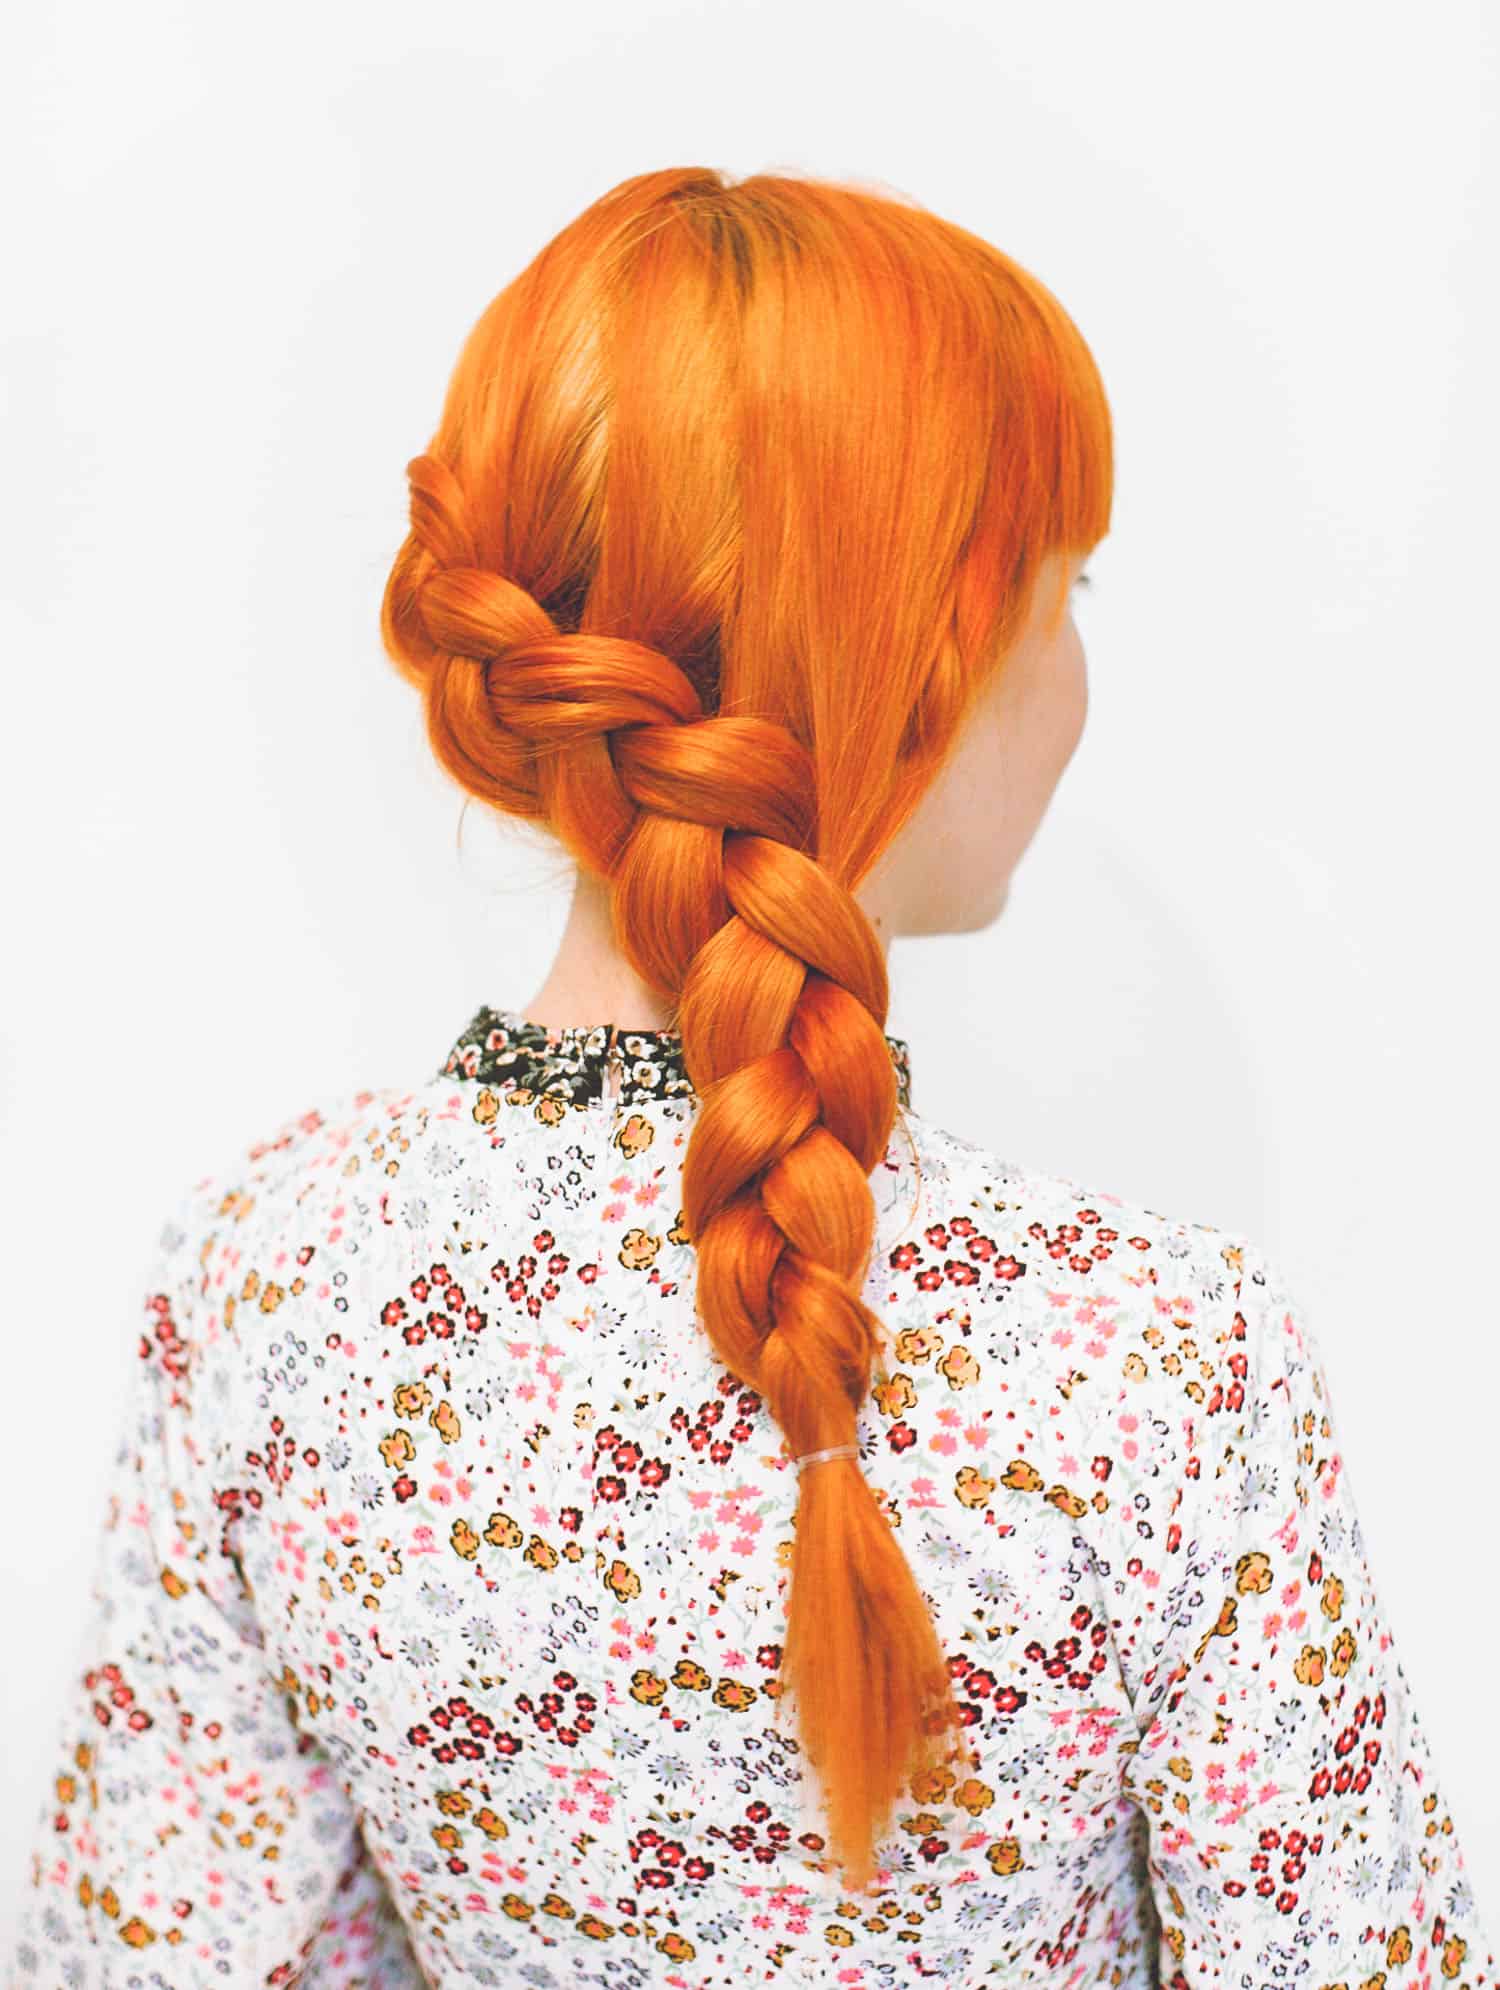
French Pull-Through Braid Ponytail
By A Mystery Man Writer
Last updated 17 Jun 2024
What if you could create the visual appearance of a dutch braid without having to braid at all? The pull-through braid youre about to learn doesn't require any braiding skills at all. In fact, if you can place a ponytail, you can master this look in no time at all! Add some value to your appointments and share this l
Sam Villa is the hair stylist’s choice for online hair education and quality professional ergonomic tools. Discover tools made by a hairdresser, for hairdressers. Find out more >
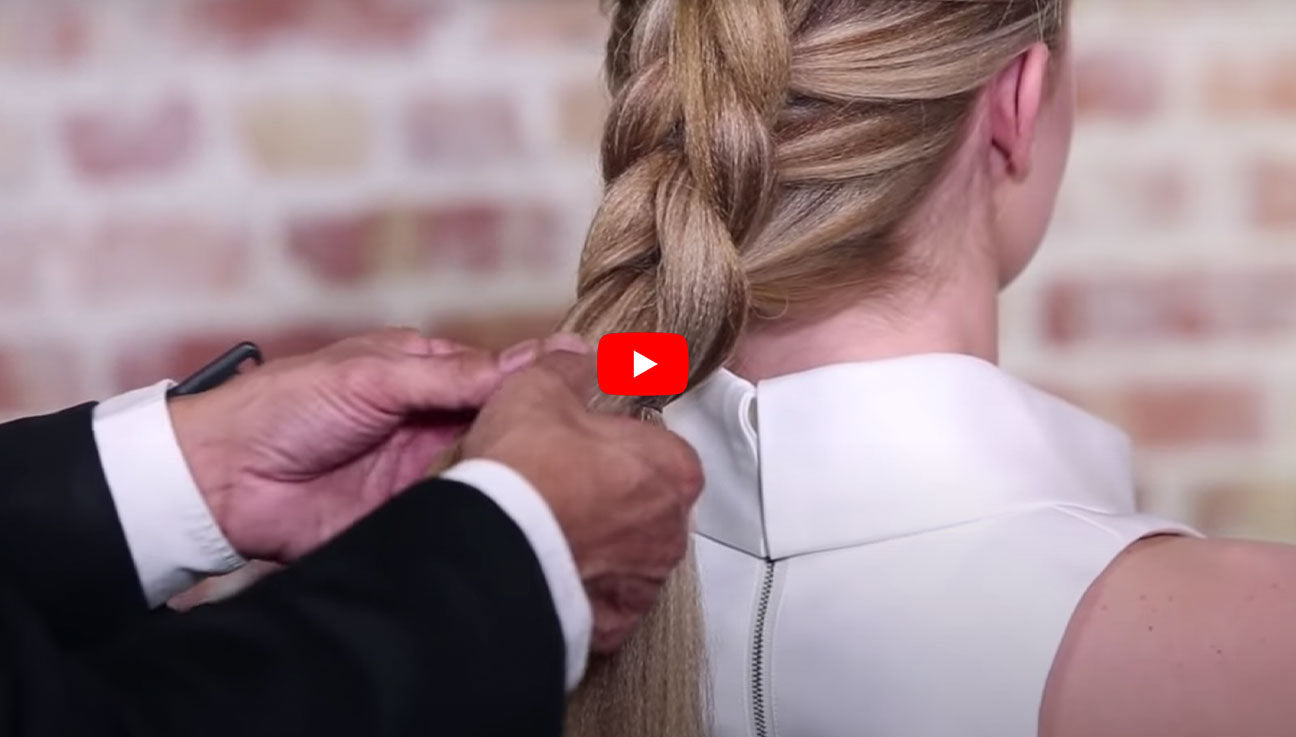
What if you could create the visual appearance of a dutch braid without having to braid at all? The pull-through braid youre about to learn doesn't require any braiding skills at all. In fact, if you can place a ponytail, you can master this look in no time at all! Add some value to your appointments and share this look with your guests while their hair is processing. Just pull out a mannequin and a tripod and share this simple hairstyle. If you do this, I guarantee youll be the topic of their conversations when they leave the salon, and that translates to more bookings for you! So, lets get started. Tools & Products You'll Need For Success: Professional Texturizing Iron: Use the texturizing iron prior to doing the pull-through braid ponytail. This iron will do a few things for you: The iron will change the texture of the hair, adding up to 3x more volume (for real!). Have you ever braided hair only to find it slips out or the braid doesn't hold throughout the day? By using the Sam Villa Textur Iron, the hair will be easier to maniuplate and with the added texture, it will prevent the hair from slipping out. Professional Tail Comb: Ideal for sectioning and combing out the hair. You'll need a bunch of hair elastics, about 4 hairpins and a few long grips (bobby pins). How To Create the French Pull-Through Braid Ponytail: Use your tail comb to create a triangle section at the front area of the head from the corner of each eye to the high point of the head. Place an elastic in the hair to secure the top section; lift the hair a little to create some volume. Clip the top ponytail section up and out of the way. Next, take a horizontal section just below the top section that goes from the one side of the head to the other and comb through to smooth it out. Please an elastic around that section at about the same spot as the elastic in the top section. You now have two ponytails. Take your top ponytail and split into two sections and hand each section to your guest to hold in their right & left hand. (you can also use clips if you don't want your guest to hold the hair). Next, take the bottom ponytail and pull it up and over the split section, then clip that hair on top of the head to keep it in place. Take the sections that your guest is holding and bring them together. Now is when you'll begin to add some hair to each section. Take a horizontal slice of hair from each side of the ponytail and add it to your ponytail. The section that you take should be similar to the section just about it. With the ponytail + added hair in your had, place another elastic to create a ponytail, just like you did in the first two steps. You should have two ponytails again you should start to see and feel the rhtyhm of the braid. Repeat the steps above: take your top ponytail, split into two sections, take the bottom ponytail up and over the split section and secure to the top of the head, combine the split sections into one and add hair from the left & right side then place into a ponytail, then let the hair down from the top. NOTE: You will ALWAYS have two ponytails. Repeat the steps above until you've added all the hair in the nape area. Once you have reached the bottom of the braid, you will still have two ponytails. We will continue the pull-through braid, but instead of splitting the hair, we'll beging to pull the hair through instead. Here's how it's done: Place an elastic on the top ponytail, about 2-3 from the head. Use your fingers to split the hair between the elastic and the head then use your index & middle finger to reach through and grab the ponytail belowand pull it through the split section. NOTE: Your bottom ponytail now is your top ponytail. Repeat the same steps as above: place an elastic about 2-3 from the head, split the hair with your fingers and reach through to grab the lower ponytail, then pull it through so the bottom ponytail is now on tip. Repeat until you don't have any hair left to pull through. To finish the braid, secure the end of the hair with an elastic, folding the ends up and behind the braid. Now lets loosen up and relax the braid. Start at the top and really pull the braid to loosen and create more fullness. Do this to each section, from the top to the bottom. This will also conceal the hair elastics. Now take the end, fold it up and secure with hairpins then a few long grips to keep the style secure. Use your hands to gently pull some hair out around the face to create flyways for a lived-in and disrupted look. Use a Redken frizz dismiss sheet all over to add some shine and get rid of any excess frizz. Long explanation, but simple to do and the result is gorgeous! We encourage you to try this in the salon & at home then post your photos to Instagam along with #samvilla so we can see your work and for a chance to be featured on our page! Check back each week for new hair tips, tricks & tutorials from the Sam Villa team! If you loved the French Pull-Through Braid Ponytail, here are three more creative concepts to help you build your braid business: How To Create a Net Braid - Fishnet Braid Video Tutorial [Step by Step] How To Create a Side Ponytail Loop Crossover Loop Ponytail | Sam Villa 5 Minute Hairstyles
Sam Villa is the hair stylist’s choice for online hair education and quality professional ergonomic tools. Discover tools made by a hairdresser, for hairdressers. Find out more >
What if you could create the visual appearance of a dutch braid without having to braid at all? The pull-through braid youre about to learn doesn't require any braiding skills at all. In fact, if you can place a ponytail, you can master this look in no time at all! Add some value to your appointments and share this look with your guests while their hair is processing. Just pull out a mannequin and a tripod and share this simple hairstyle. If you do this, I guarantee youll be the topic of their conversations when they leave the salon, and that translates to more bookings for you! So, lets get started. Tools & Products You'll Need For Success: Professional Texturizing Iron: Use the texturizing iron prior to doing the pull-through braid ponytail. This iron will do a few things for you: The iron will change the texture of the hair, adding up to 3x more volume (for real!). Have you ever braided hair only to find it slips out or the braid doesn't hold throughout the day? By using the Sam Villa Textur Iron, the hair will be easier to maniuplate and with the added texture, it will prevent the hair from slipping out. Professional Tail Comb: Ideal for sectioning and combing out the hair. You'll need a bunch of hair elastics, about 4 hairpins and a few long grips (bobby pins). How To Create the French Pull-Through Braid Ponytail: Use your tail comb to create a triangle section at the front area of the head from the corner of each eye to the high point of the head. Place an elastic in the hair to secure the top section; lift the hair a little to create some volume. Clip the top ponytail section up and out of the way. Next, take a horizontal section just below the top section that goes from the one side of the head to the other and comb through to smooth it out. Please an elastic around that section at about the same spot as the elastic in the top section. You now have two ponytails. Take your top ponytail and split into two sections and hand each section to your guest to hold in their right & left hand. (you can also use clips if you don't want your guest to hold the hair). Next, take the bottom ponytail and pull it up and over the split section, then clip that hair on top of the head to keep it in place. Take the sections that your guest is holding and bring them together. Now is when you'll begin to add some hair to each section. Take a horizontal slice of hair from each side of the ponytail and add it to your ponytail. The section that you take should be similar to the section just about it. With the ponytail + added hair in your had, place another elastic to create a ponytail, just like you did in the first two steps. You should have two ponytails again you should start to see and feel the rhtyhm of the braid. Repeat the steps above: take your top ponytail, split into two sections, take the bottom ponytail up and over the split section and secure to the top of the head, combine the split sections into one and add hair from the left & right side then place into a ponytail, then let the hair down from the top. NOTE: You will ALWAYS have two ponytails. Repeat the steps above until you've added all the hair in the nape area. Once you have reached the bottom of the braid, you will still have two ponytails. We will continue the pull-through braid, but instead of splitting the hair, we'll beging to pull the hair through instead. Here's how it's done: Place an elastic on the top ponytail, about 2-3 from the head. Use your fingers to split the hair between the elastic and the head then use your index & middle finger to reach through and grab the ponytail belowand pull it through the split section. NOTE: Your bottom ponytail now is your top ponytail. Repeat the same steps as above: place an elastic about 2-3 from the head, split the hair with your fingers and reach through to grab the lower ponytail, then pull it through so the bottom ponytail is now on tip. Repeat until you don't have any hair left to pull through. To finish the braid, secure the end of the hair with an elastic, folding the ends up and behind the braid. Now lets loosen up and relax the braid. Start at the top and really pull the braid to loosen and create more fullness. Do this to each section, from the top to the bottom. This will also conceal the hair elastics. Now take the end, fold it up and secure with hairpins then a few long grips to keep the style secure. Use your hands to gently pull some hair out around the face to create flyways for a lived-in and disrupted look. Use a Redken frizz dismiss sheet all over to add some shine and get rid of any excess frizz. Long explanation, but simple to do and the result is gorgeous! We encourage you to try this in the salon & at home then post your photos to Instagam along with #samvilla so we can see your work and for a chance to be featured on our page! Check back each week for new hair tips, tricks & tutorials from the Sam Villa team! If you loved the French Pull-Through Braid Ponytail, here are three more creative concepts to help you build your braid business: How To Create a Net Braid - Fishnet Braid Video Tutorial [Step by Step] How To Create a Side Ponytail Loop Crossover Loop Ponytail | Sam Villa 5 Minute Hairstyles

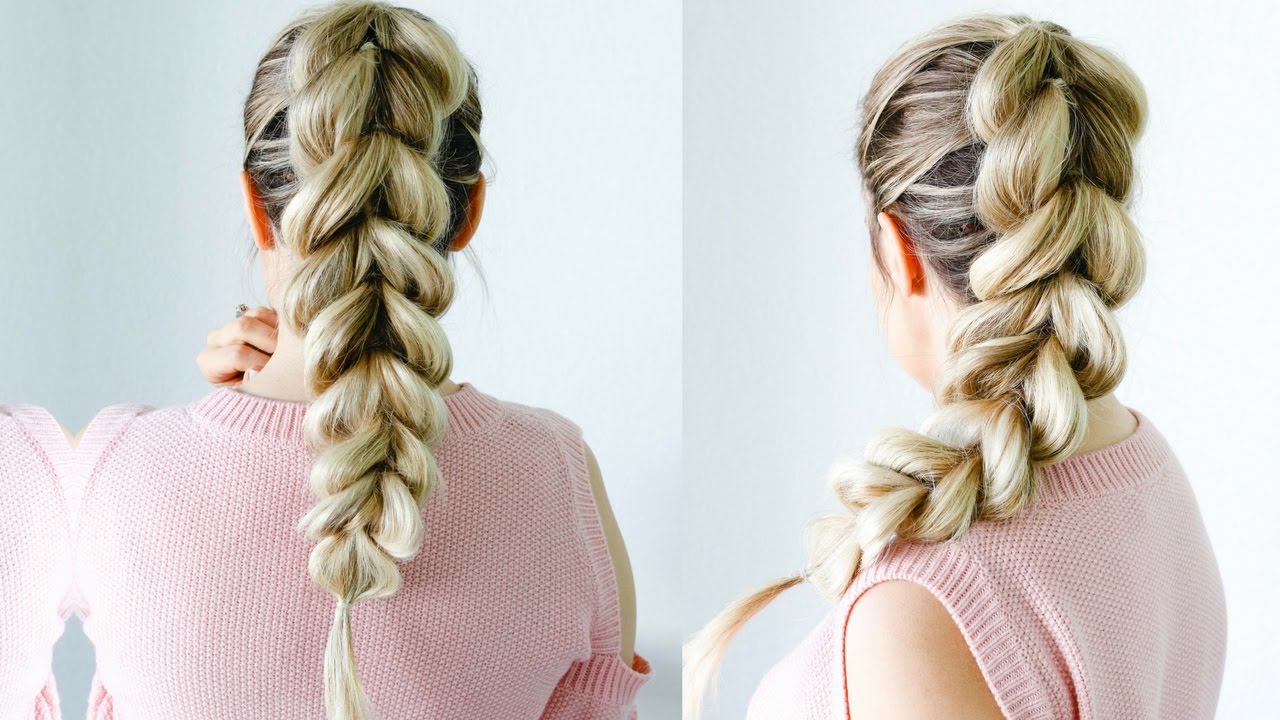
Pull Through Double Braid - A Beautiful Mess

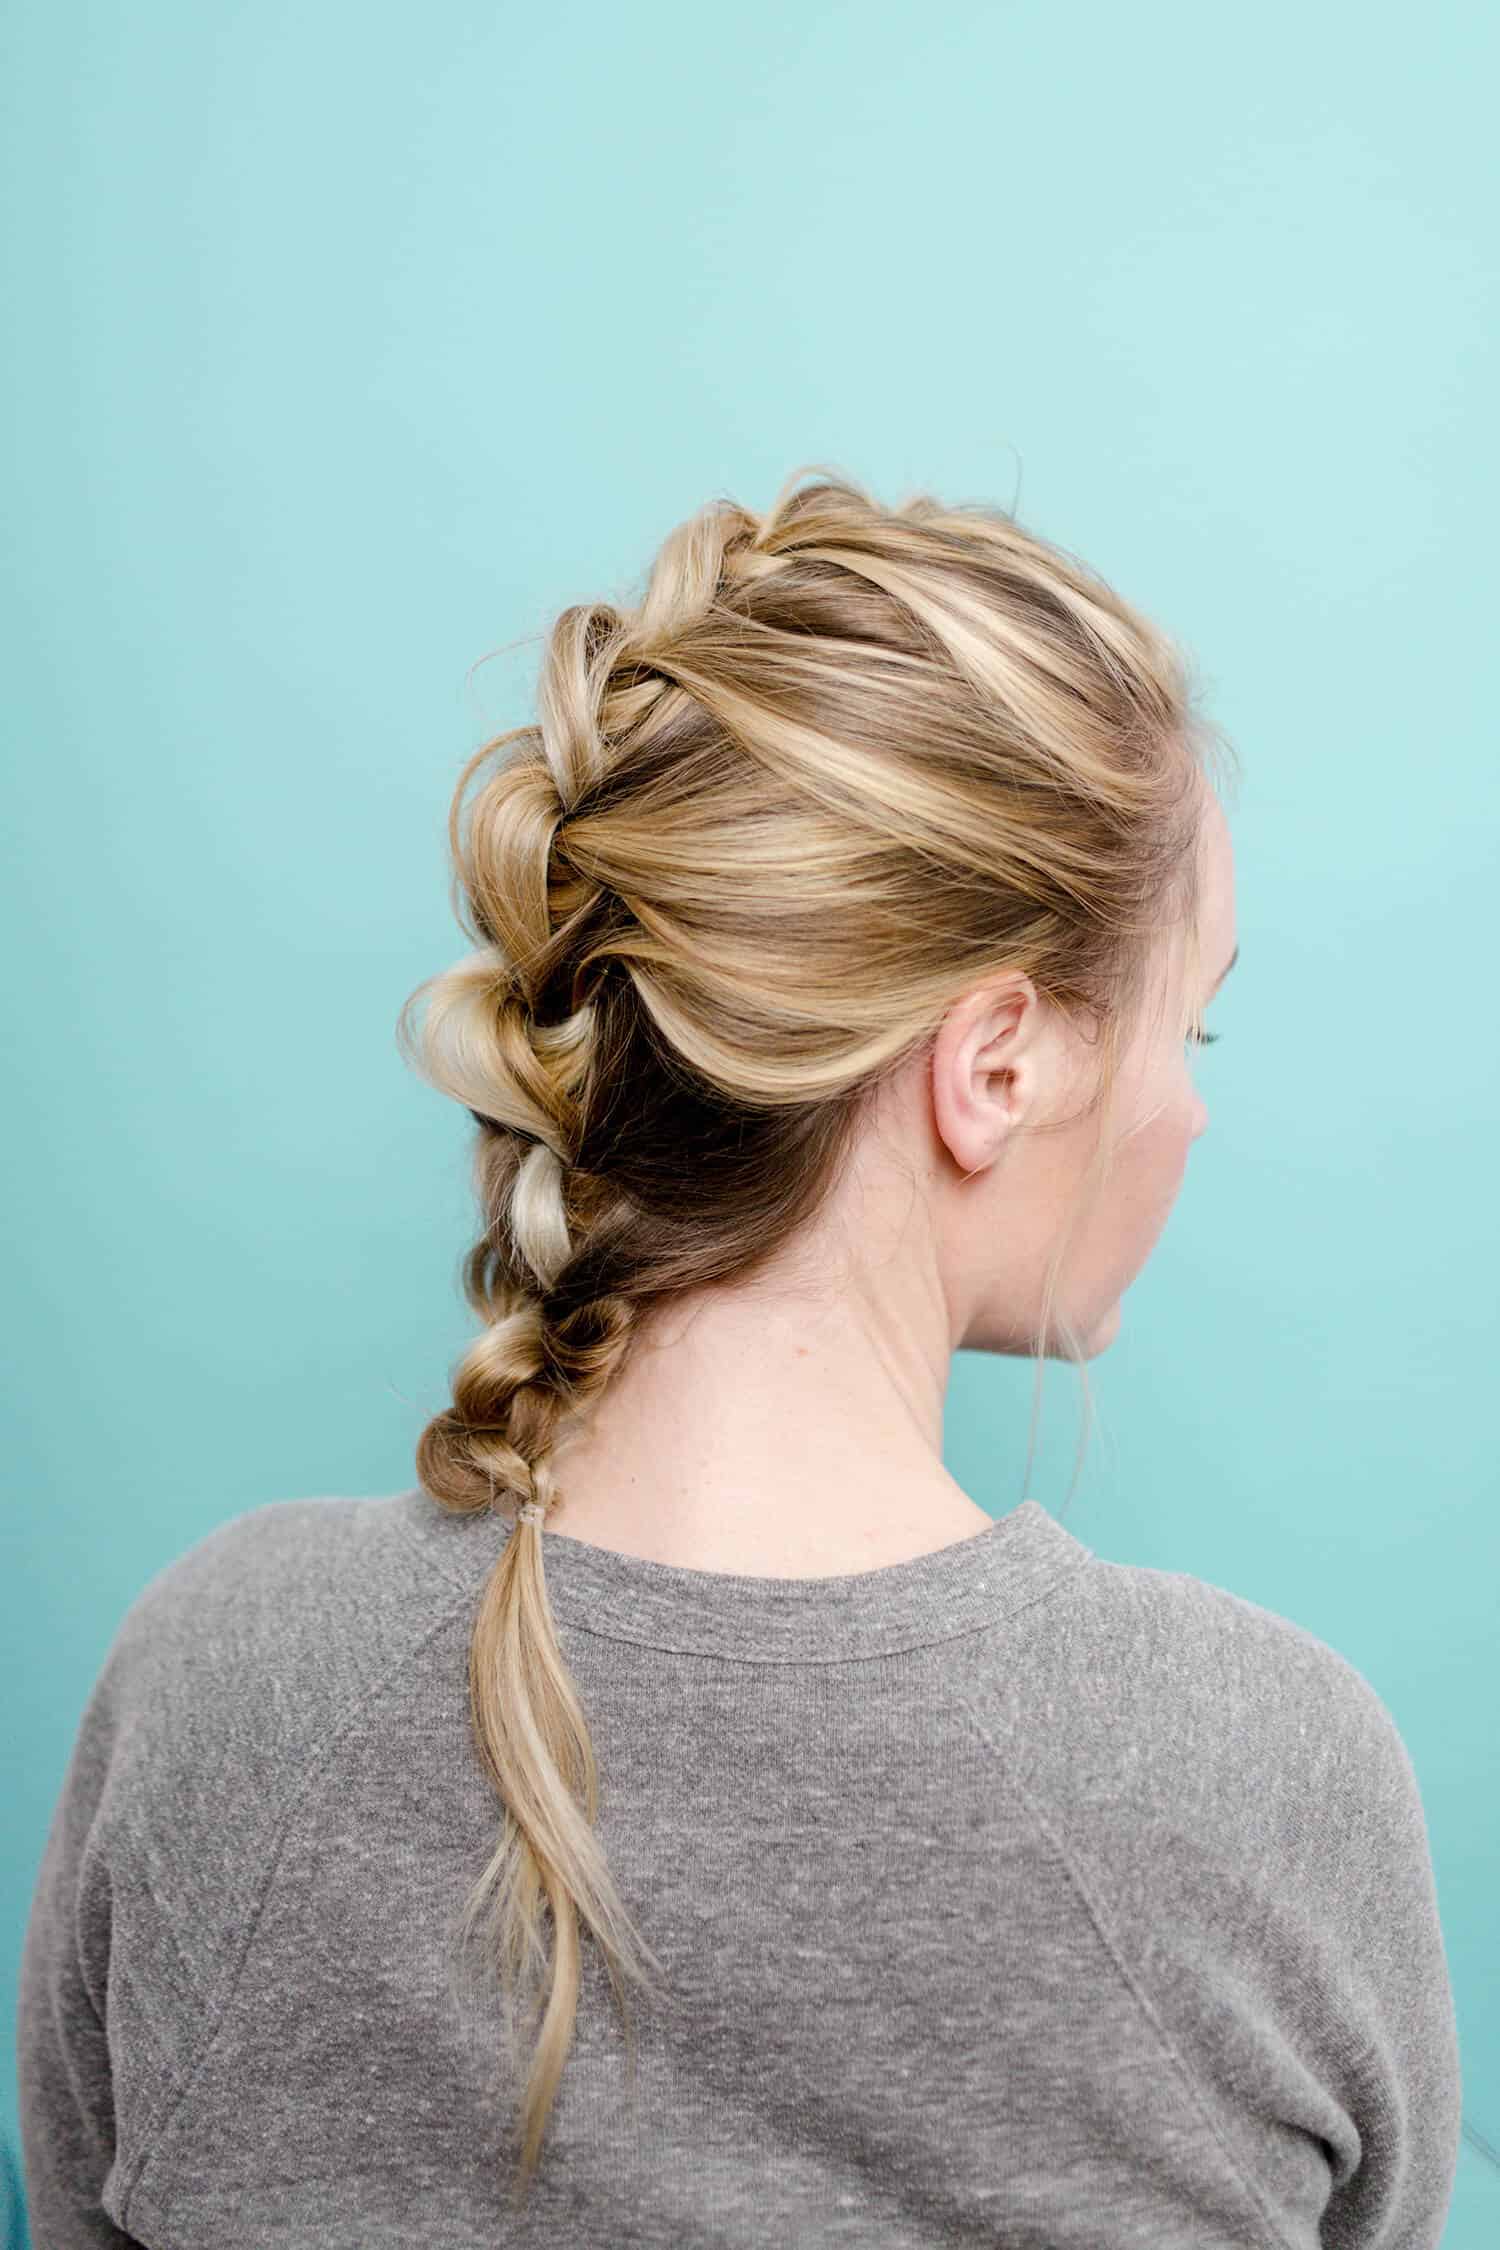
dutch braid into pull through braid

3 Strand Pull Through Braid { Elastic Braid }
How to: Pull Through Braid - the perfect beginner friendly

Hair Tutorial, Pull-through chunky braid/plait

How to Do a Pull‐Through Braid: 14 Steps (with Pictures) - wikiHow

French Pull-Through Braid Ponytail, Sam Villa

Pull-Through Braid Tutorial

Step-by-step - Pull through braids

How To Pull Through Braid Step by Step For Beginners - EASY
Recommended for you
-
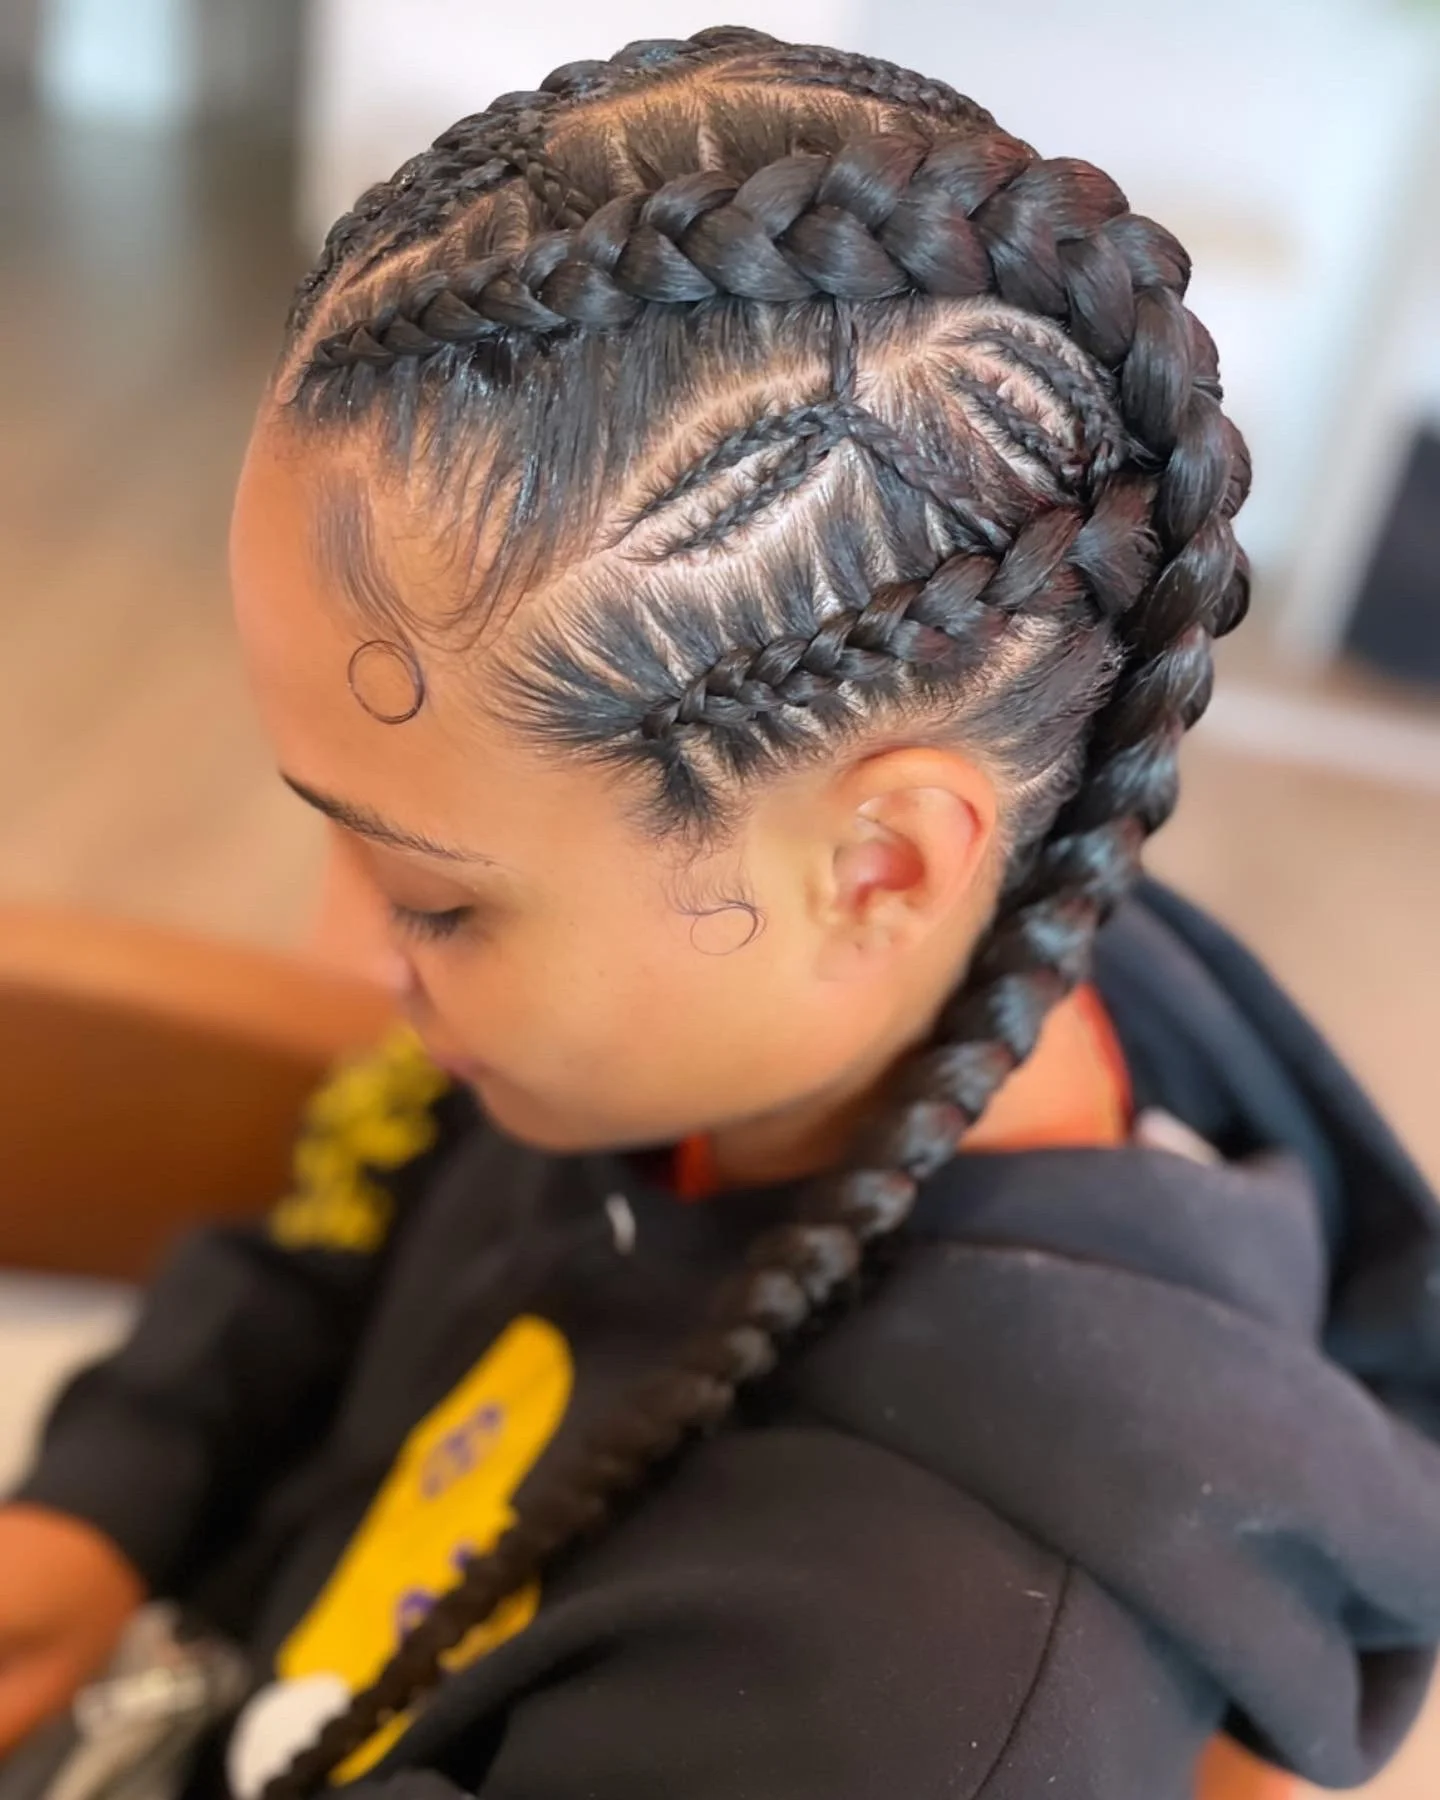 Baller (Braid Design) — HOUSE OF BRAID17 Jun 2024
 -
 Easy (Wonder Woman Inspired) Knotted Braid - A Beautiful Mess17 Jun 2024
 -
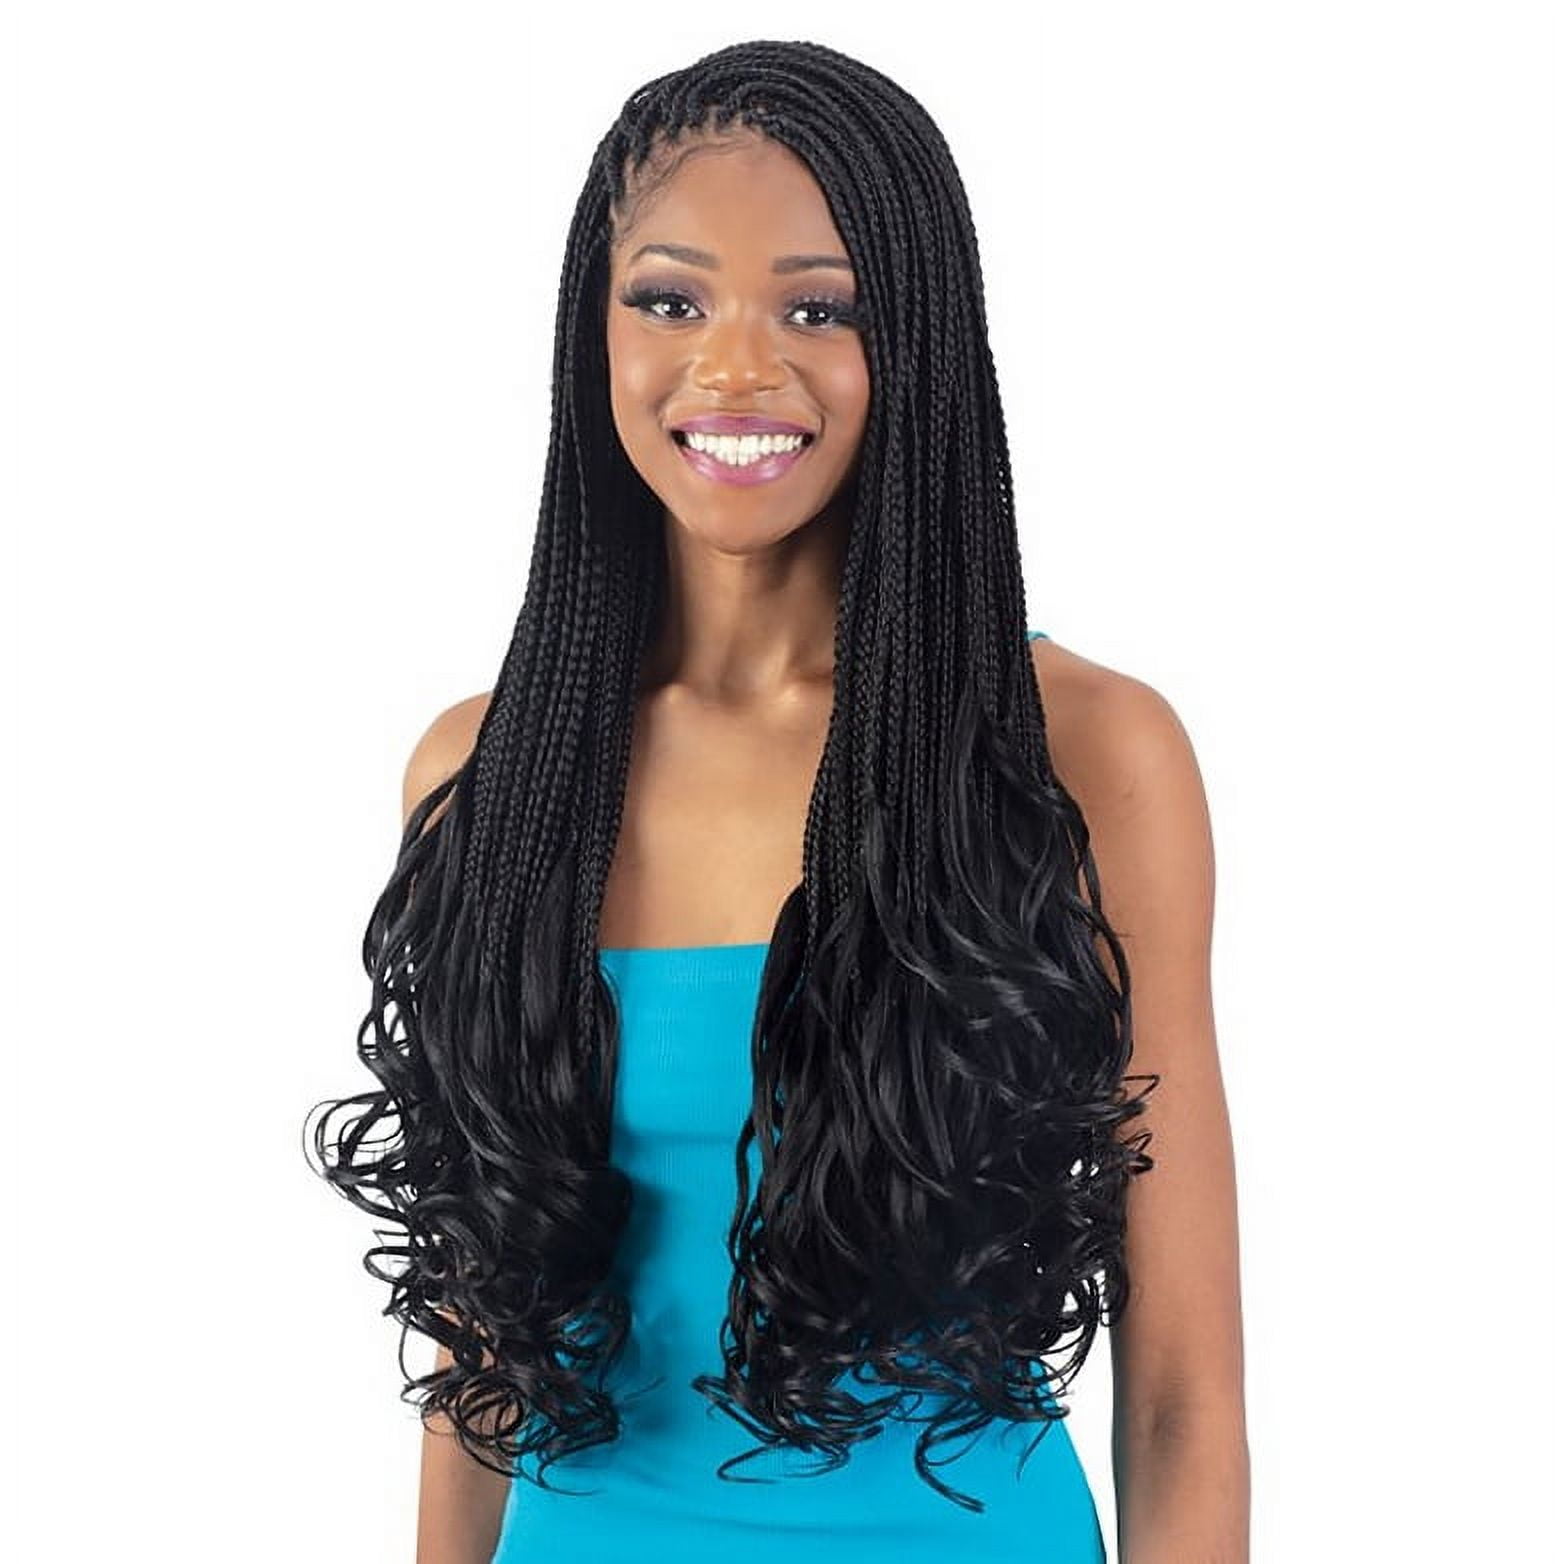
 42 Box Braid Beauties To Help Inspire Your Next Look17 Jun 2024
 -
 900+ Braided Hairstyles ideas in 2024 braided hairstyles, long hair styles, hair styles17 Jun 2024
 -
 French braid - Wikipedia17 Jun 2024
 -
 Dutch Braid: Hairstyle For Effortless Elegance17 Jun 2024
 -
 How To Do A French Braid On Short Hair17 Jun 2024
 -
 The Wraparound Side Braid - A Beautiful Mess17 Jun 2024
 -
 47 Best Braided Hairstyles for 202317 Jun 2024
 -
 Freetress Braid Synthetic Hair Braid - 3X French Curl 22 (Color:1 JET BLACK)17 Jun 2024
You may also like
-
 Gift for Girls, Decorate Your Own Water Bottle with17 Jun 2024
 -
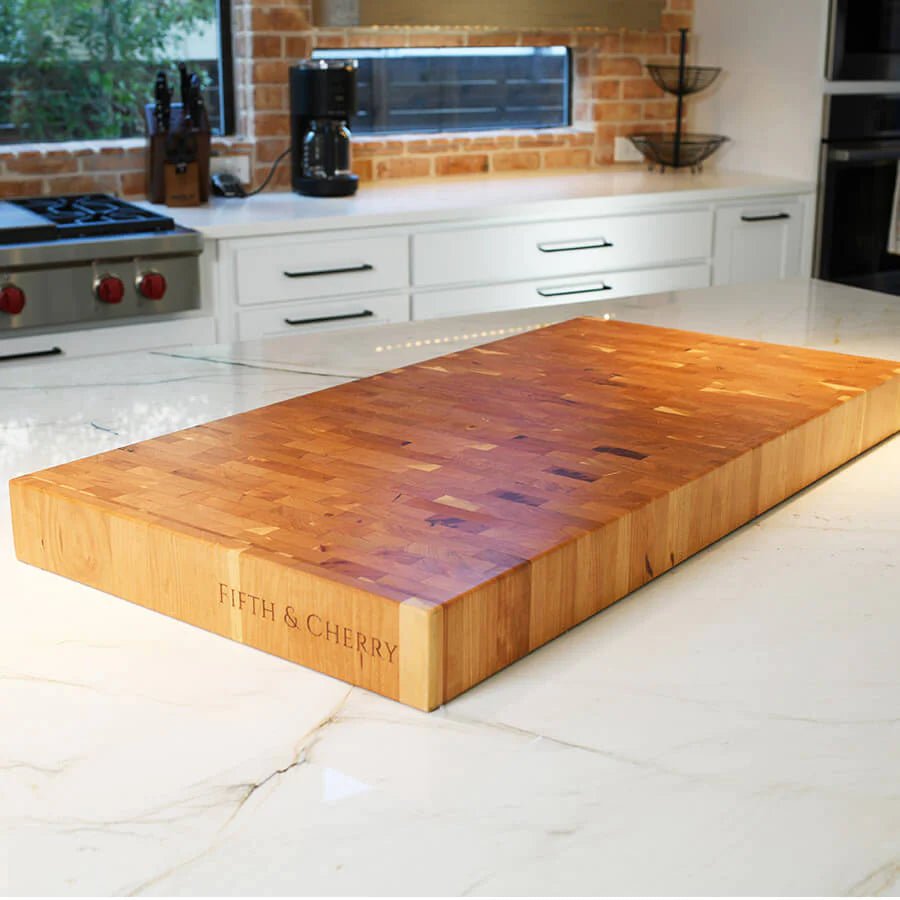 Wellborn 2R Ranch + Fifth & Cherry 36 Inch Cutting Board17 Jun 2024
 -
 Alileader 100pcs Gold Hair Clips Dreadlock Accessories Hair Beads17 Jun 2024
 -
 Poinsettia 2 Sheets of 10 Global Forever USPS First Class International Postage Stamps Christmas Celebrate Wedding Holiday (20 Stamps)17 Jun 2024
 -
 2Pcs Hair Sticks Hair Buns Accessories Chopstick Hairpin Vintage Hair Styling Chignon Pins for Women Girls (HP-J-RE)17 Jun 2024
 -
 Jam Paper Wrapping Paper Rolls - 12.5 Sq ft. Chocolate Brown Circle Design - Sold Individually17 Jun 2024
 -
 Colorations® Jumbo No-Heat Fuse Beads Bucket - 2500 Beads17 Jun 2024
 -
 Valentine's Day Cups17 Jun 2024
 -
 SNES Classic Mini US Edition - Retrobit Game17 Jun 2024
 -
 NT Cutter 9mm Ultra-Sharp, Thin, Black Snap-Off Blades, 50-Blade/Pack, 1 Pack (BA-54P)17 Jun 2024