How to do Machine Embroidery on Cardstock - Sulky
By A Mystery Man Writer
Last updated 18 May 2024
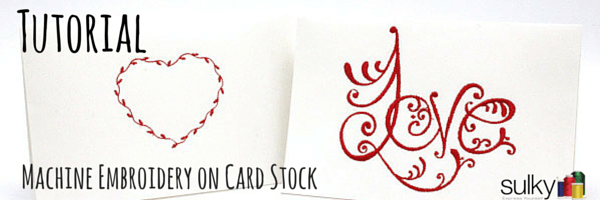
With so many amazing embroidery designs out there, creating awesome and very personal cards can be easy and fun! When I started doing research about this, I discovered that most people were saying that you could only use certain kinds on designs if you want to do machine embroidery on paper. The rebel in me couldn’t help but figure out how to do ANY design on paper. I mean, why not! Who says machine embroidery is just for fabric? People have figured out how the do embroidery on toilet paper for goodness sake, why not card stock and any design? So I figured it out and here is the tutorial just for you. Supplies Card stock – It comes in different weights. Everything from 65 lb – 110 lb. Any weight works fine, so choose the weight based on how thick or heavy you want your card. NOTE: The thicker the paper, the more often you may have to change your needle if you are making multiple cards. Sulky Fuse ‘n Stitch™ – This is the key to being able to put any design on paper. Sulky Fuse ‘n Stitch is a heavyweight fusible stabilizer that will fuse perfectly to the card stock and keeps the embroidery design looking great. Sulky 40 wt. Rayon Thread – You could use any of the Sulky threads: Rayon, Cotton, Metallic, or Polyester; but since most embroidery designs are digitized for 40 wt. rayon and I love the way the thread shines next to the matte of the card stock, I chose Sulky 40 wt. Rayon in Lipstick #561 (It’s my favorite red in the Sulky Rayon line). Remember…because the designs are generally digitized for the 40 wt. thread, using a lighter wt. thread it may not fill in as well, using a heavier thread maybe require some enlargement. So test when using different weights and types of thread. And remember to adjust your needle size accordingly. Sulky Sticky Plus™– This stabilizer is just sticky enough to hold the card in place during the embroidery, but not so sticky that it will tear the card stock when it finished. Organ Microtex Needle – I used a size 12/80. This needle is perfect because it pierces through the card stock and the stabilizer nicely, but doesn’t leave a huge hole behind. Use a new needle! Dry iron – You are going to iron on paper. Paper and water don’t mix. Start by picking your design. I chose this Love design. It’s a pretty intricate design and is almost 10,000 stitches so if this design will work, just about any design will if you follow these steps. If you choose a design with a satin stitch, you may want to test it first, just to be sure it doesn’t tear through the paper. You can do a simpler design like this heart that is a built in design on my machine. Fold your card stock in half and decide which side is the front of the card. On the back of that side, fuse a piece of Sulky Fuse ‘n Stitch. Iron just as the directions say, but do not use steam. Hoop Sulky Sticky+ in the proper size hoop for your design with the gridded, release sheet side up. Score the release sheet with a pin and remove it to expose the sticky part. Stick the card to the Sulky Sticky+ with the Fuse ‘n Stitch side sticking to the Sticky Plus. Attach the hoop to your machine and sew away! I used the Sulky Prewound bobbins in white for the bobbin thread, but you could also wind a bobbin with the same thread that you are using on the top. (Wrong side shown above and below.) Once the design is finished stitching, carefully remove the Sulky Sticky+ from the hoop and carefully remove the Sticky+ from the card. Be sure to tear towards the stitching line. You may need to iron the card again and then let it cool under a book, or something heavy, so the card doesn’t curl. TADA! You have beautiful and very personal cards. Happy Sewing

How to do Machine Embroidery on Cardstock - Sulky

38 Cardstock embroidery ideas embroidery cards, paper embroidery, stitching cards

Make Greeting Cards With Your Embroidery Machine

Secret Heart Pillow with Piecing & Quilting - Sulky

HOLIDAY SEASON #SH7474 Embroidery patterns, Vintage embroidery

38 Cardstock embroidery ideas embroidery cards, paper embroidery, stitching cards

Womens Moisture Wicking Performance T-Shirt

Puffy Foam Sulky Black 2MM – Boxer Craft House

How to do Machine Embroidery on Cardstock - Sulky
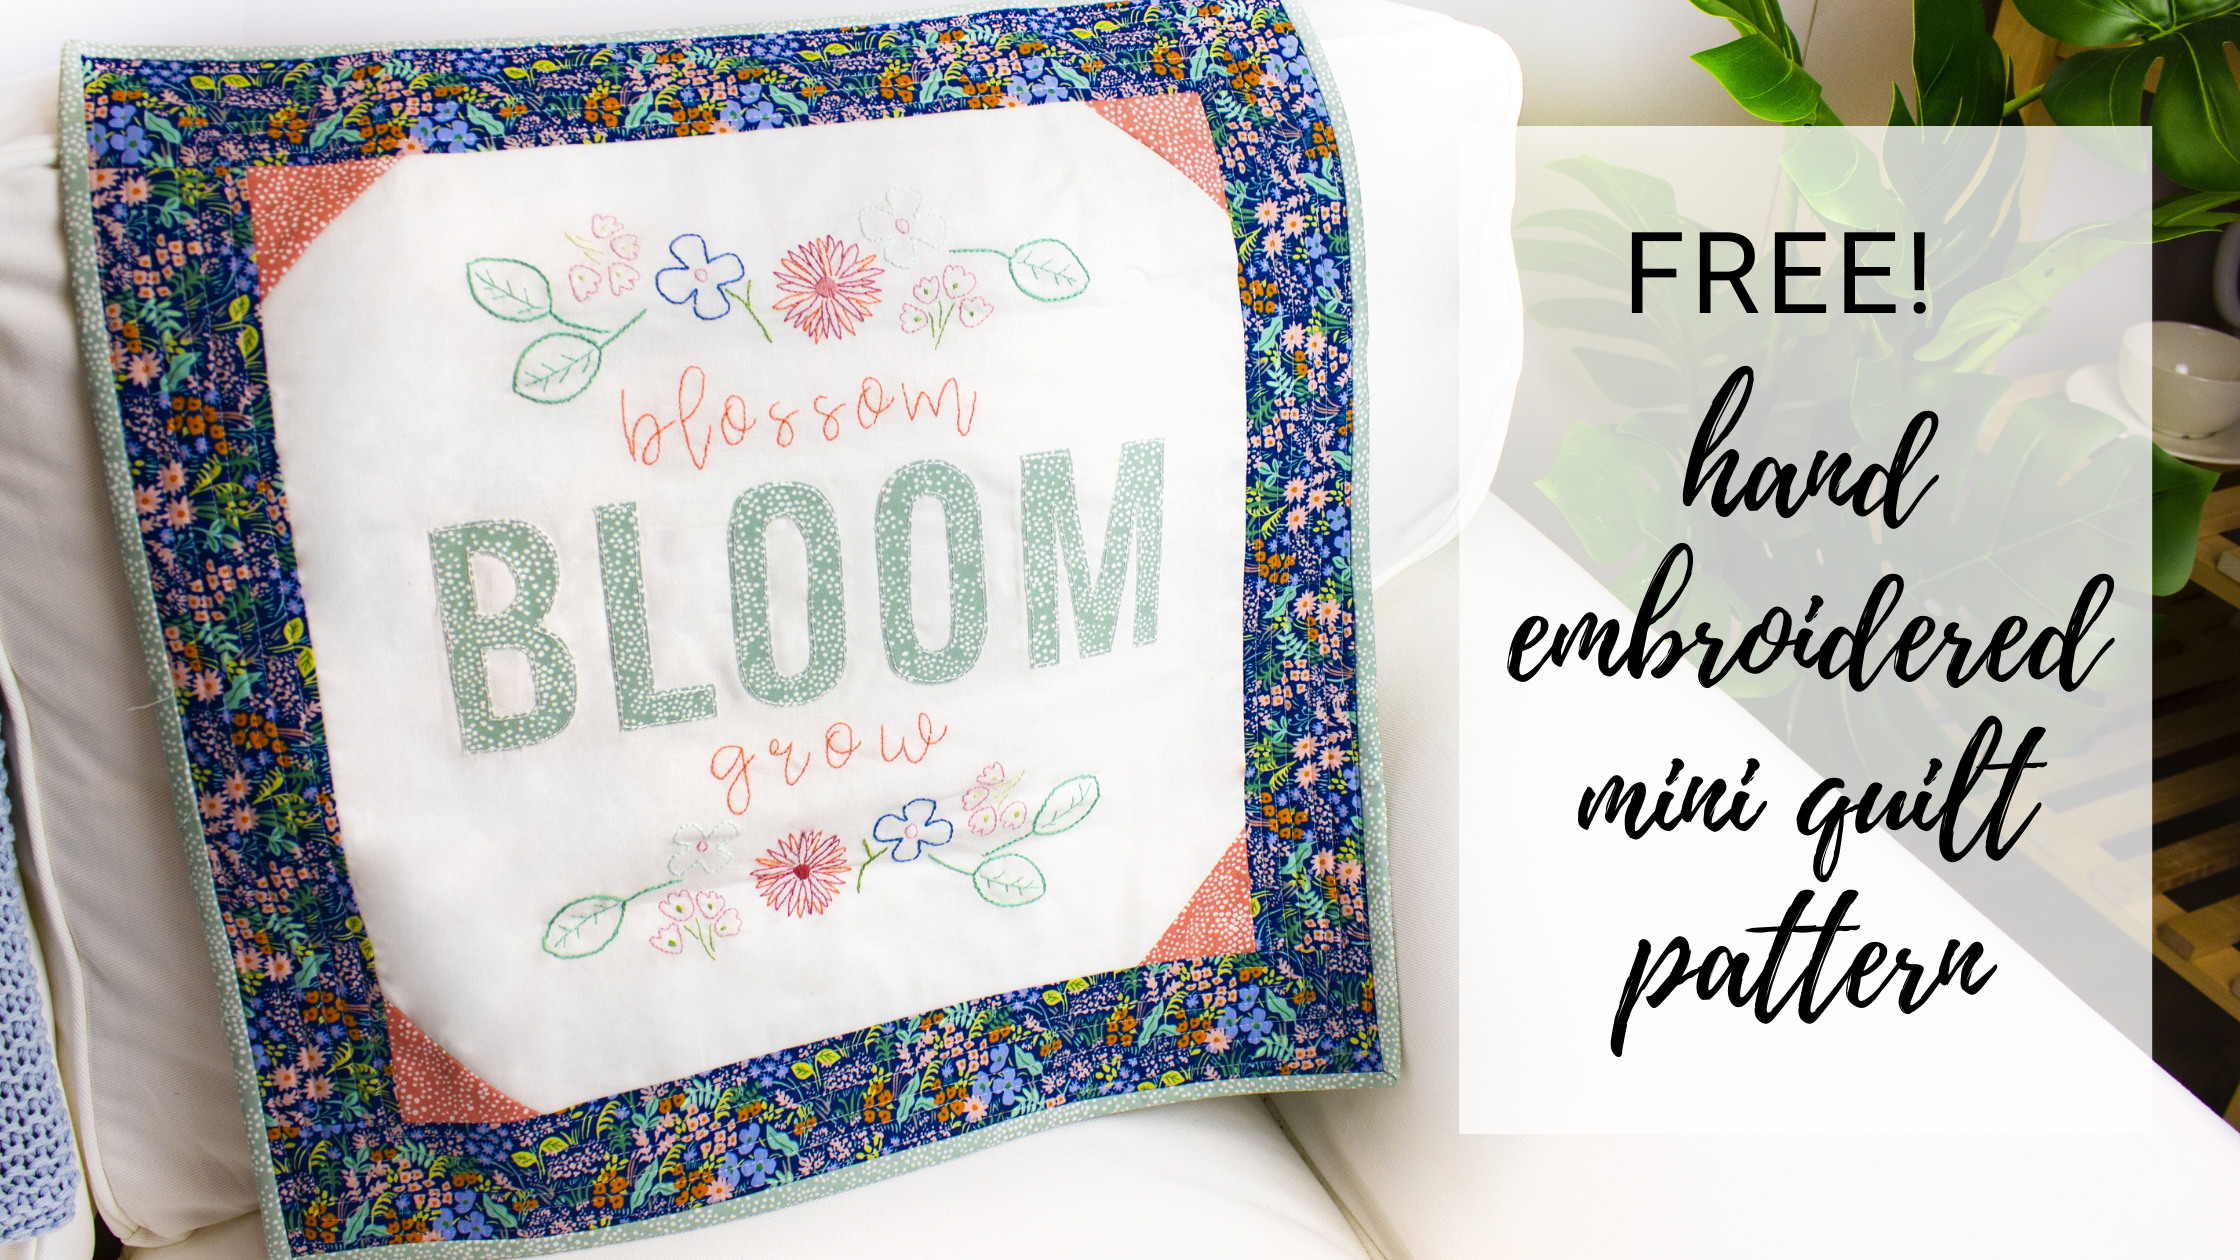
Bloom Free Pattern - Hand Embroidered Mini Quilt - Sulky
Greeting Card, Tulip Flowers in Watering Can Machine Embroidery Design for Card Stock Use a 65/9 Needle
Recommended for you
-
 Dark Red 8-1/2-x-11 BASIS Paper, 100 per package, 216 GSM (80lb Cover)18 May 2024
 -
 Basis A-1 Folded Discount Card Stock - Blank A1 Note Cards - CutCardStock18 May 2024
 -
 Red Discount Card Stock for Christmas cards, invitations and flyers - CutCardStock18 May 2024
 -
 Football referee showing a red card Stock Photo by ©ljsphotography 7100494918 May 2024
 -
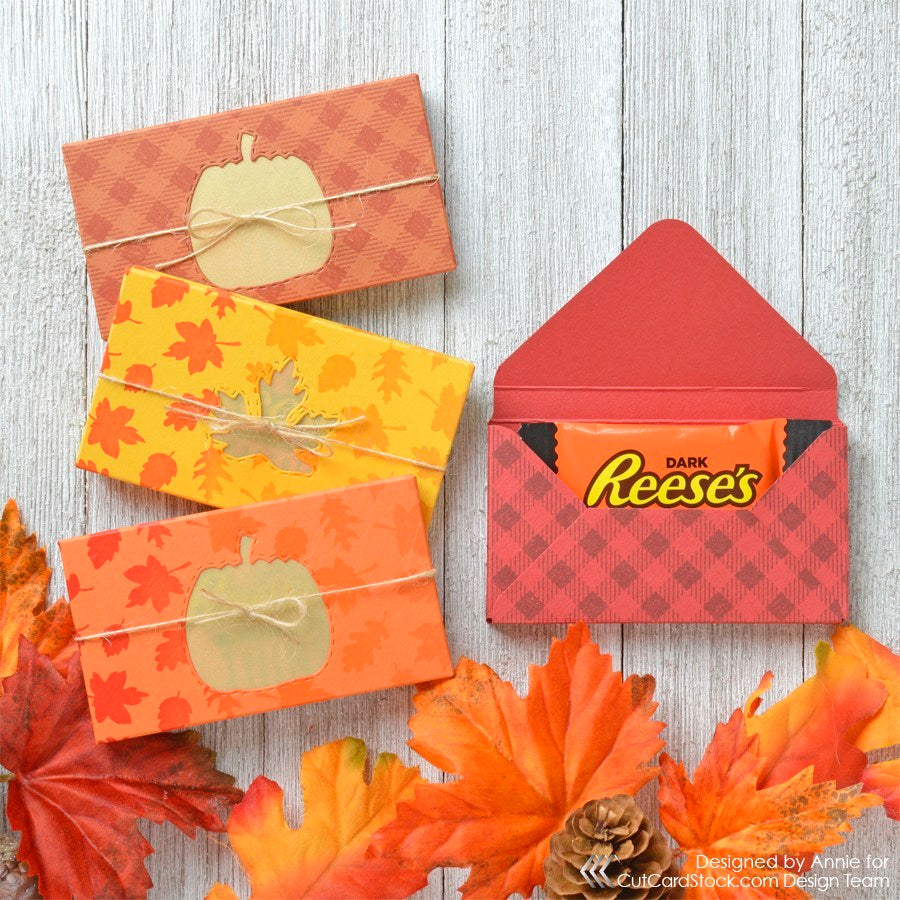
 Red Card Stock Paper: All Sizes, Premium Papers & Textures18 May 2024
 -
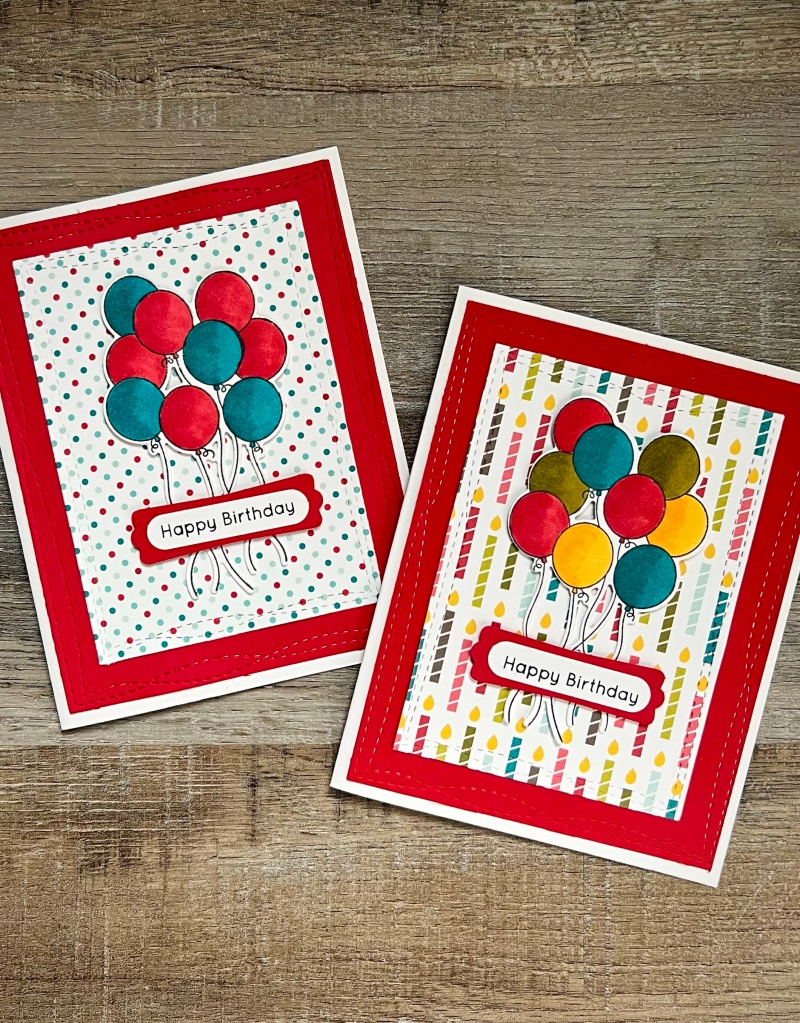 Birthday Balloons Card18 May 2024
 -
Airgas - N23SPT1 - AccuformNMC™ 6 X 3 Black/Red Card Stock (25 Per Pack) DANGER DO NOT USE THIS SCAFFOLD18 May 2024
-
 Person Holding Red Card · Free Stock Photo18 May 2024
 -
 Red Card Stock Photos and Images - 123RF18 May 2024
 -
 Referee Showing The Red Card Stock Illustration - Download Image Now - Red Card, Referee, Soccer - iStock18 May 2024
You may also like
-
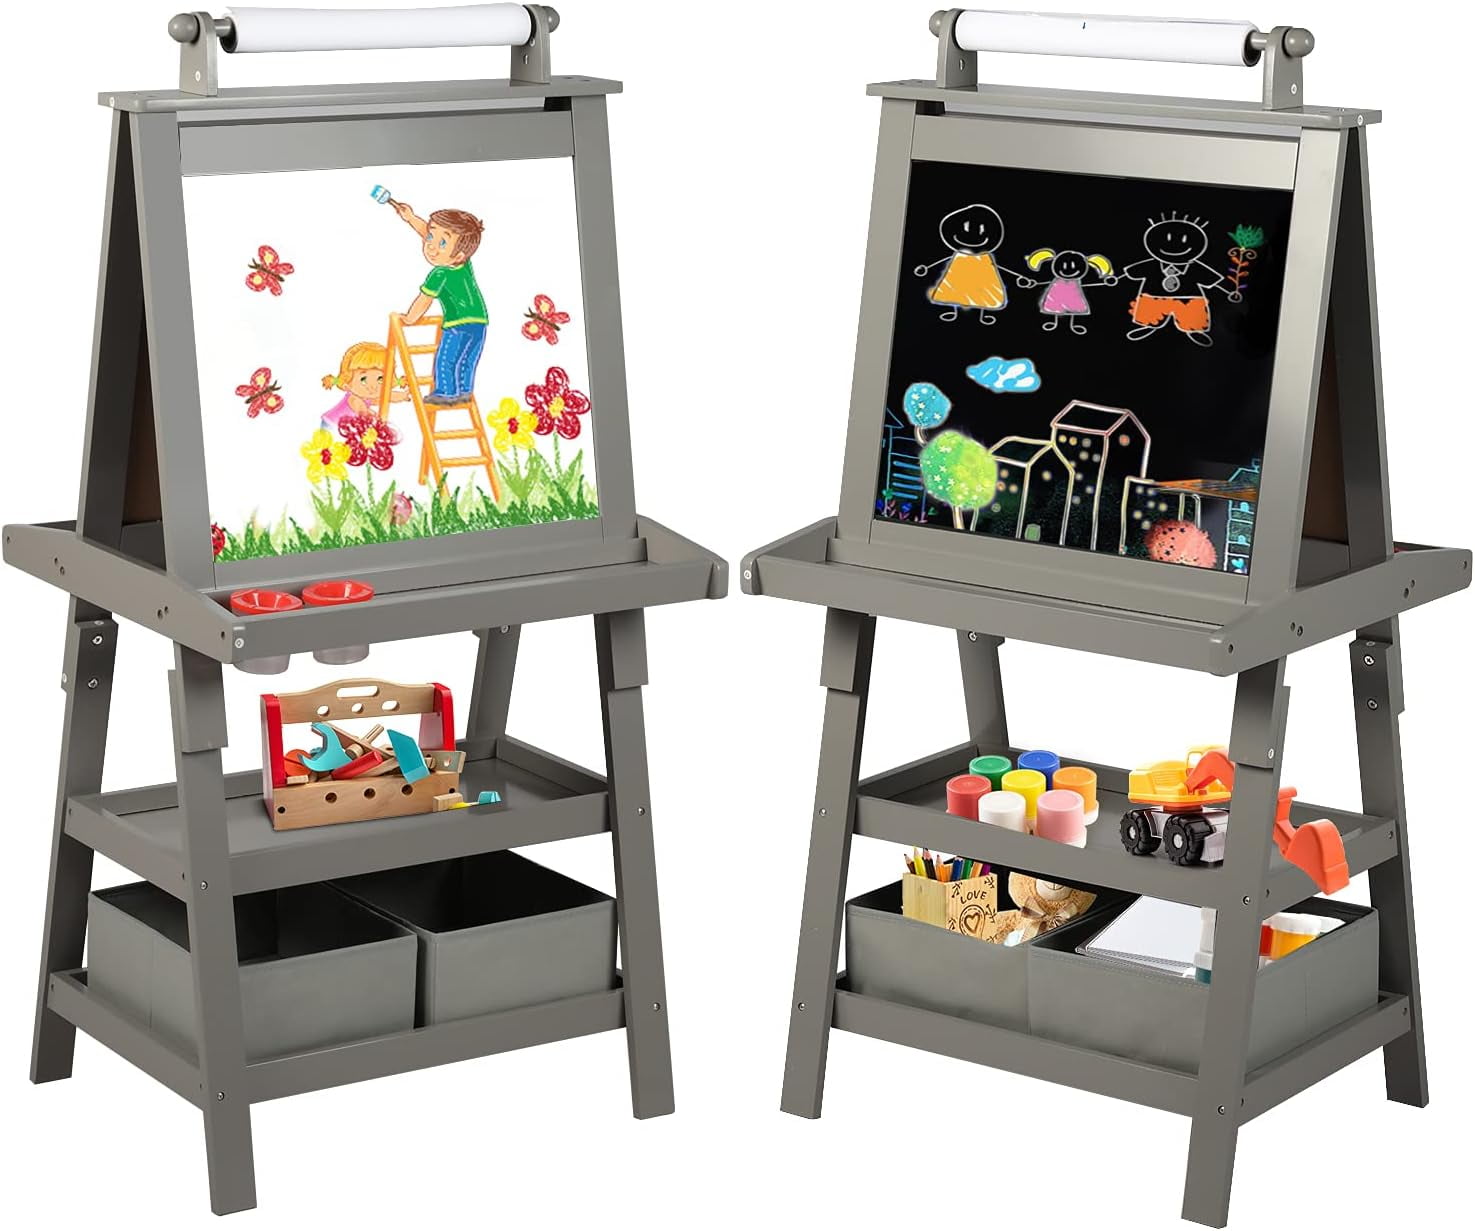 AILEEKISS 3 in 1 Kids Art Easel Double-Sided Magnetic Whiteboard Chalkboard Paper Roller, Grey18 May 2024
 -
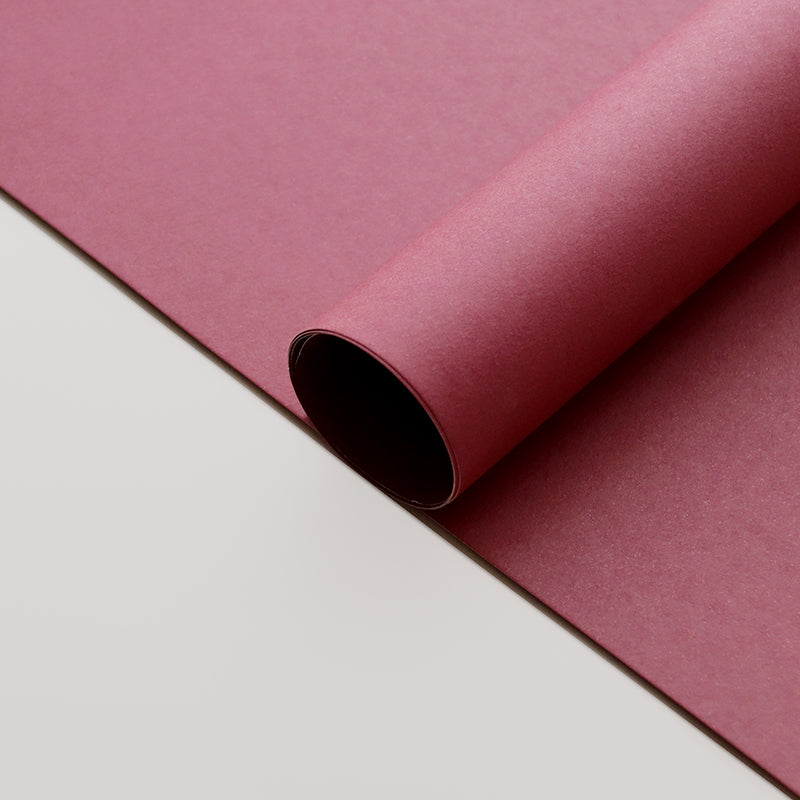 20 Sheets Colored Korean Wrapping Paper for Bouquets18 May 2024
 -
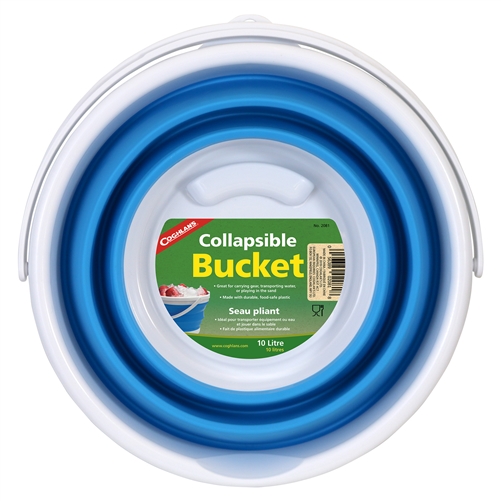 Coghlan's 10 L Collapsible Bucket18 May 2024
 -
 Vintage 1925 Conklin Gold Filled All-Metal Pencil - Ruby Lane18 May 2024
 -
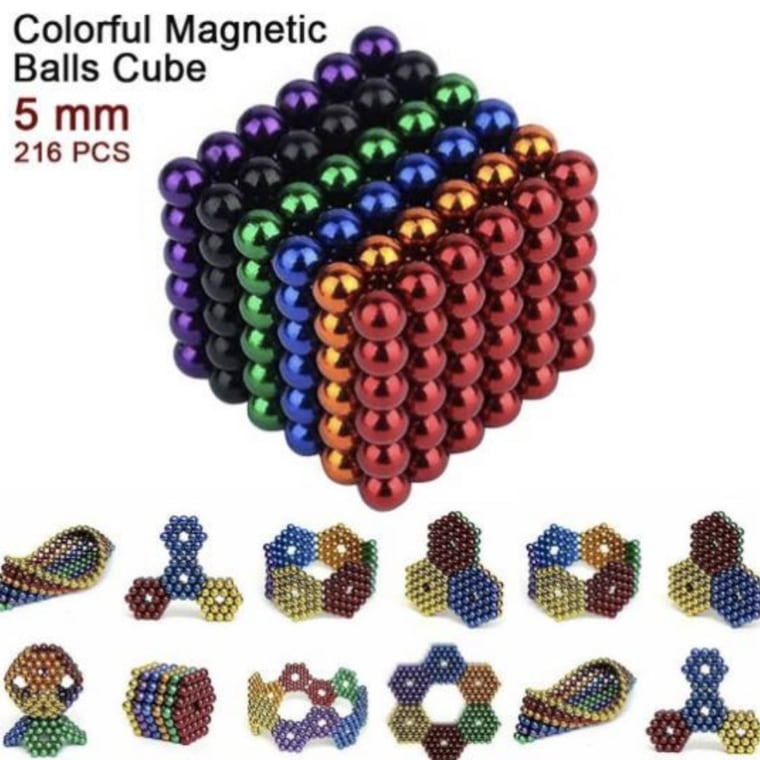 Walmart Magnetic Balls Recall: Dangers of Swallowing Tiny Magnets18 May 2024
 -
 Kaisercraft Self-Adhesive Rhinestones 100-pkg-champagne18 May 2024
 -
 LUNARM 3 Pcs Tracing Wheel Sewing Tool, Needle Point Ghana18 May 2024
 -
 14K Solid Gold Necklace Extender Real 14K Bracelet Extender 2 3 4 Inch Durable Adjustable Chain Gold Anklets Extension for Women 2 3 4 (14K Rose Gold-2 Inch) : Clothing, Shoes & Jewelry18 May 2024
 -
 Glass Accessory Adapter for PAX Vaporizers, Seamless Design18 May 2024
 -
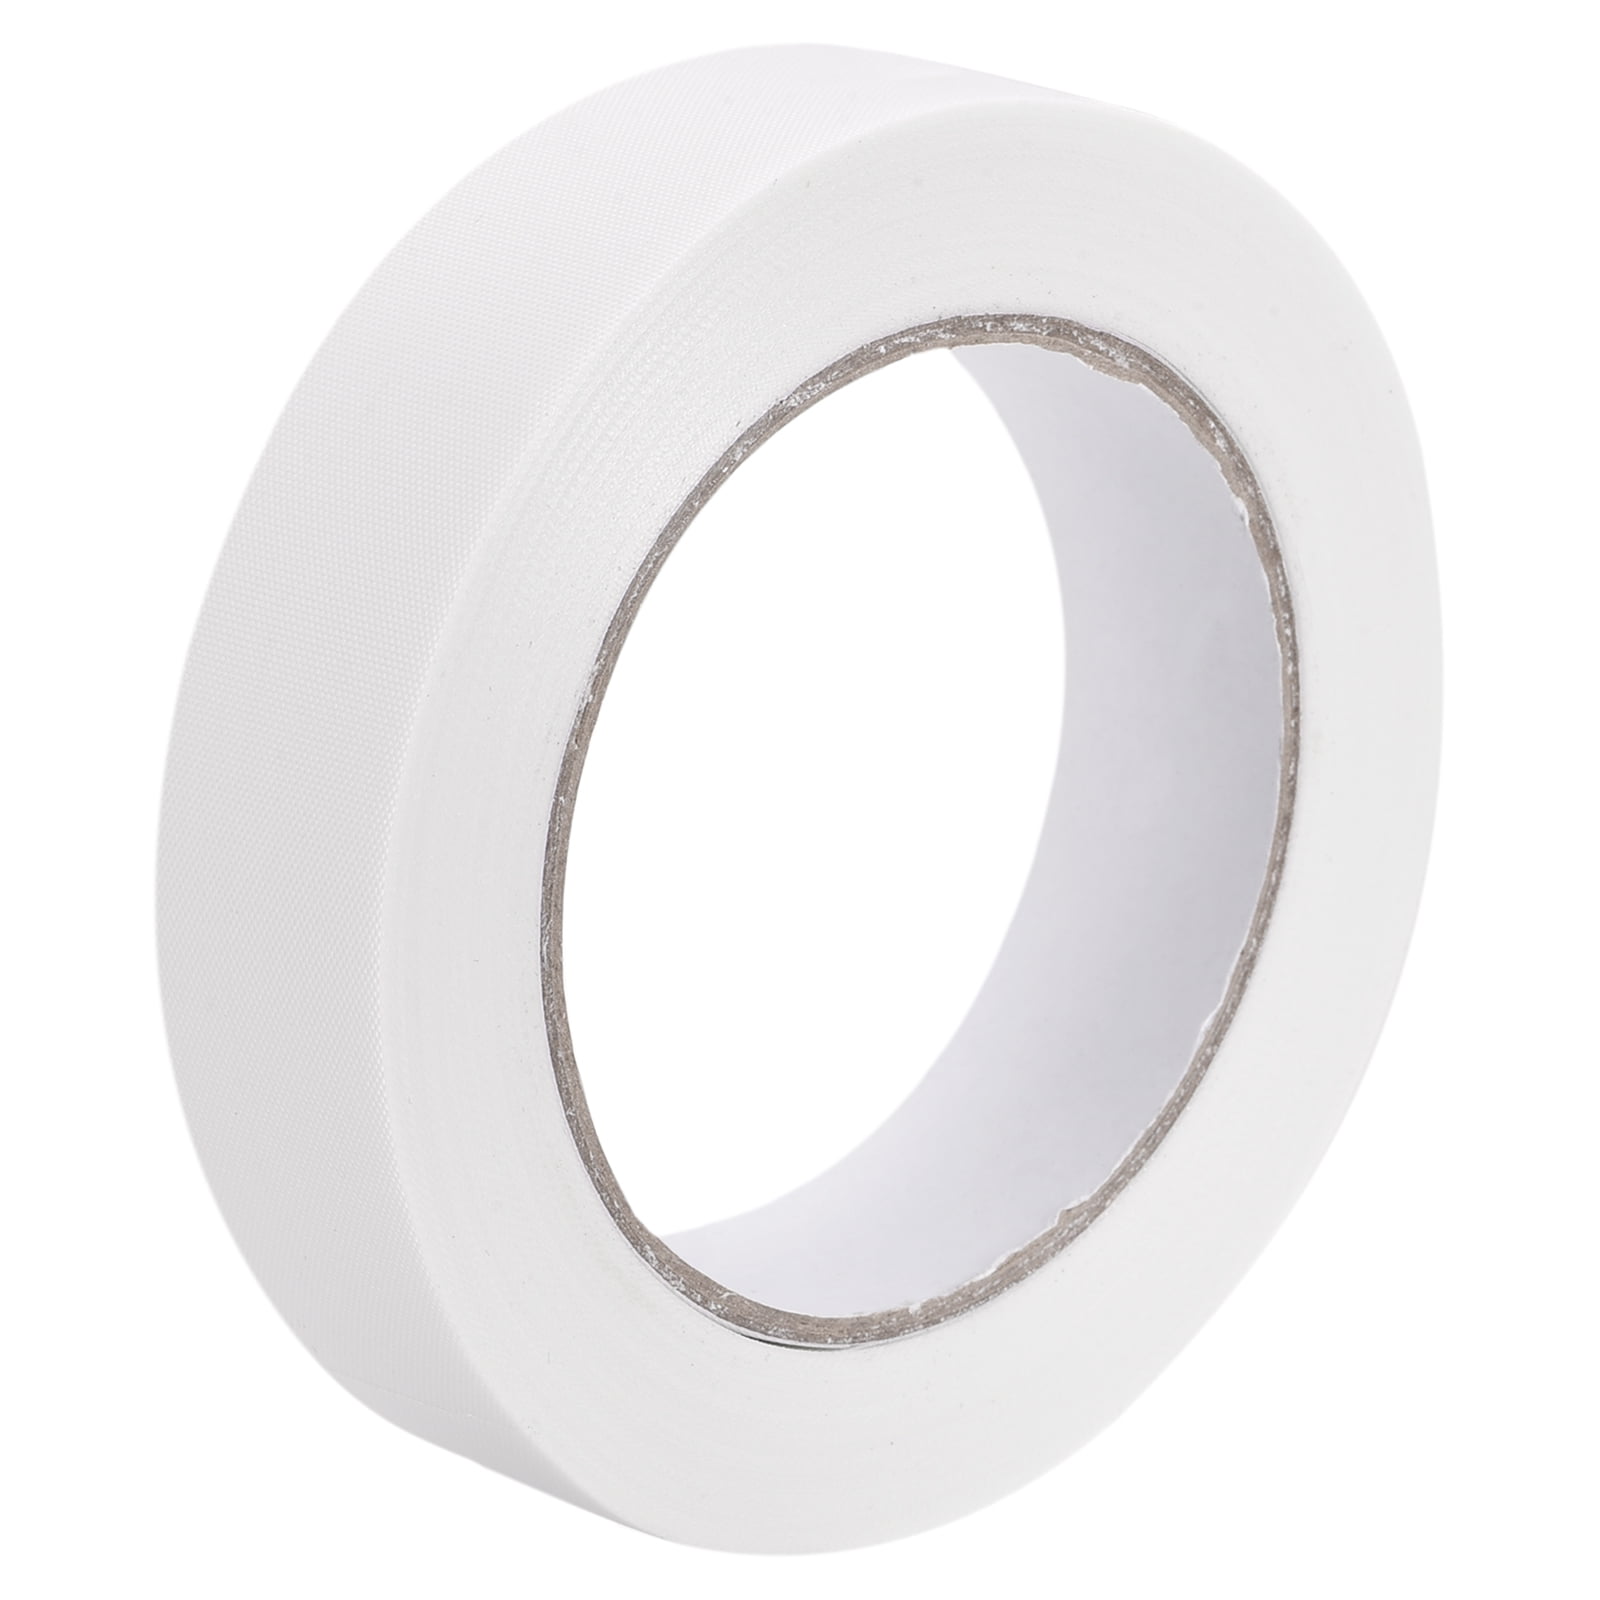 Lineco Document Repair Tape - 1 x 98 ft18 May 2024