Safe lock combination hi-res stock photography and images - Page 20 - Alamy
By A Mystery Man Writer
Last updated 01 Jun 2024

So safe hi-res stock photography and images - Alamy
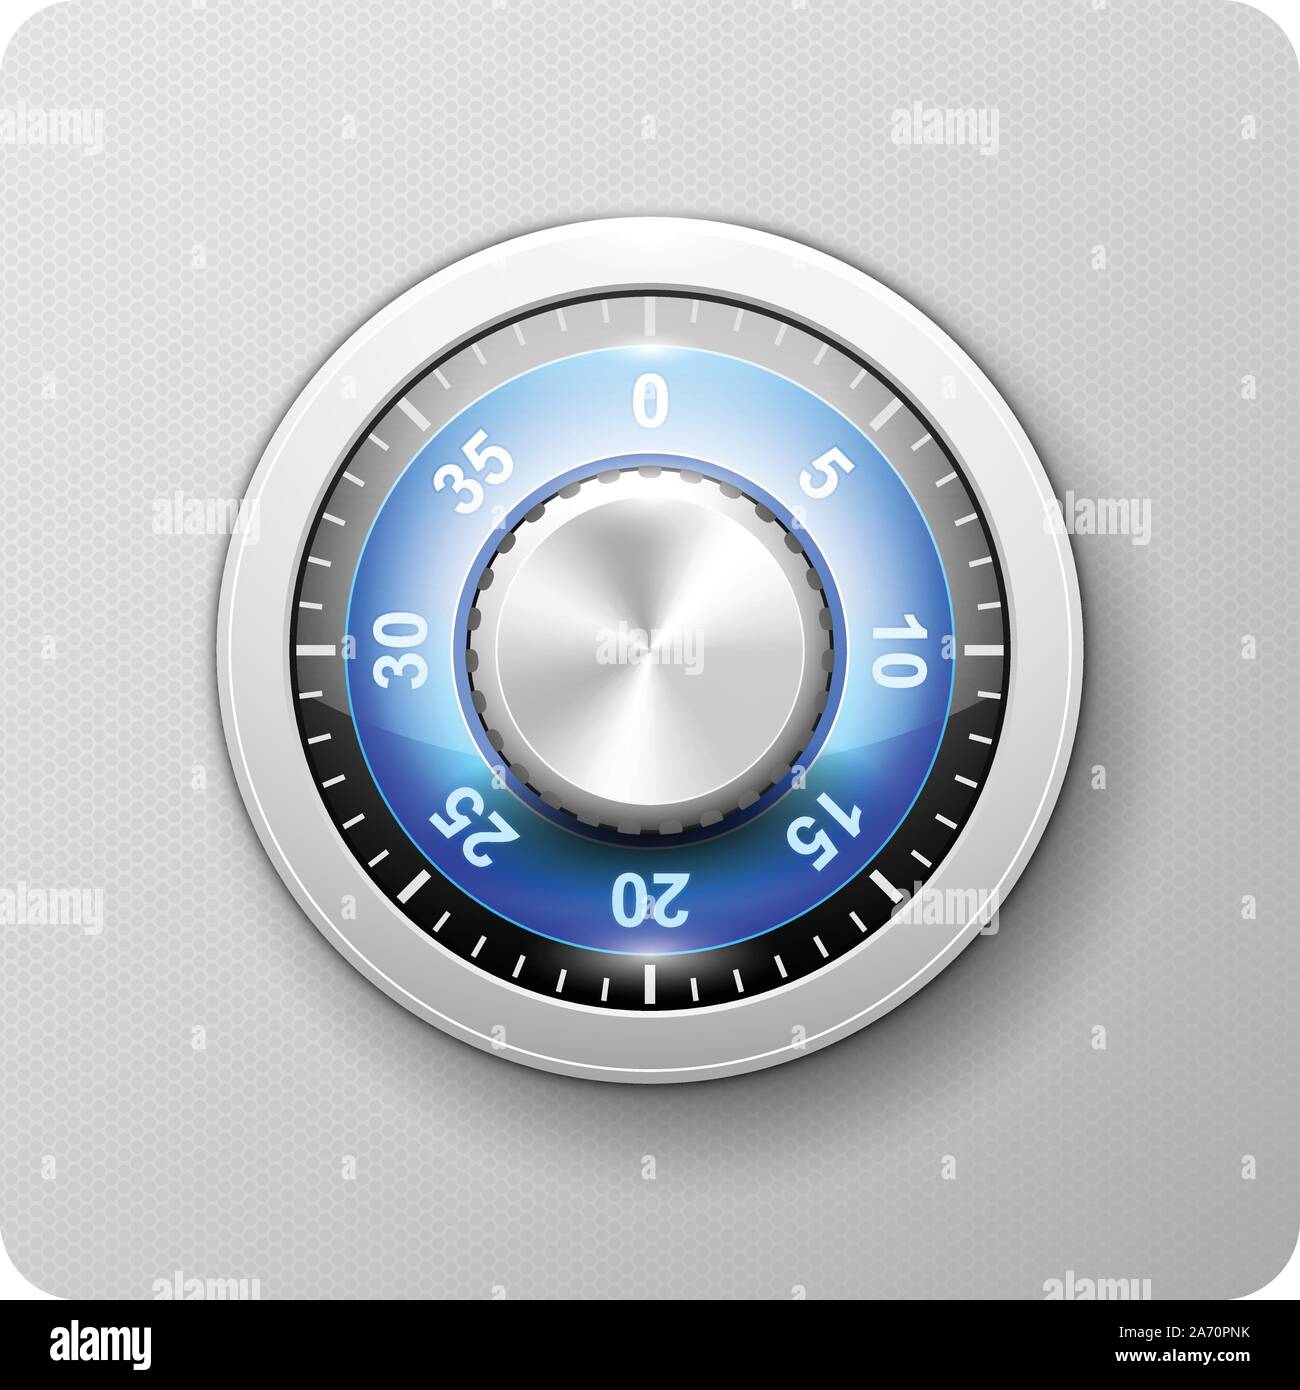
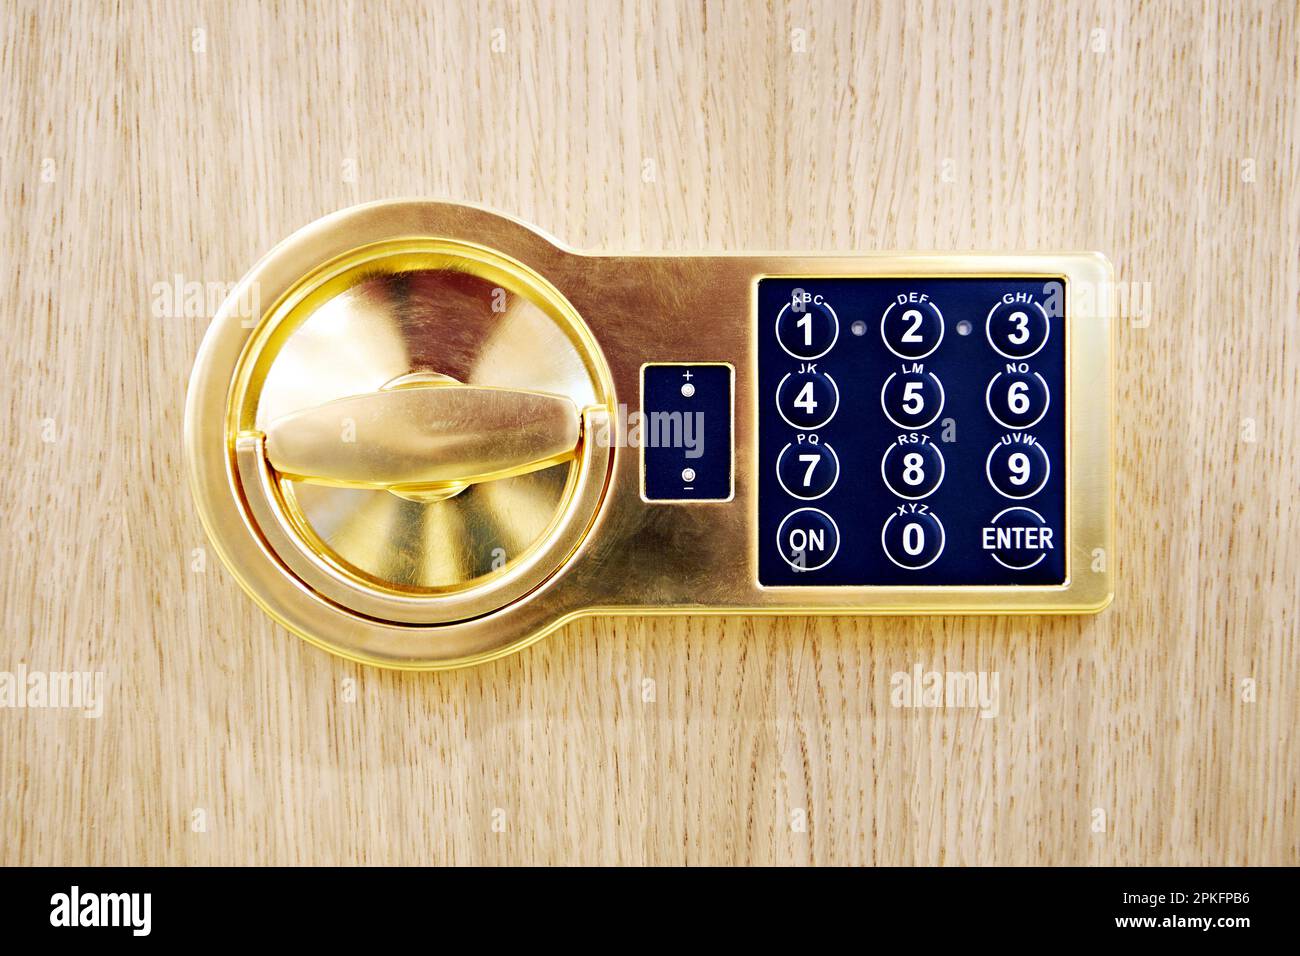
Combination lock safe hi-res stock photography and images - Alamy
Safe lock combination hi-res stock photography and images - Page 22 - Alamy
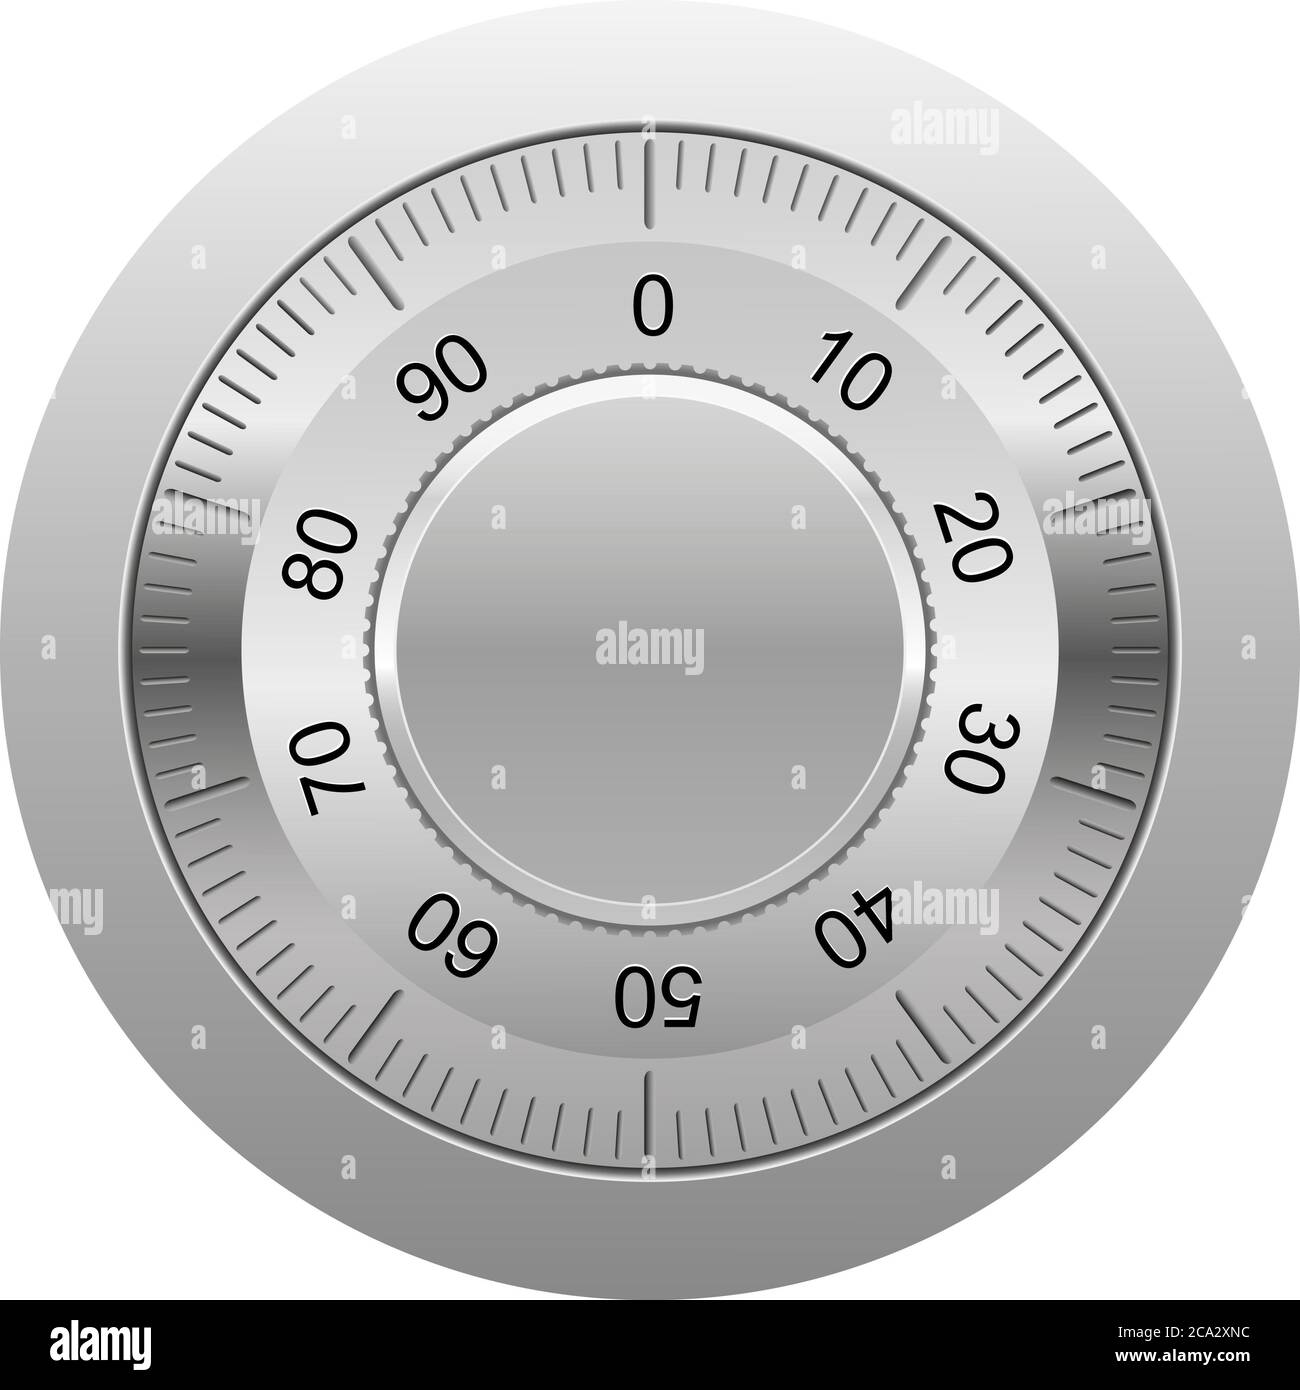
Safe lock combination hi-res stock photography and images - Page 20 - Alamy
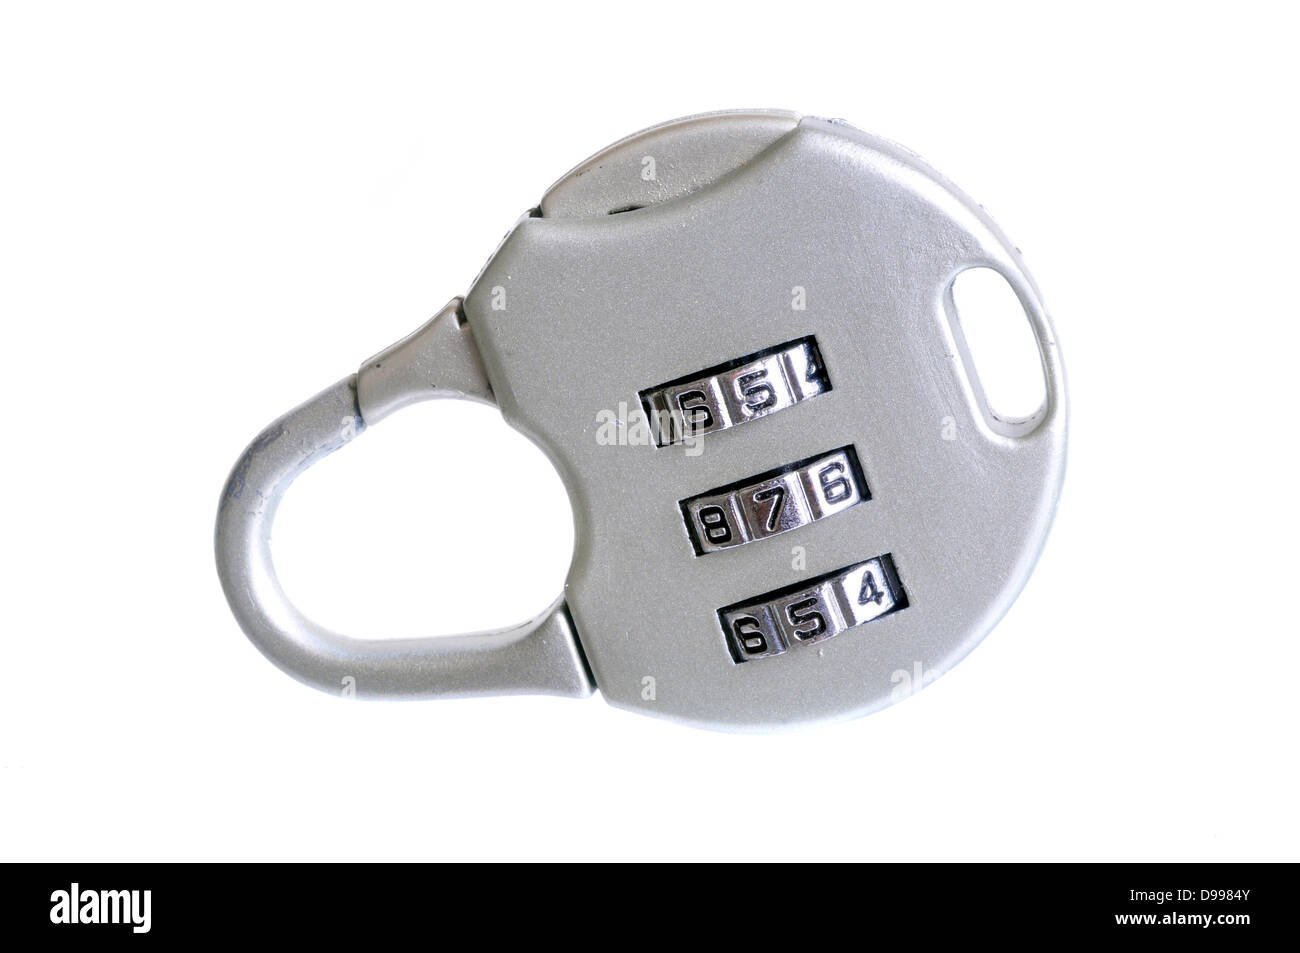
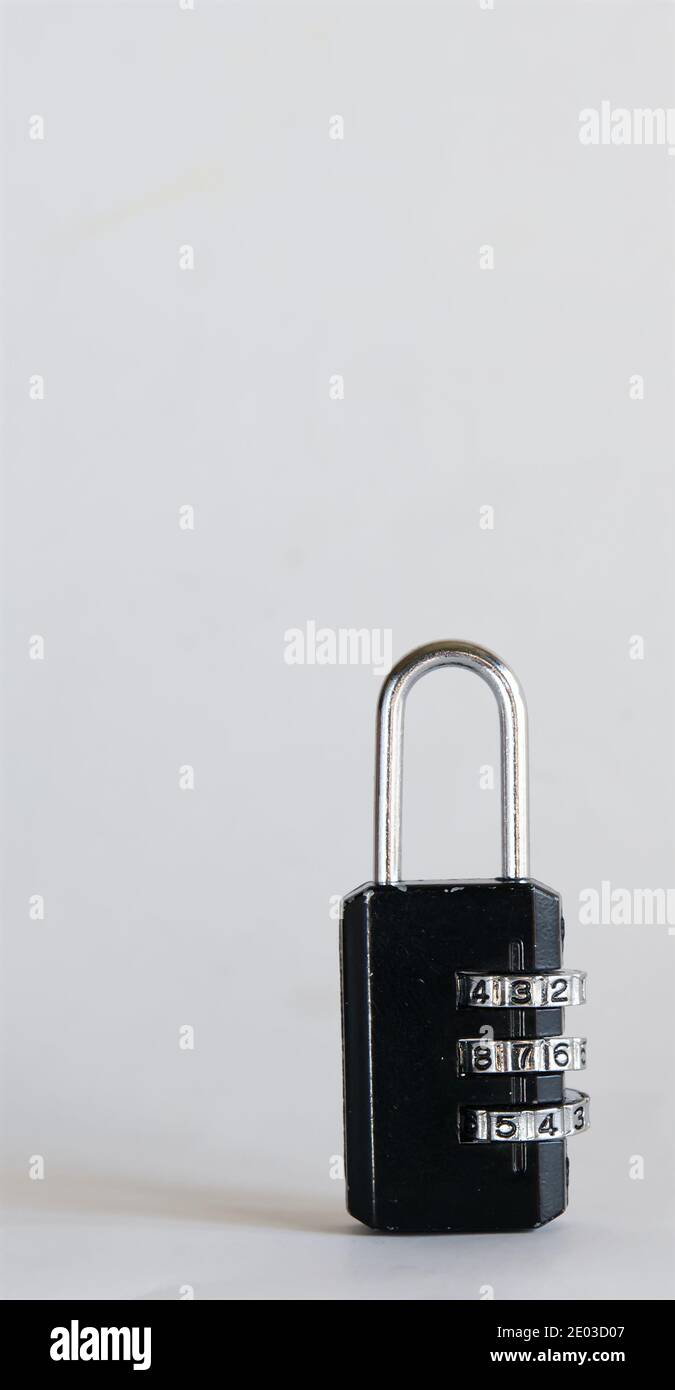
Small combination lock on white hi-res stock photography and images - Alamy
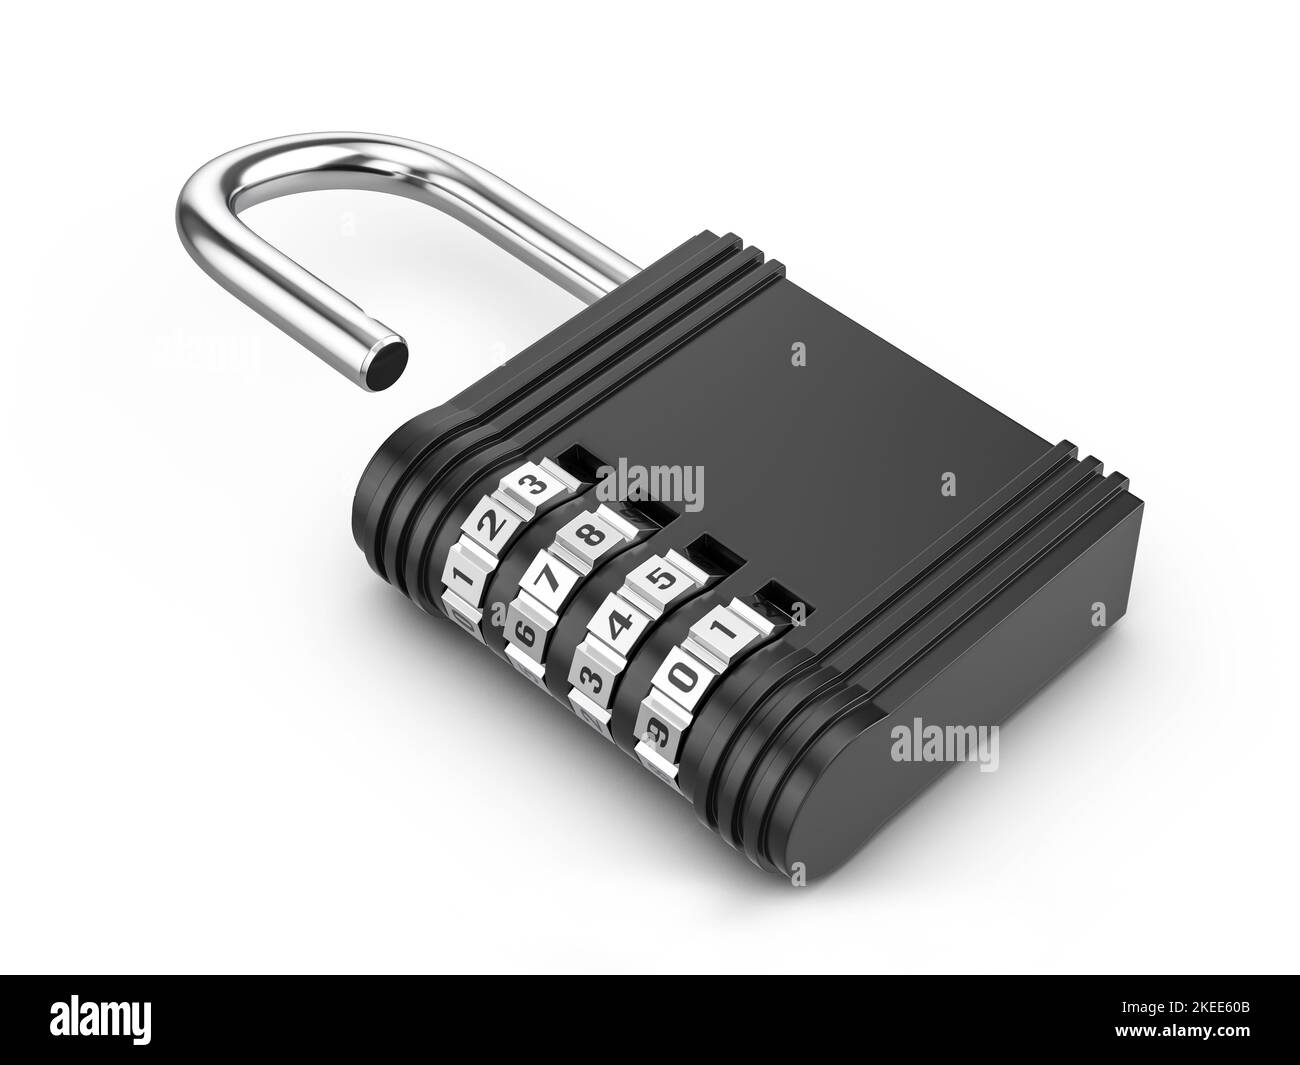
Combination safe lock hi-res stock photography and images - Alamy
Combination safe hi-res stock photography and images - Alamy
Safe lock combination hi-res stock photography and images - Page 20 - Alamy
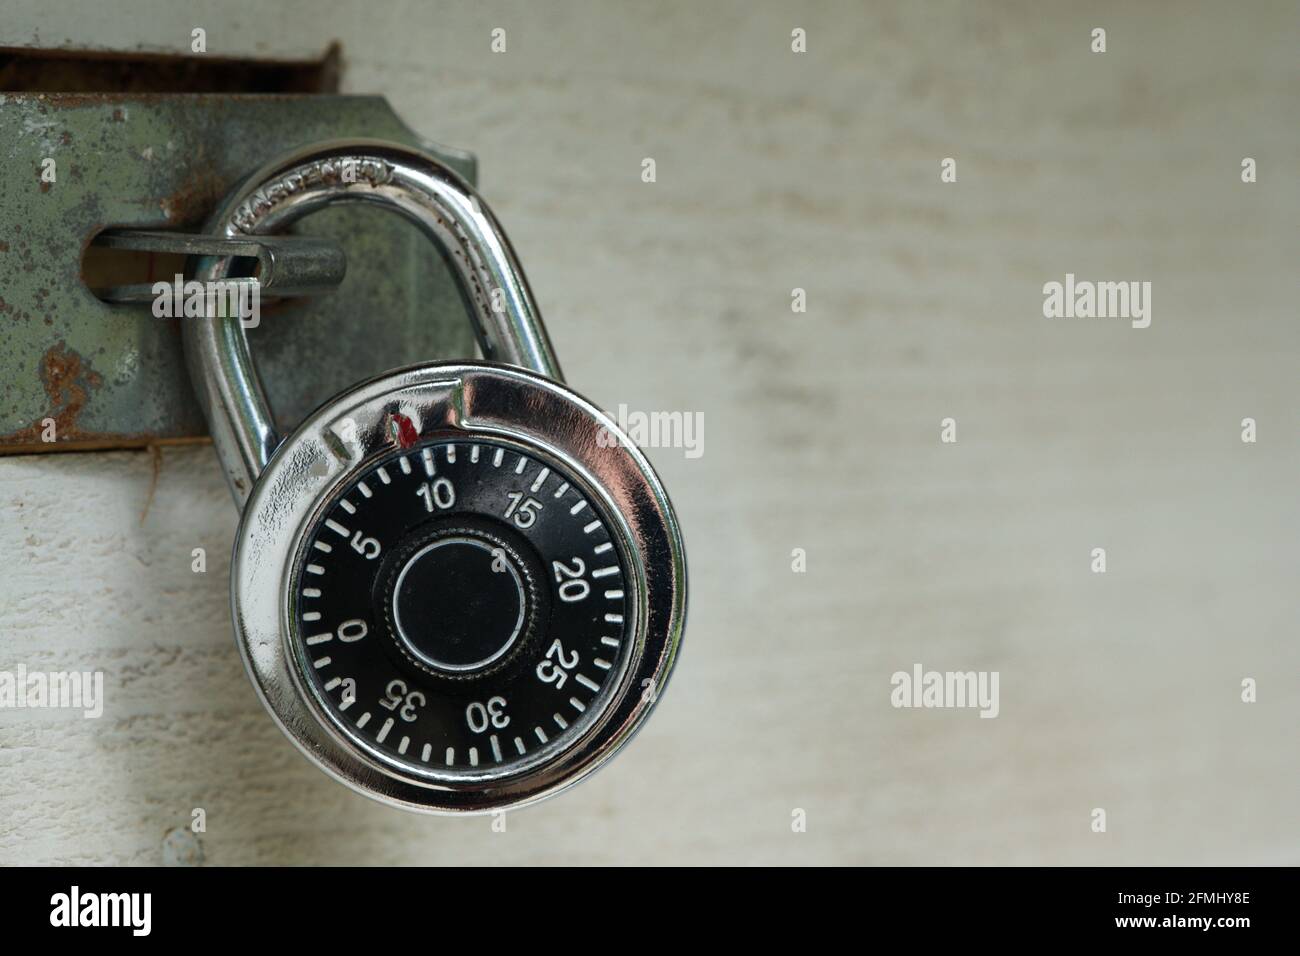
Safe combination lock hi-res stock photography and images - Alamy
Combination safe lock close up hi-res stock photography and images - Alamy
Combination safe lock close up hi-res stock photography and images - Alamy
Recommended for you
-
 Tcyoatoa Cabinet Locks with Combination, Zinc Alloy Cabinet Latch, Exposed Installation for Small One-Way Door or Drawer, Easy to Use as Kiechen01 Jun 2024
 -
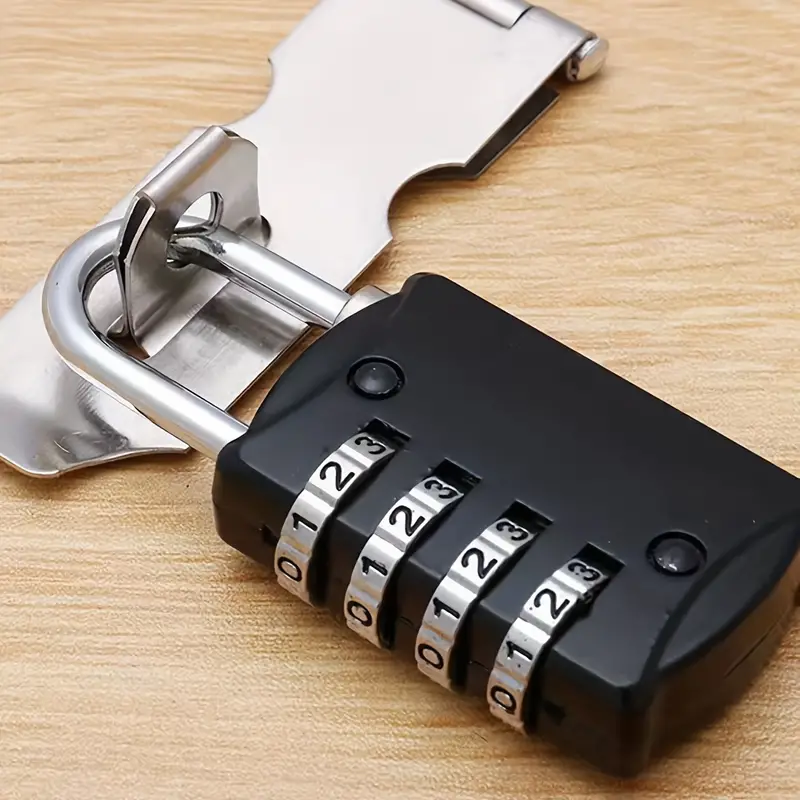
 Cabinet Lock with Combination, Gym Locker Lock Code, Adjustable U Shaped Heavy Duty Cabinet Latches Combination Padlock for Locker, Closet, Double01 Jun 2024
 -
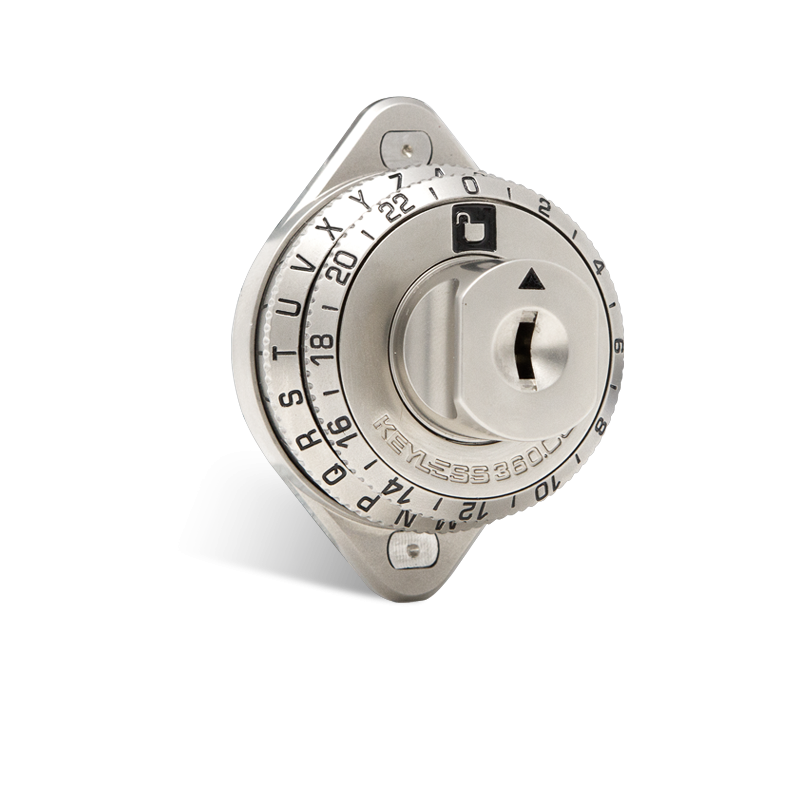 KEYLESS 360 Mechanical Combination Locker And Cabinet Lock With Key Over-ride01 Jun 2024
 -
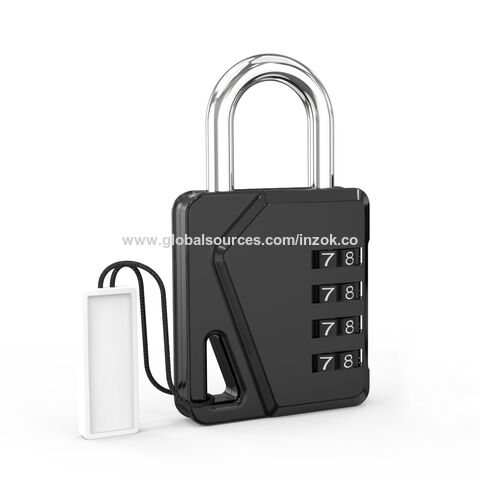 Buy Wholesale China Wholesale Combination Locks Combination Padlock Heavy Duty Code Padlocks 04c Combination Lock For Gym Locker Drawer & Combination Locks at USD 0.7501 Jun 2024
 -
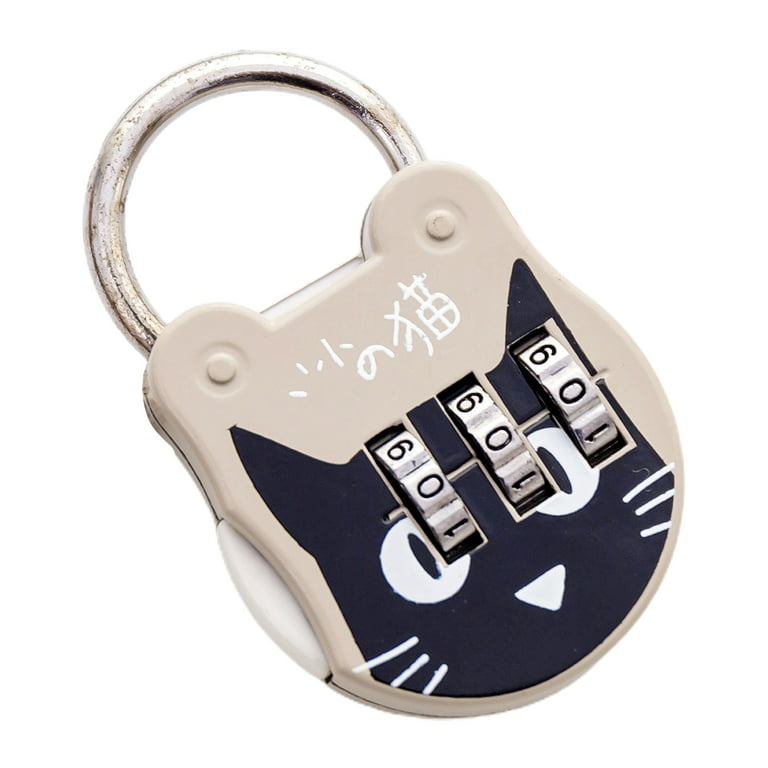 INC 3 Digit Combinations Padlock Safe Cipher Lock Cute Cat Combination Lock Resettable Number Lock Small Colorful Code Locks for Suitcases Briefcases Computer Bags Drawers Cabinets01 Jun 2024
 -
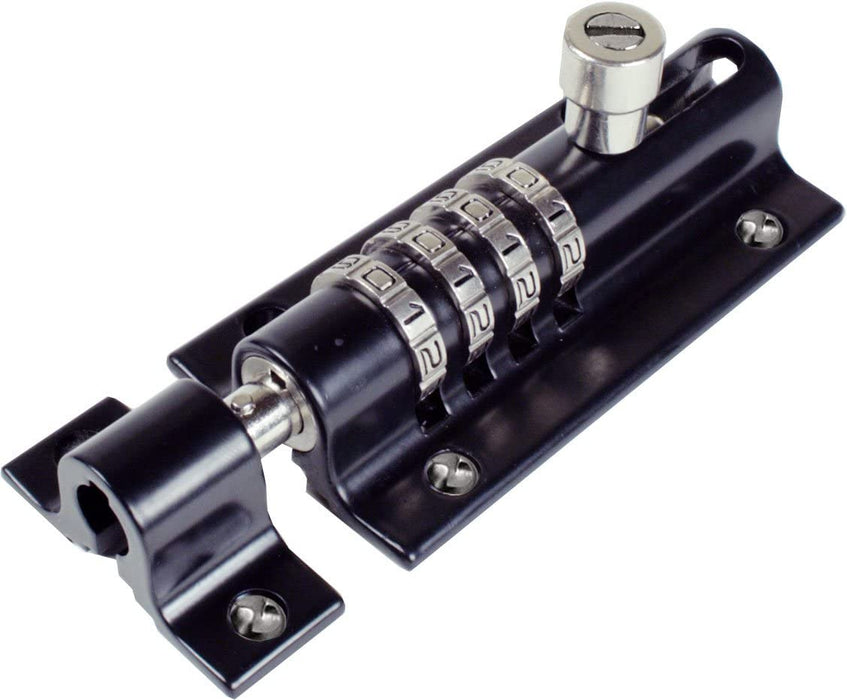 Cabinet Lock Combi-Bolt, Heavy Duty, 4-Dial Combination, 3/801 Jun 2024
 -
 10-Digit Combination Padlock Push Button Locker Cabinet Locks01 Jun 2024
 -
 Heldig Combination Cam Locks Security Locks Bright Chrome Zinc01 Jun 2024
 -
 4-digit Combination Lock, Black Combination Padlock, Student01 Jun 2024
 -
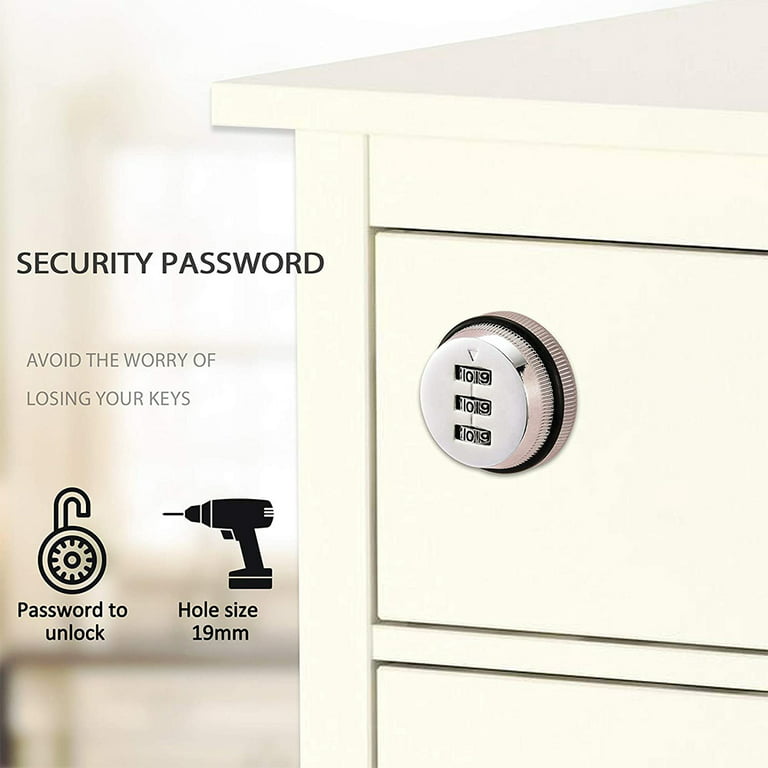
 Password Hasp Locks, Cabinet Door Combination Lock, Barn Door Lock01 Jun 2024
You may also like
-
 BECCA Silk & Real Touch Roses Brooch Bouquet or DIY KIT – Bouquets by Nicole01 Jun 2024
 -
 Watercolor Illustration Pink Hair Dryer Gray Stock Illustration 156718370501 Jun 2024
 -
 Ramo eterno - México01 Jun 2024
 -
 Angoo Boat Type Pen Case Pencil Bag Washable Oxford Cloth Storage HandBag Pouch for Pens Ruler Stationery School Travel A685101 Jun 2024
 -
Mr. Clean, Clean Freak Multi-Surface Spray + Refill, Lemon Zest (62.9 fl. oz.)01 Jun 2024
-
 Air Brush Heart With Swarovski Crystals Press on Nails - Israel01 Jun 2024
 -
 Cutco Cutlery Sharpeners for sale01 Jun 2024
 -
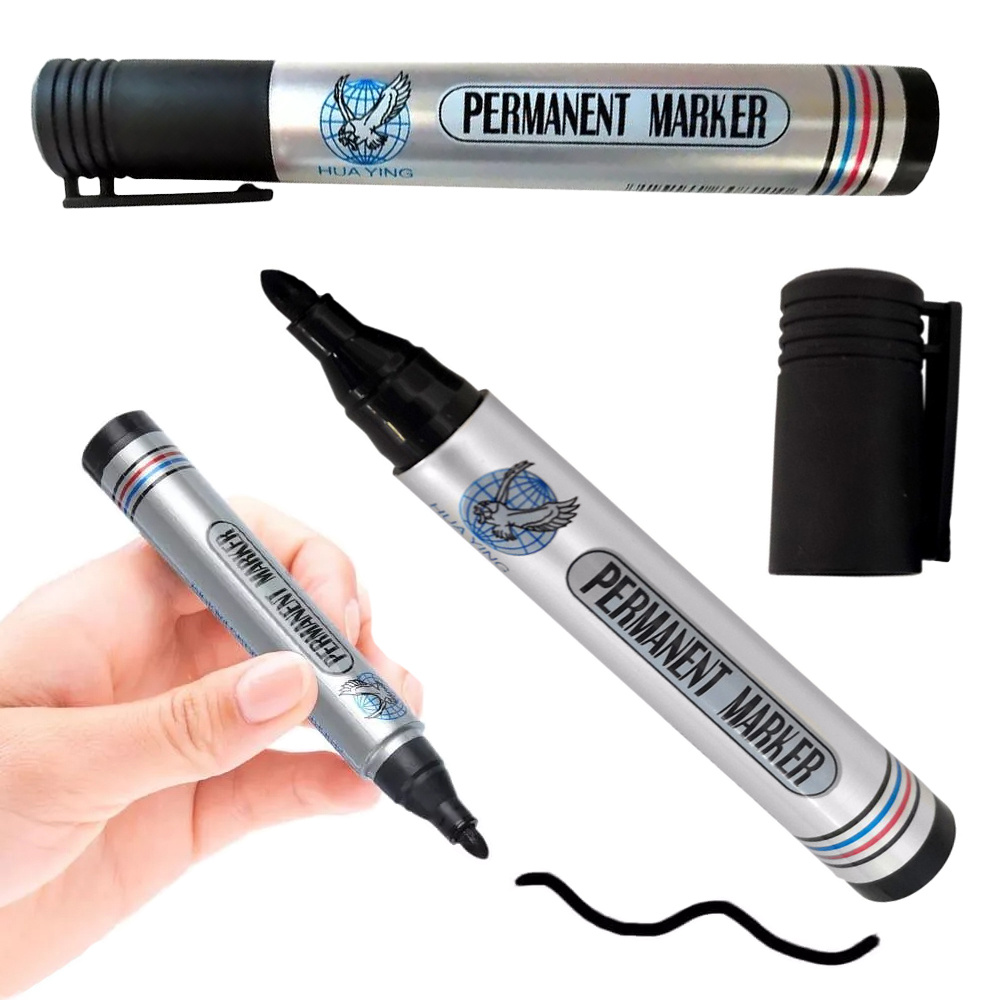 Permanent marker pen black waterproof round, CATEGORIES \ House \ Others01 Jun 2024
 -
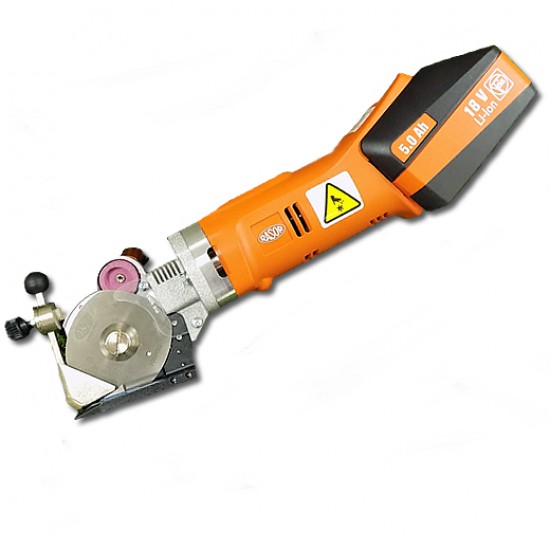 Rasor Cordless Carpet Cutter01 Jun 2024
 -
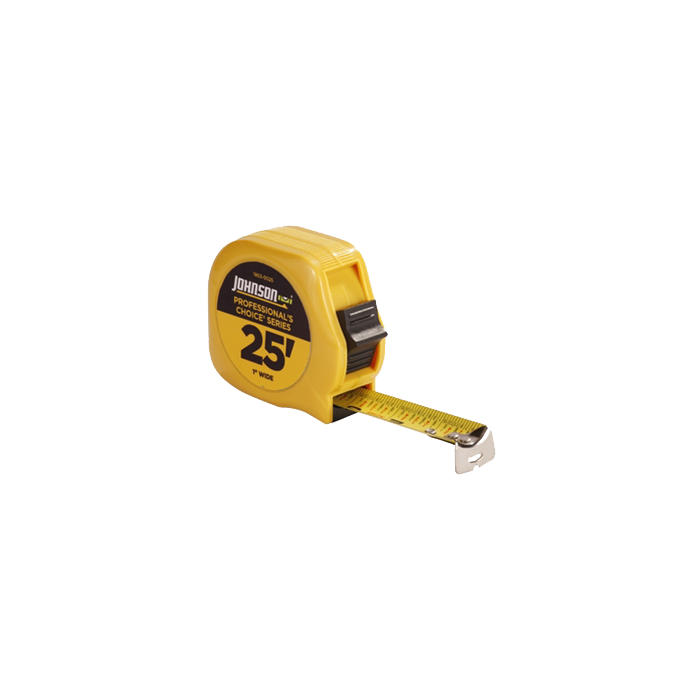 Johnson Level PROFESSIONALS CHOICE 25ft/7m Power Tape01 Jun 2024